Post-Orientation Thoughts
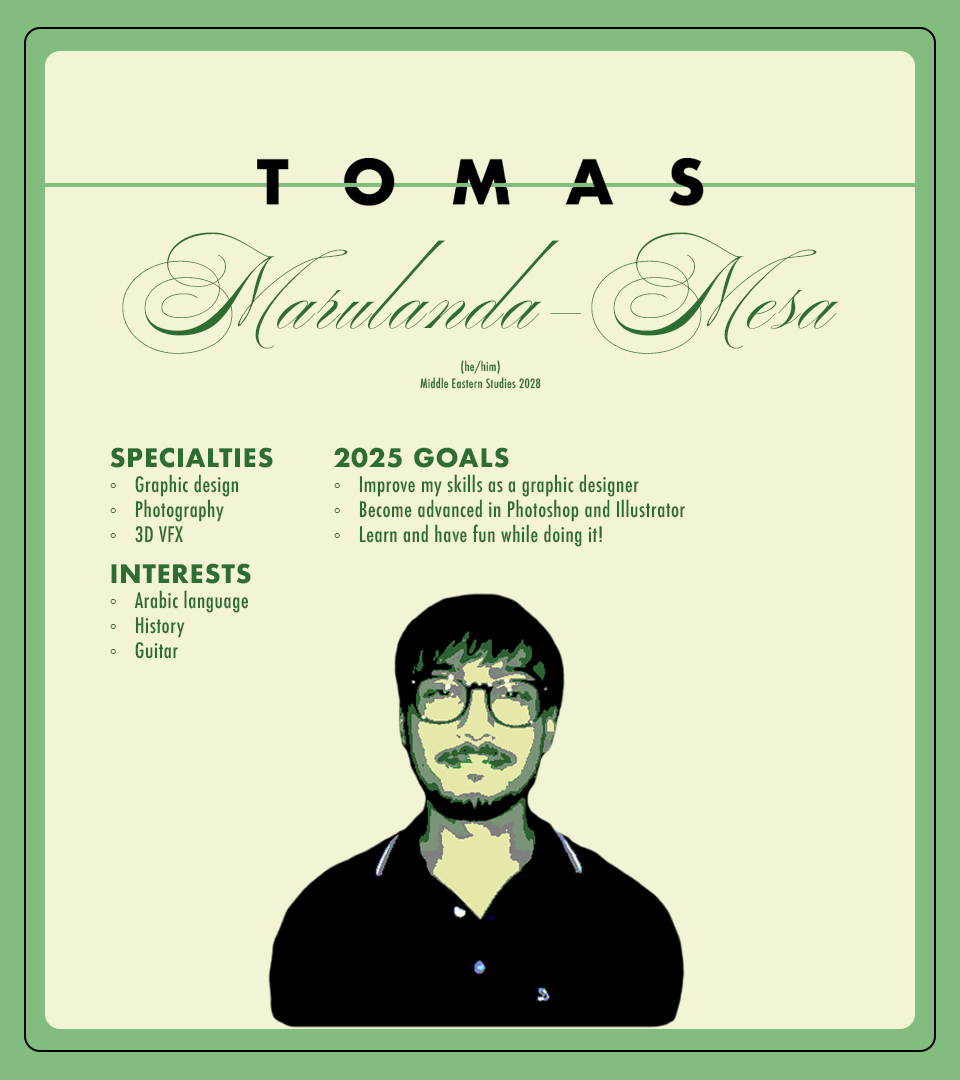
Two weeks ago, I completed my STA orientation. A few of the projects involved included an “all about me” bio page, a banner for this blog, and a caricature for the 2025-2026 STA overall blog. I lovedddd working on the caricature specifically.
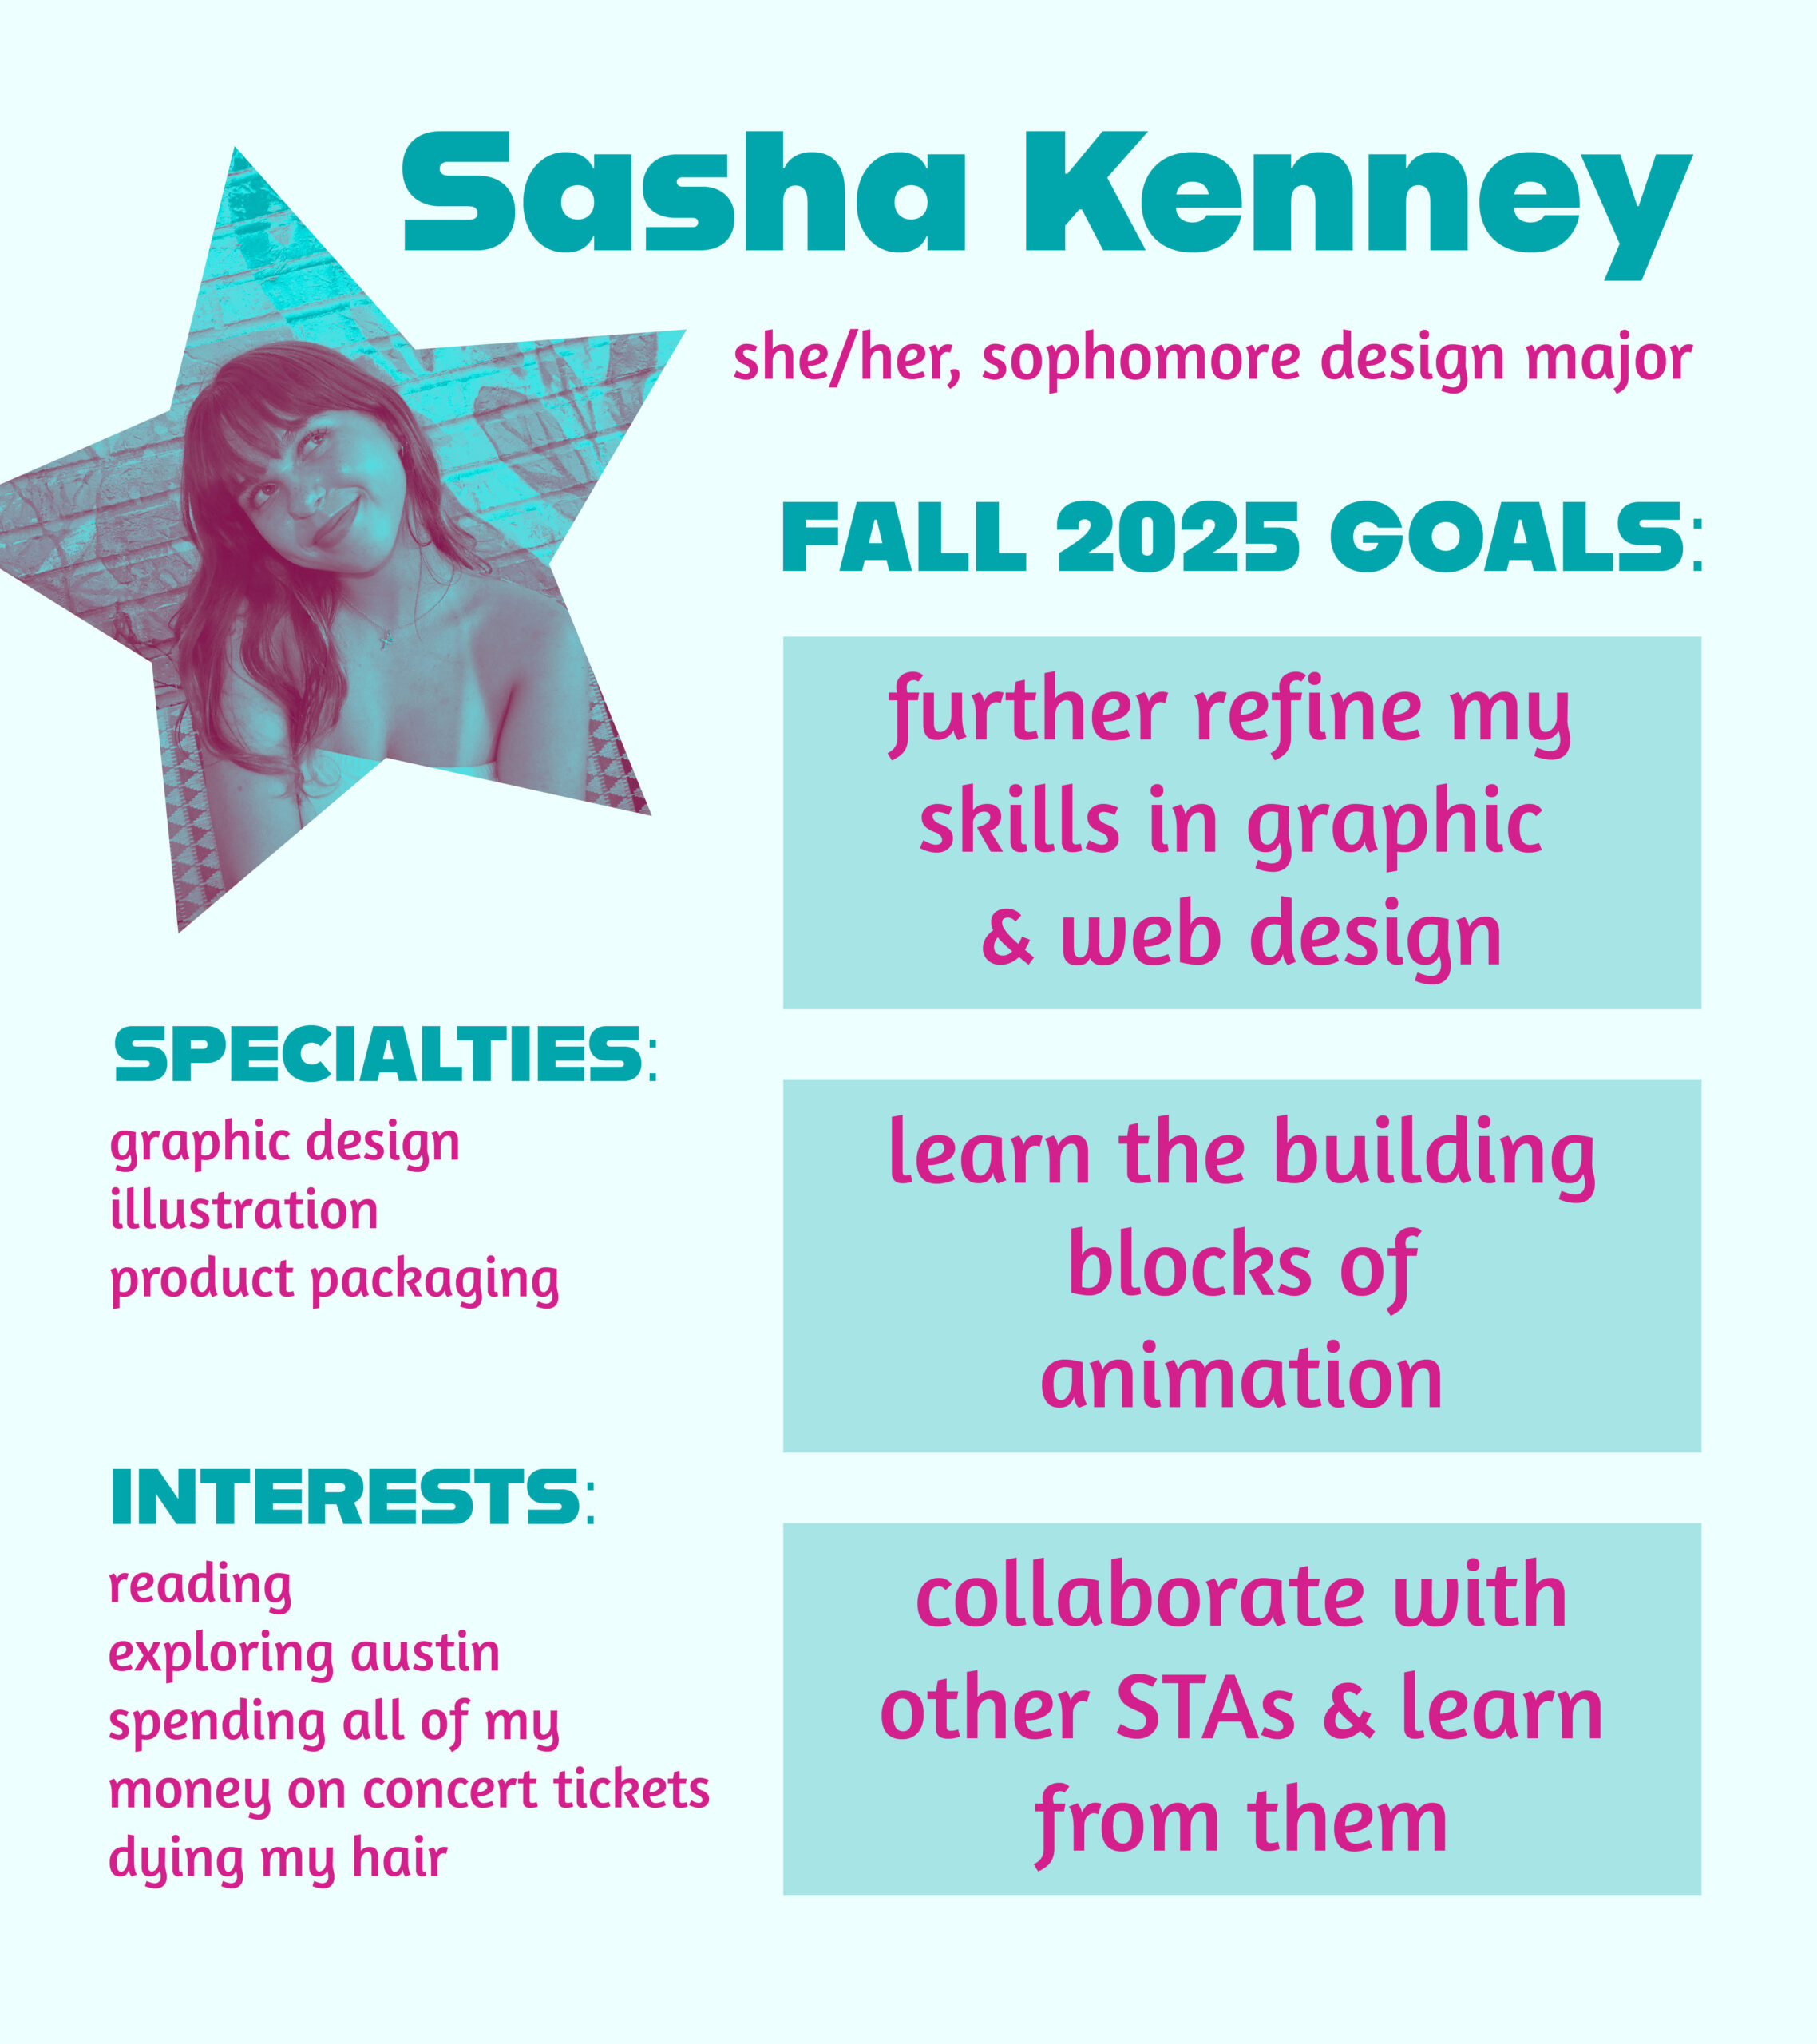
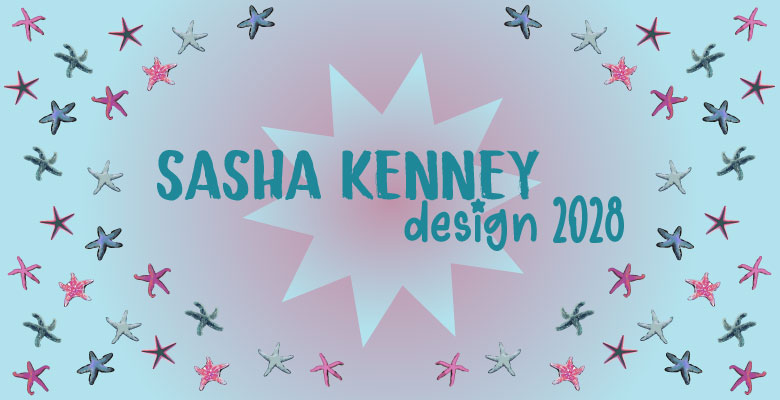
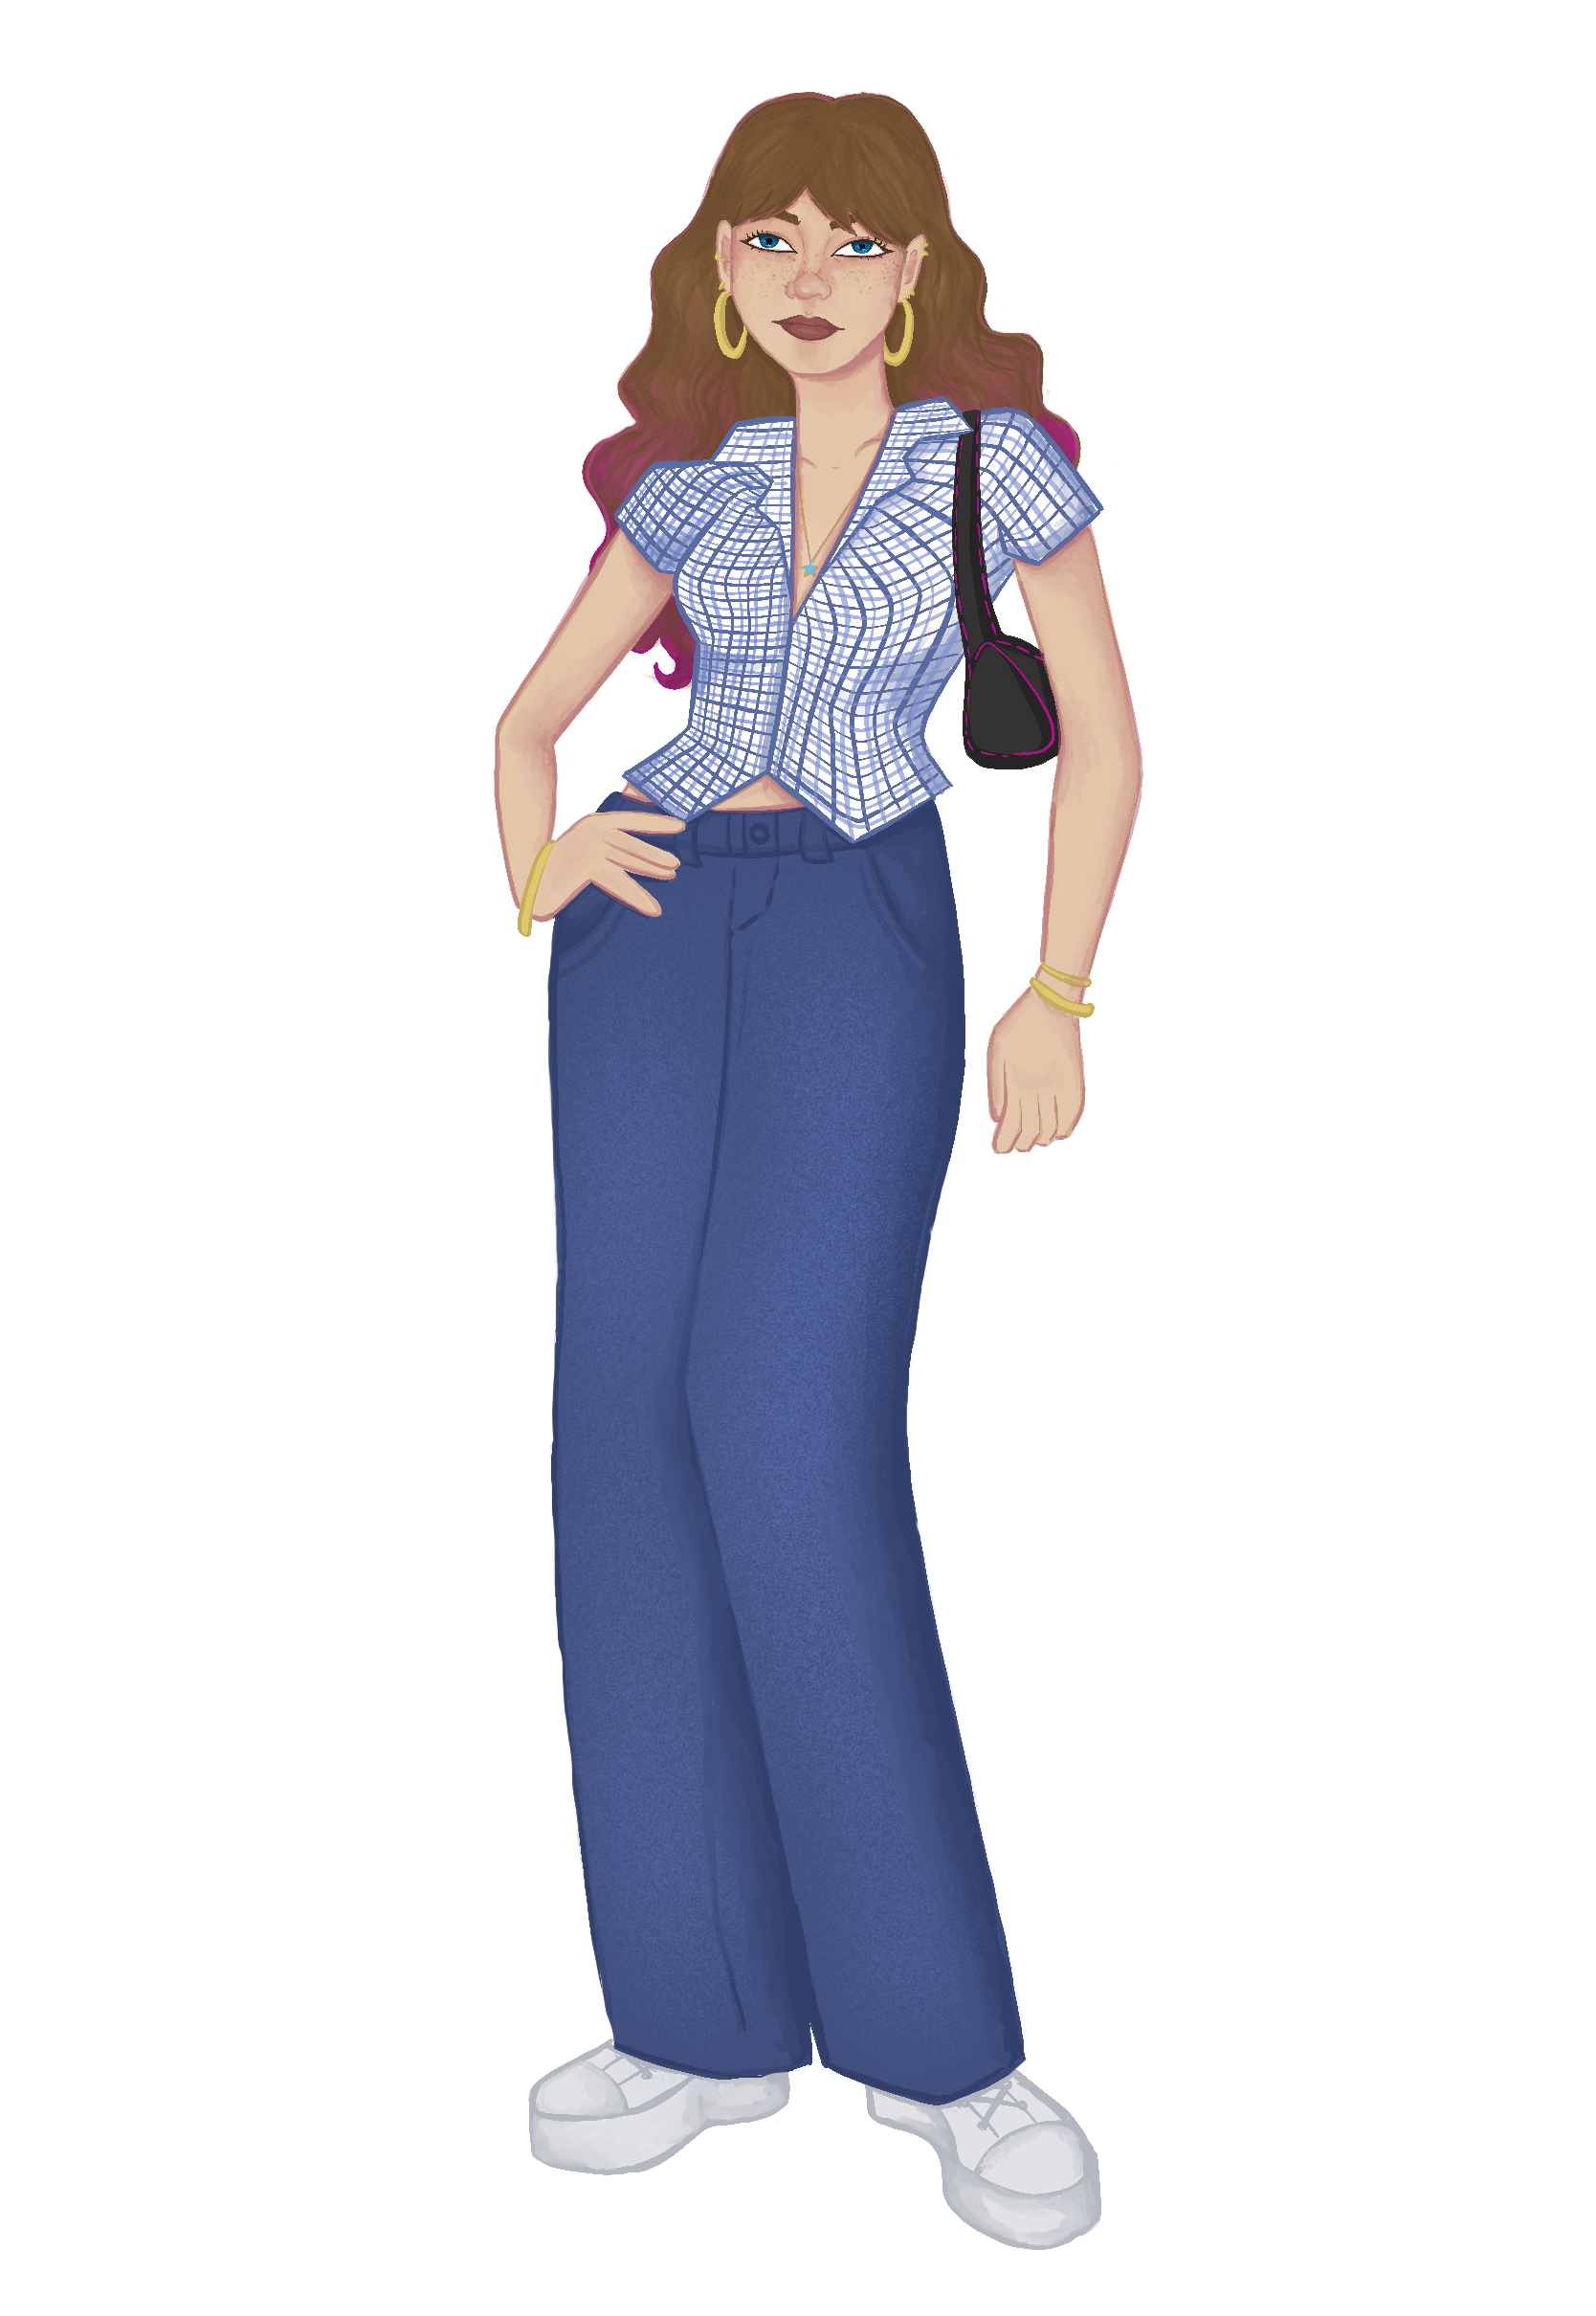
I had a lot of fun with these tasks! It was an interesting challenge to decide how to represent myself with a limited amount of time and set information to include.