(9/14 – 9/15)
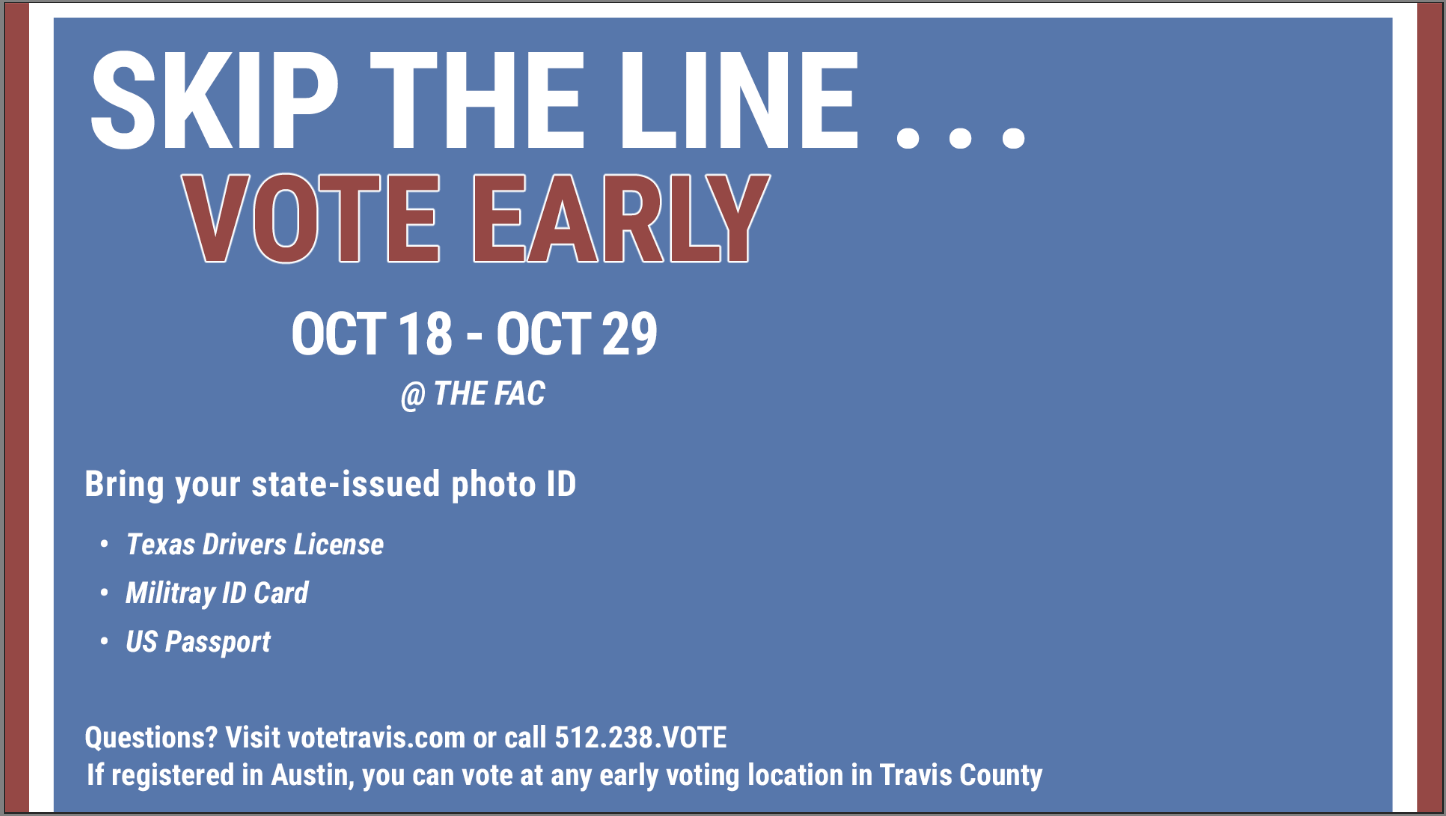
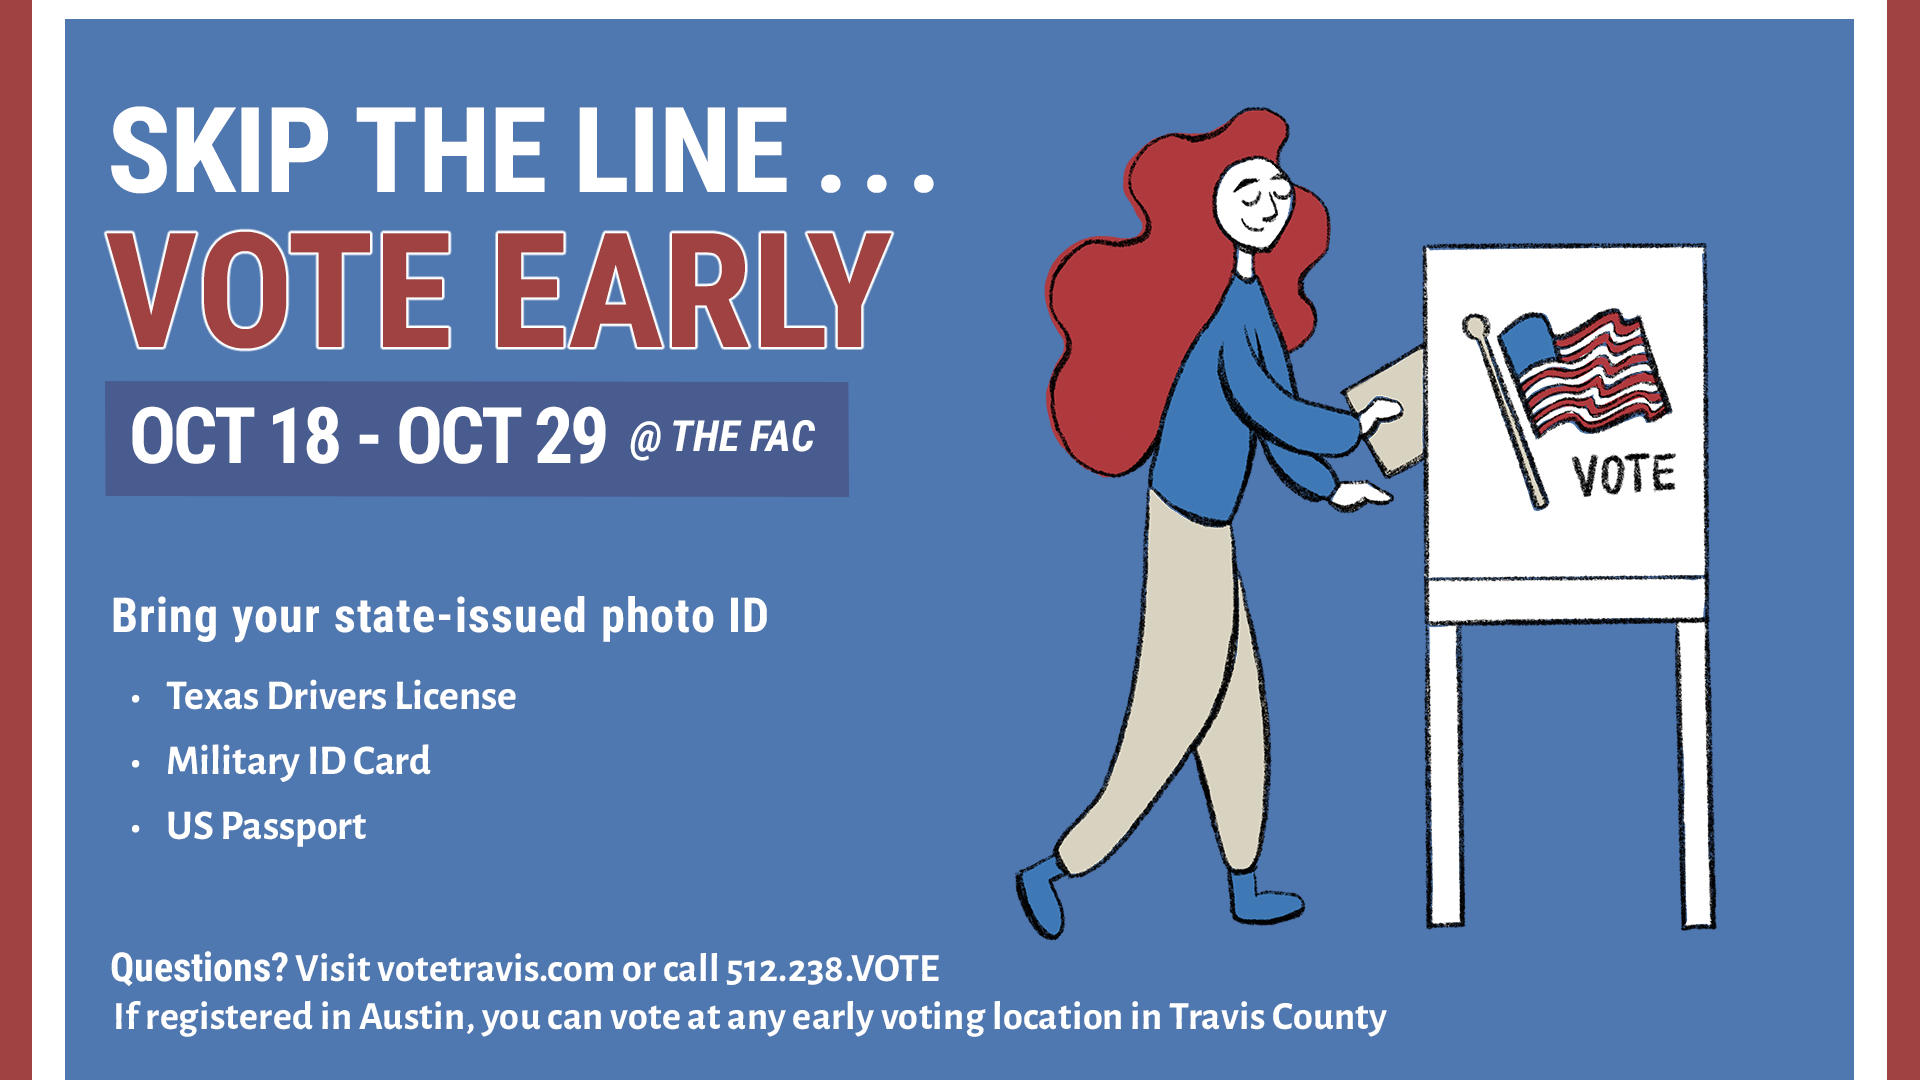
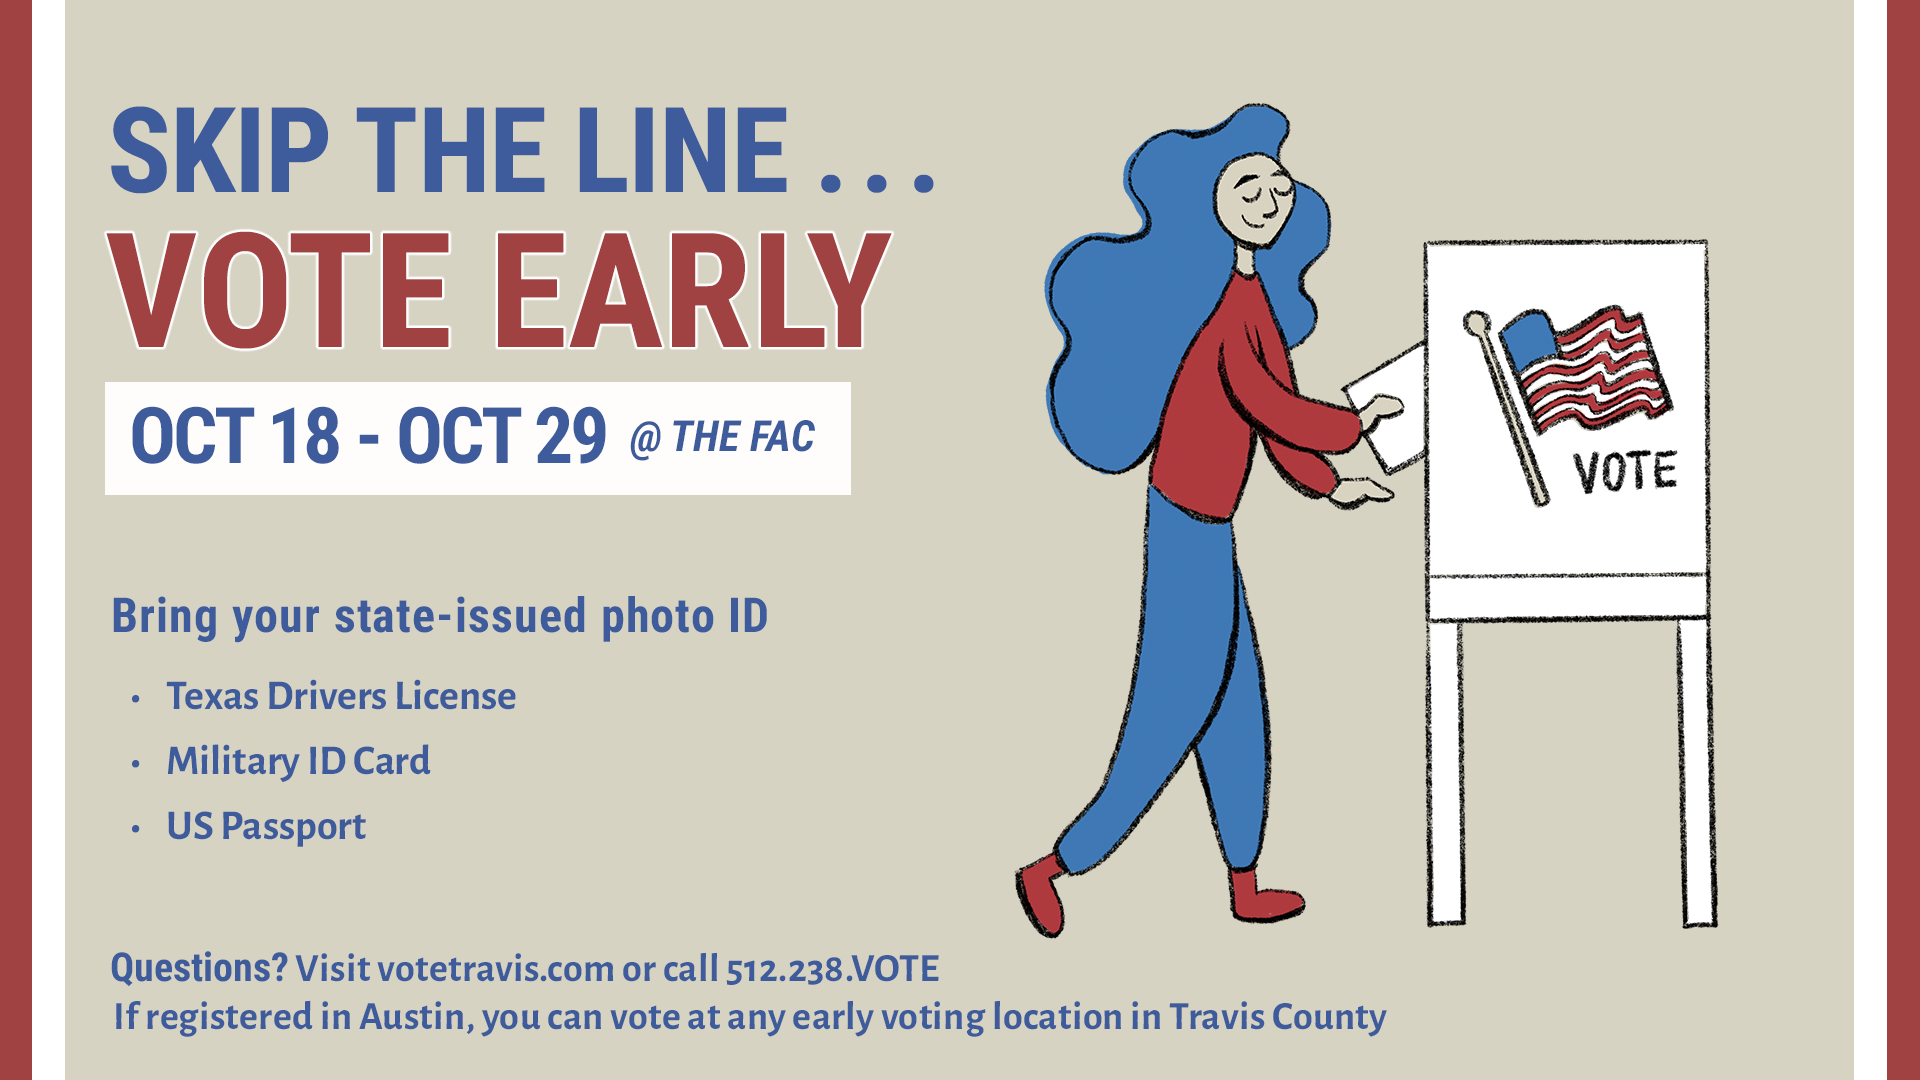
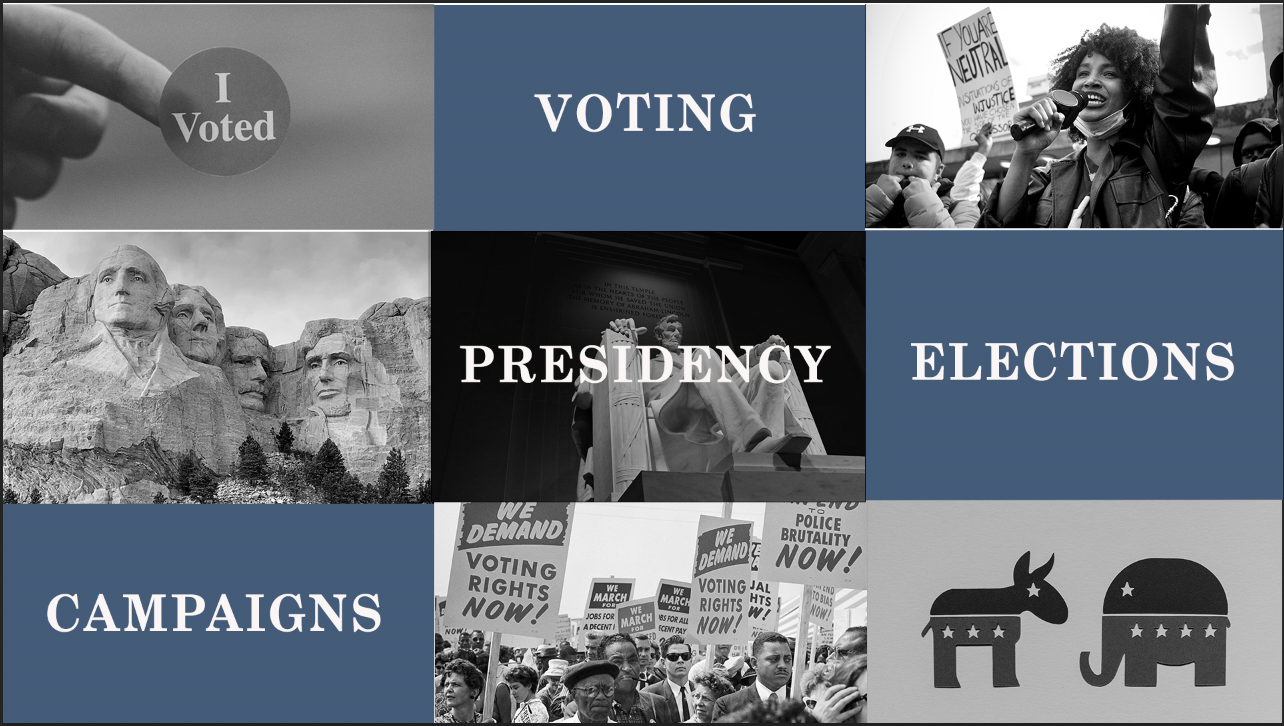
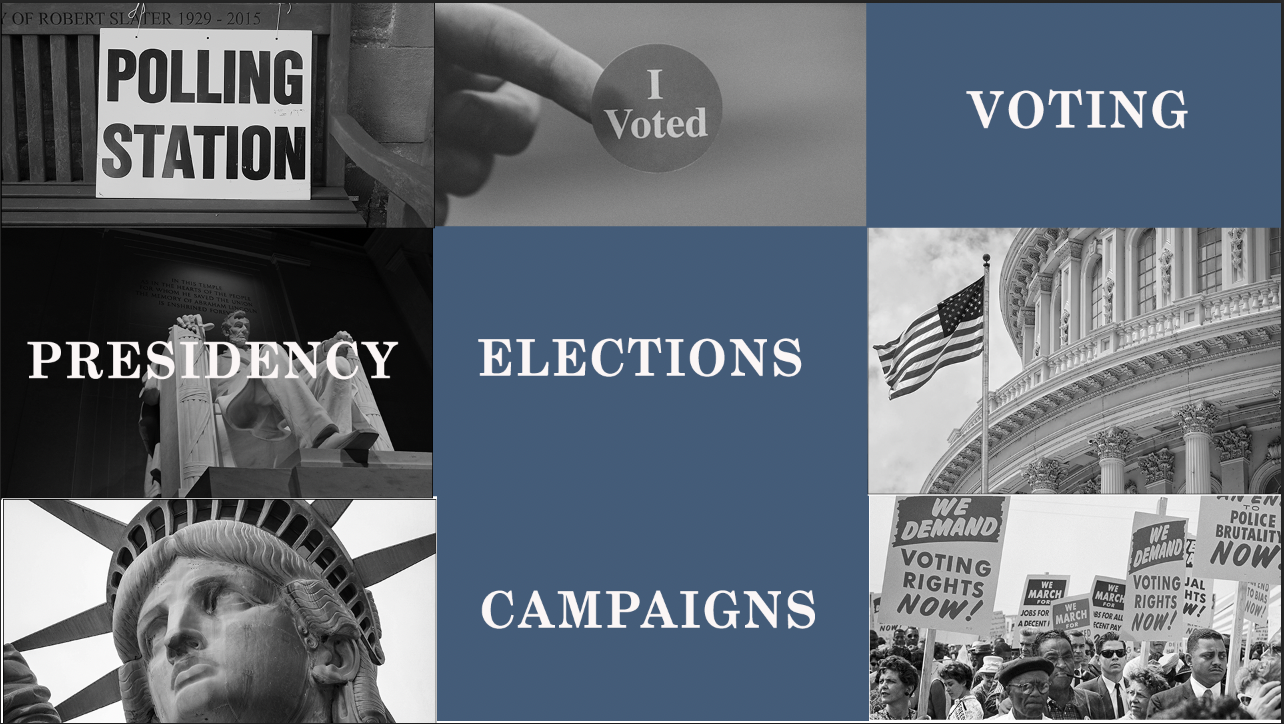
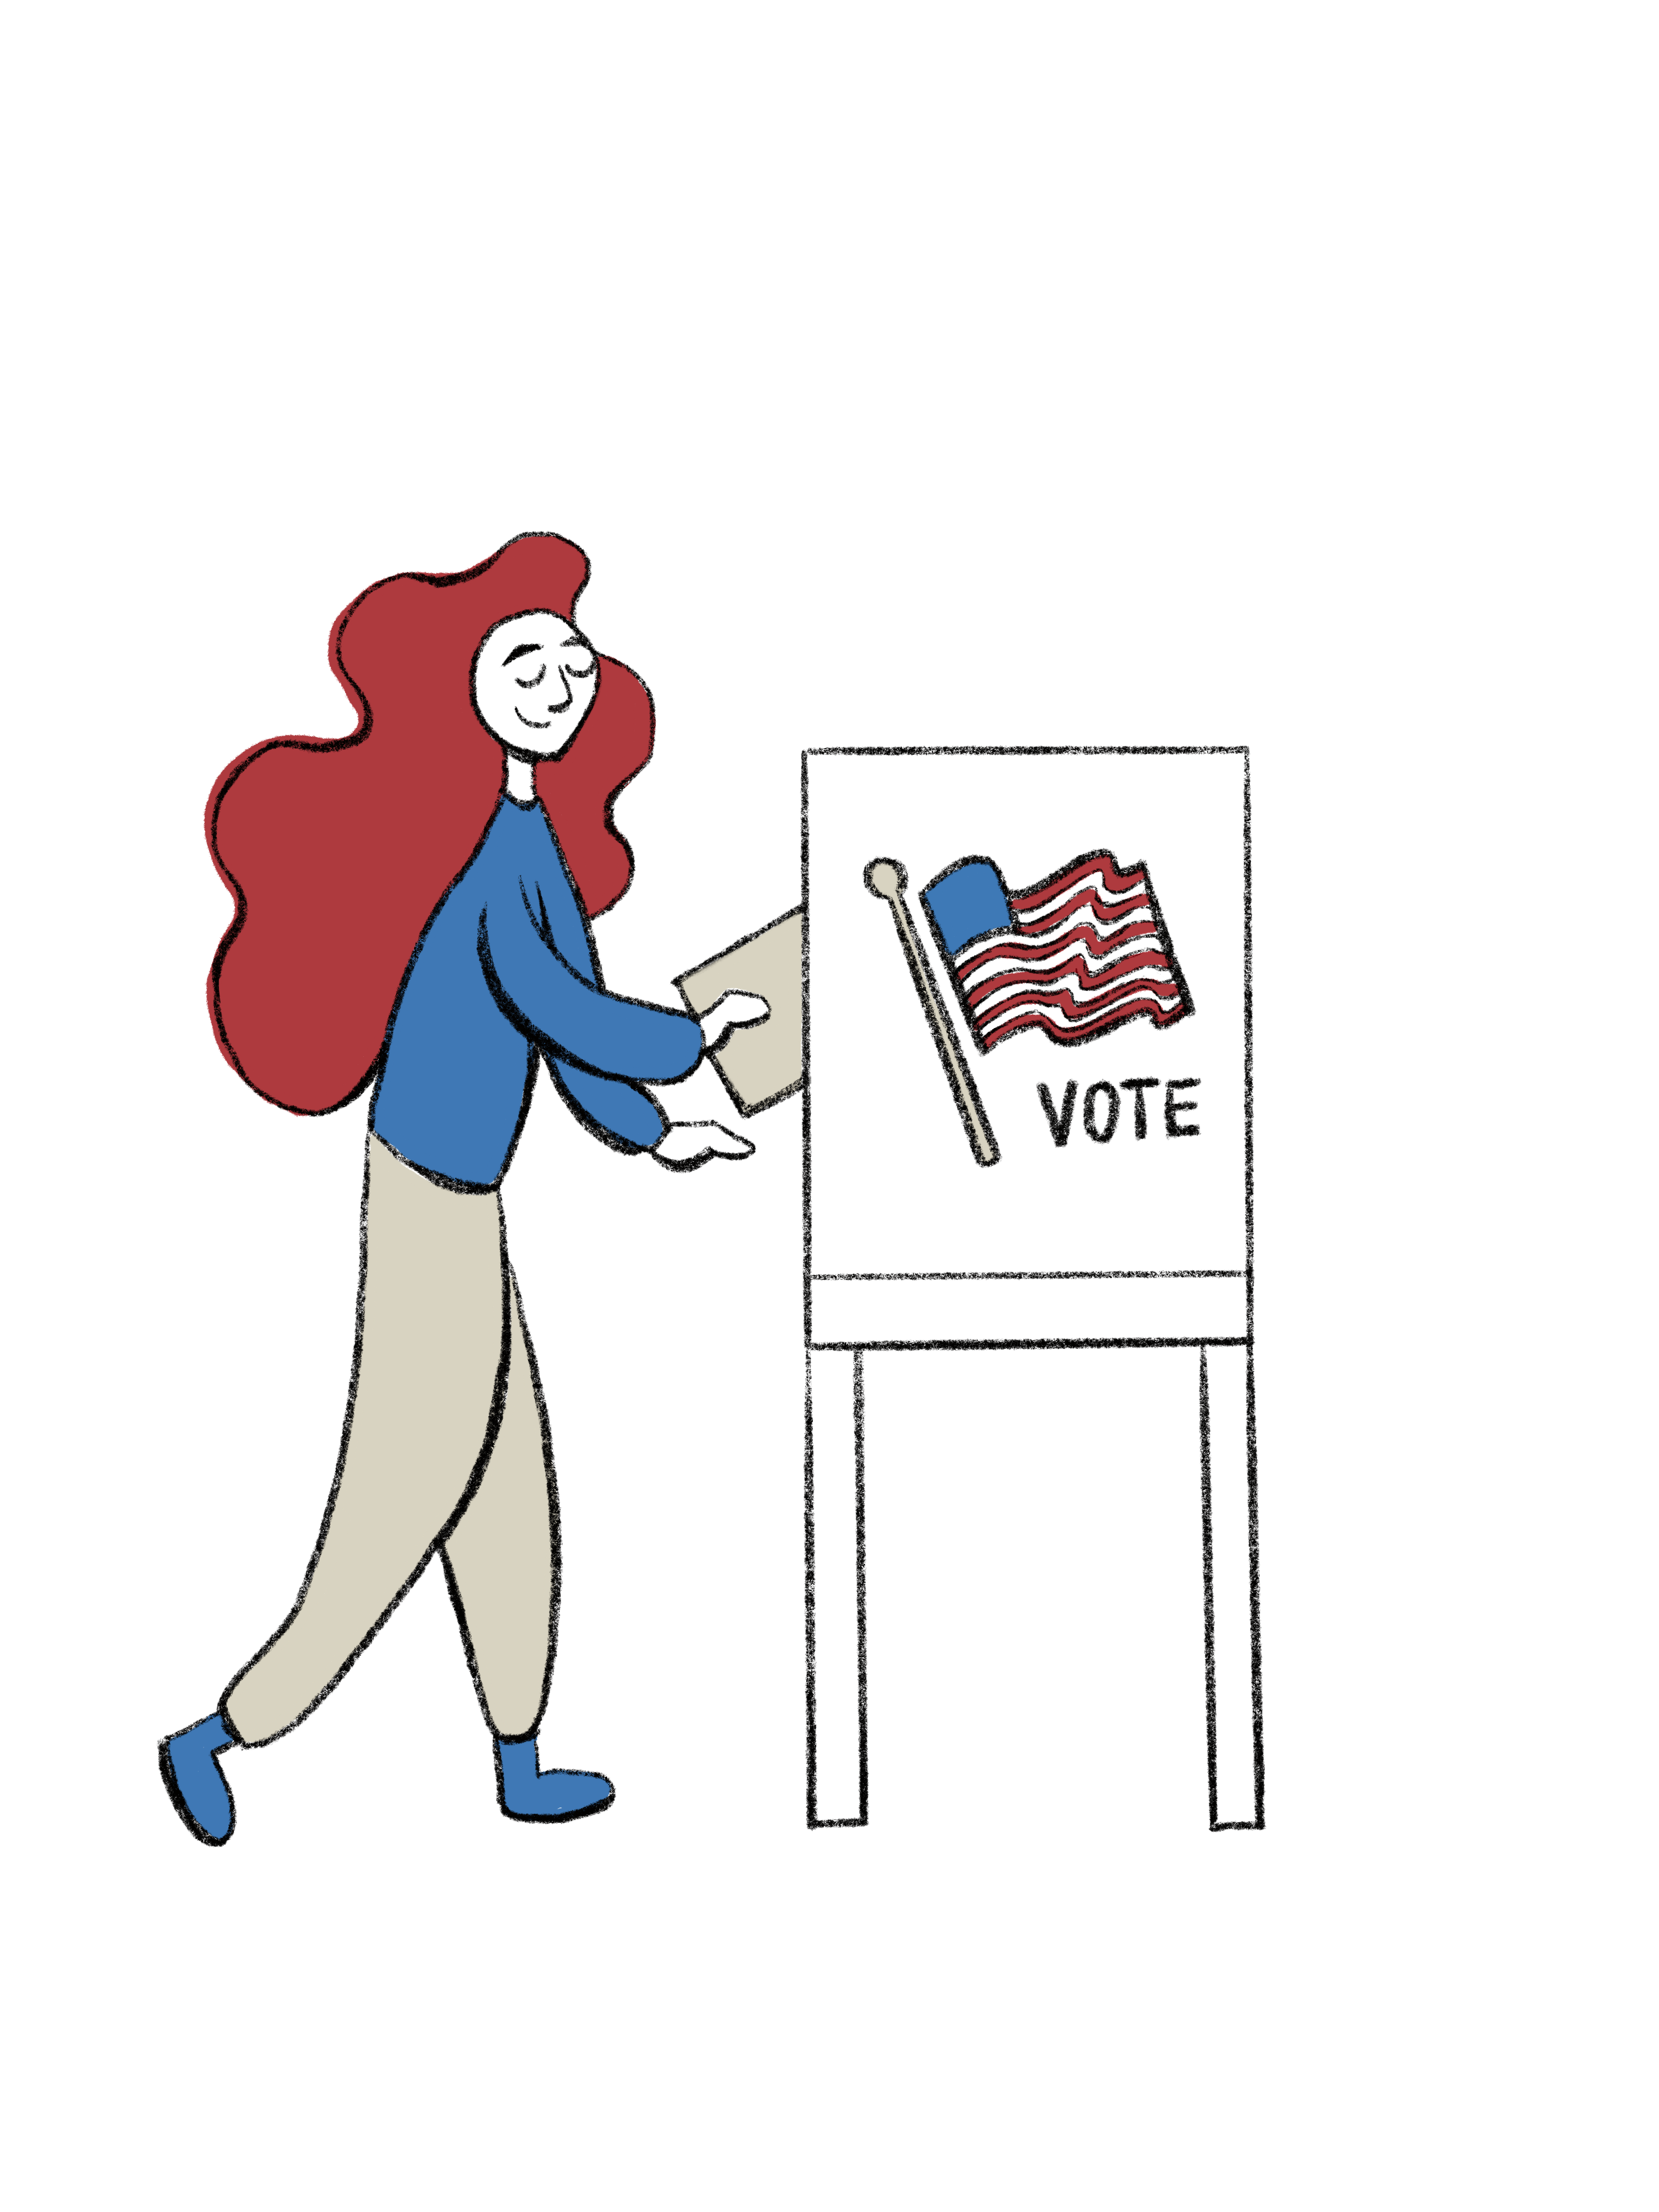
VOTING PSA GRAPHIC
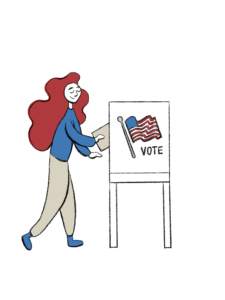
I was asked to illustrate/redraw the preexisting icons on a Voting PSA to make them look more hand-drawn. Maddy and I worked on reconfiguring the composition so that the flow of the word placement was better. We also decided to replace the icon with one that more directly referenced voting. The overall color palette and font families stayed relatively the same.
Layout 1 & 2
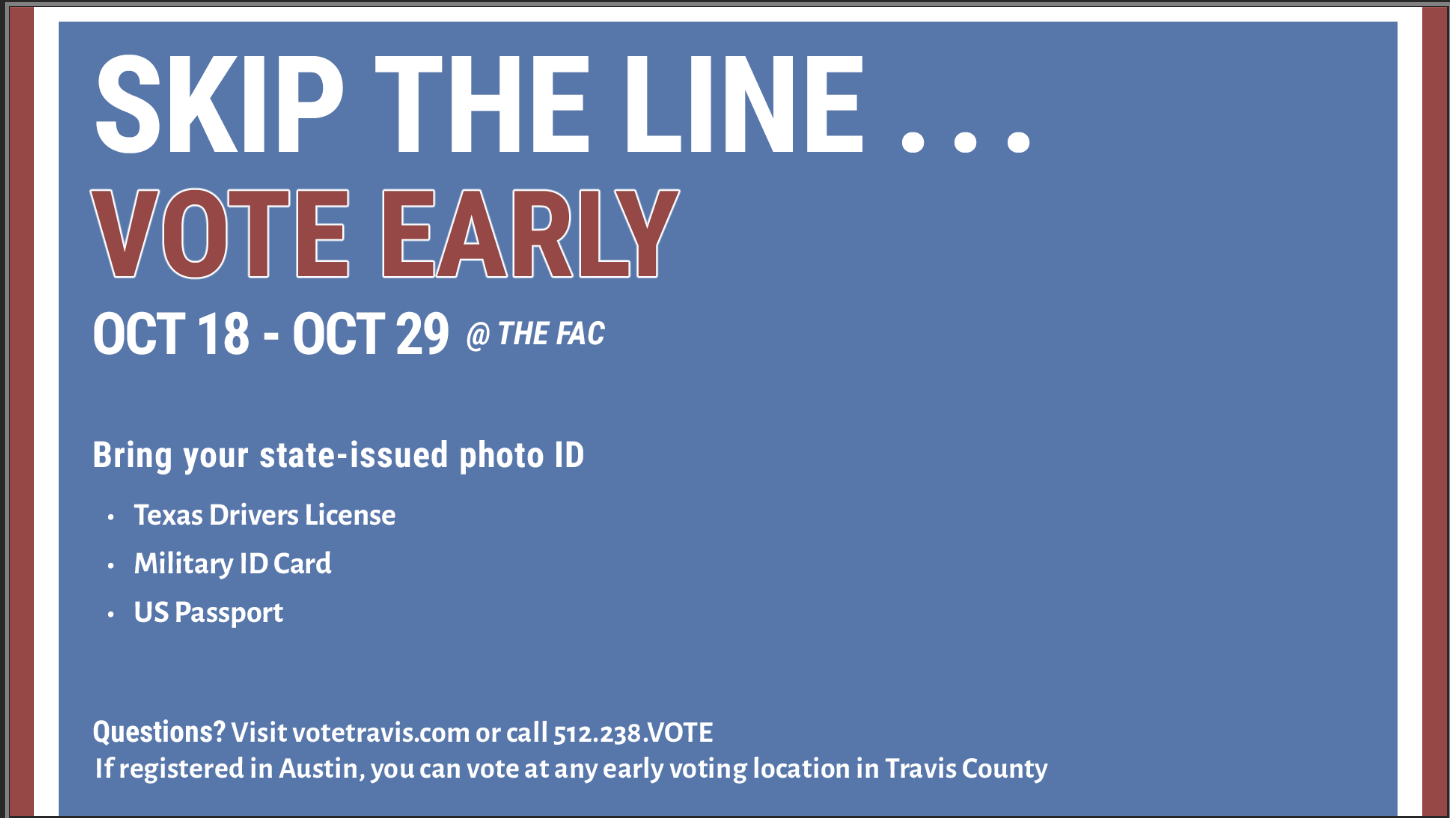
1st Layout with All Elements:
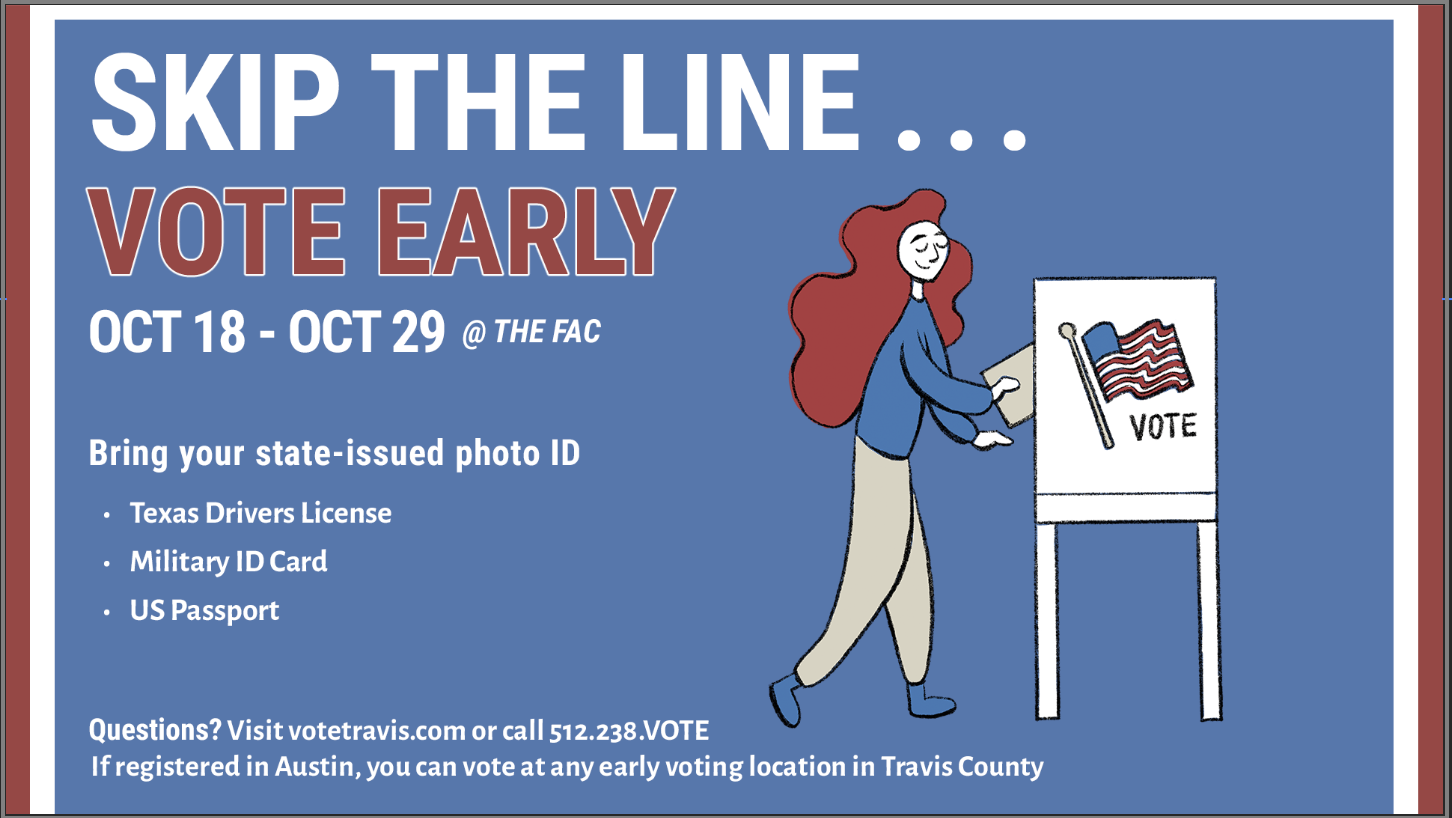
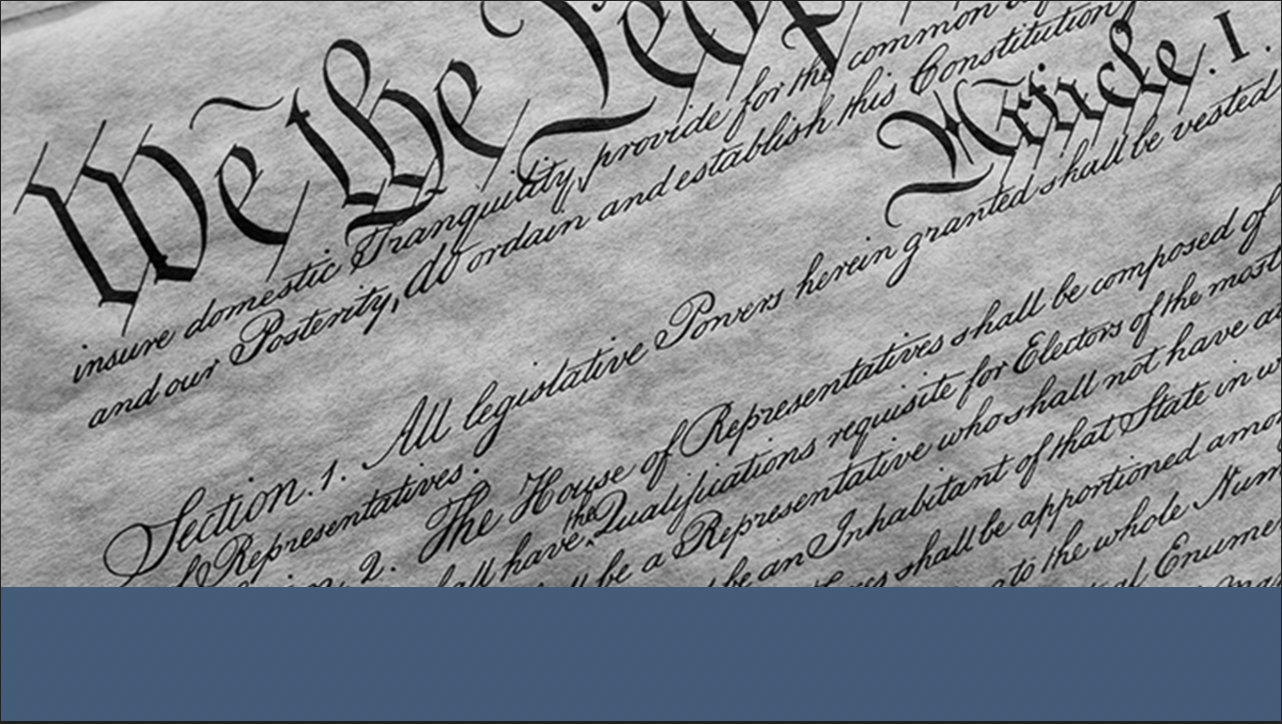
Voting Graphic PSA 2022 (final)
(9/9 – 9/12)
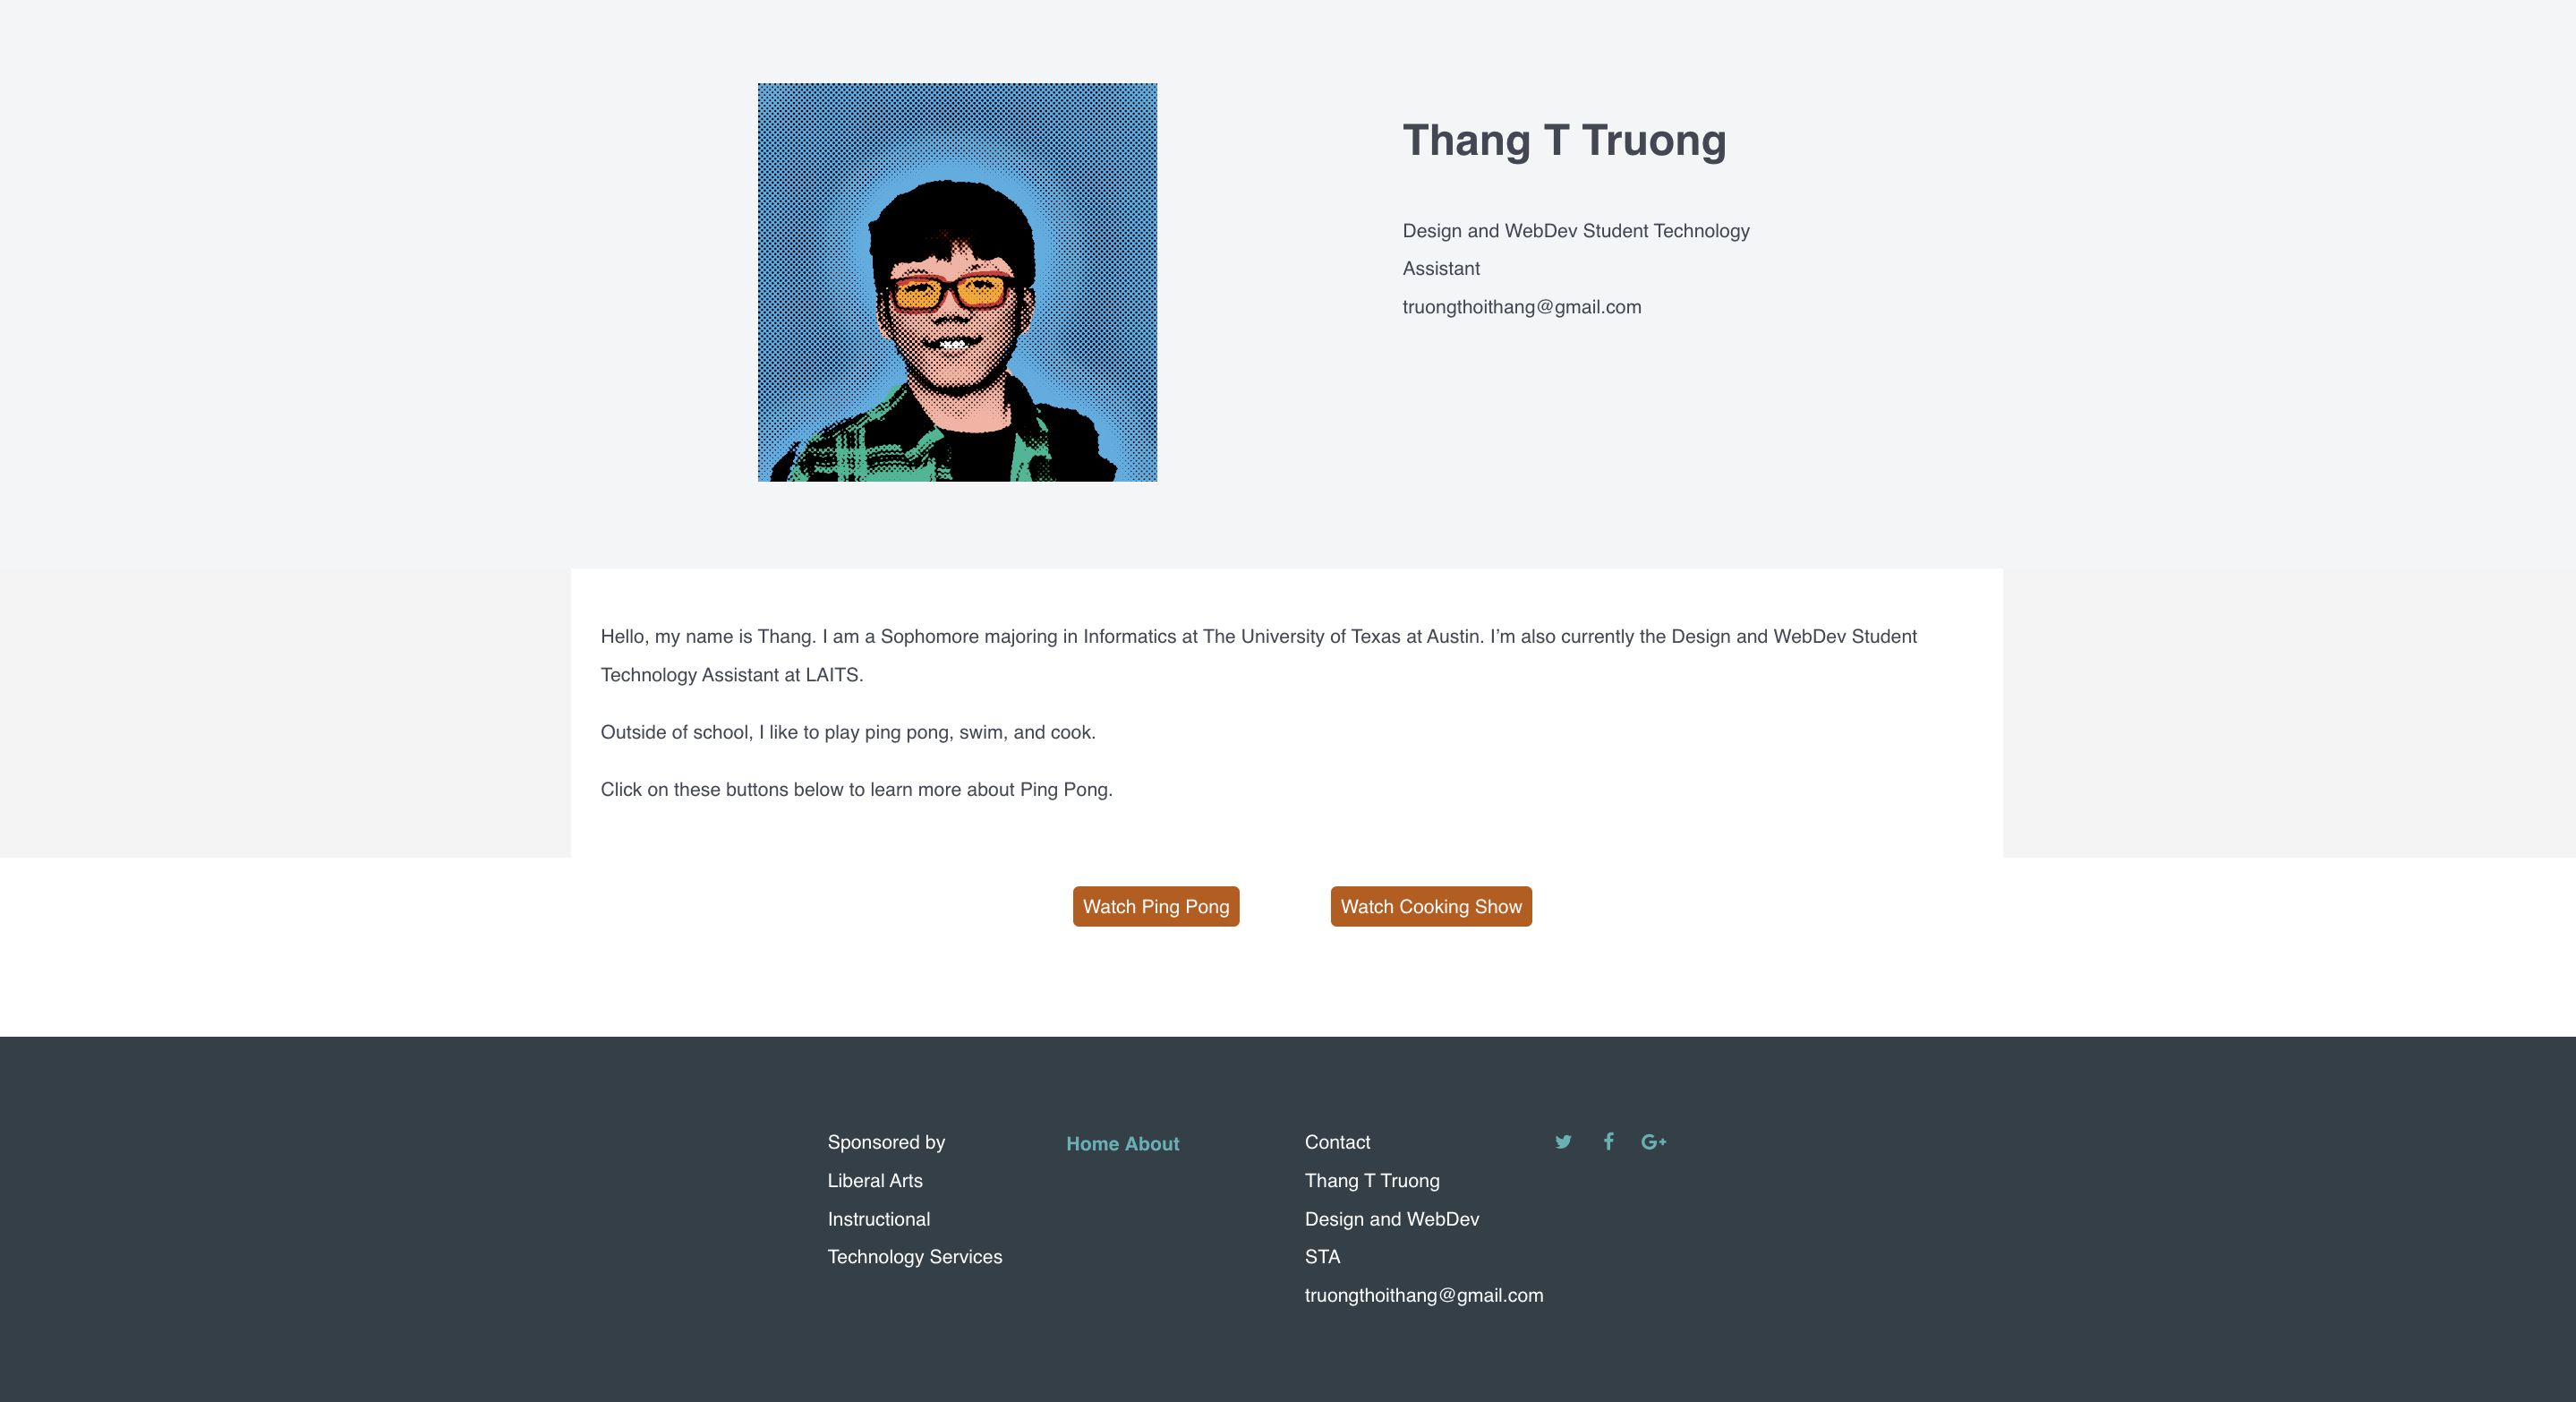
STA AVATAR & BANNER
For STA Orientation I had to create a banner for my blog page, as well as a head-to-toe avatar of myself for the STA group photo. I used Procreate (which I am gradually getting more comfortable with) to sketch and render my avatar. I used Adobe Illustrator to create the gradient background on my banner. I also sourced the font from Fontpair.co and used it for my name, major, and graduation date. I was thinking about adding more elements, however, it ended up distracting from my name and the gradient background that I worked through much trial and error to achieve:,) I am very satisfied with the results! 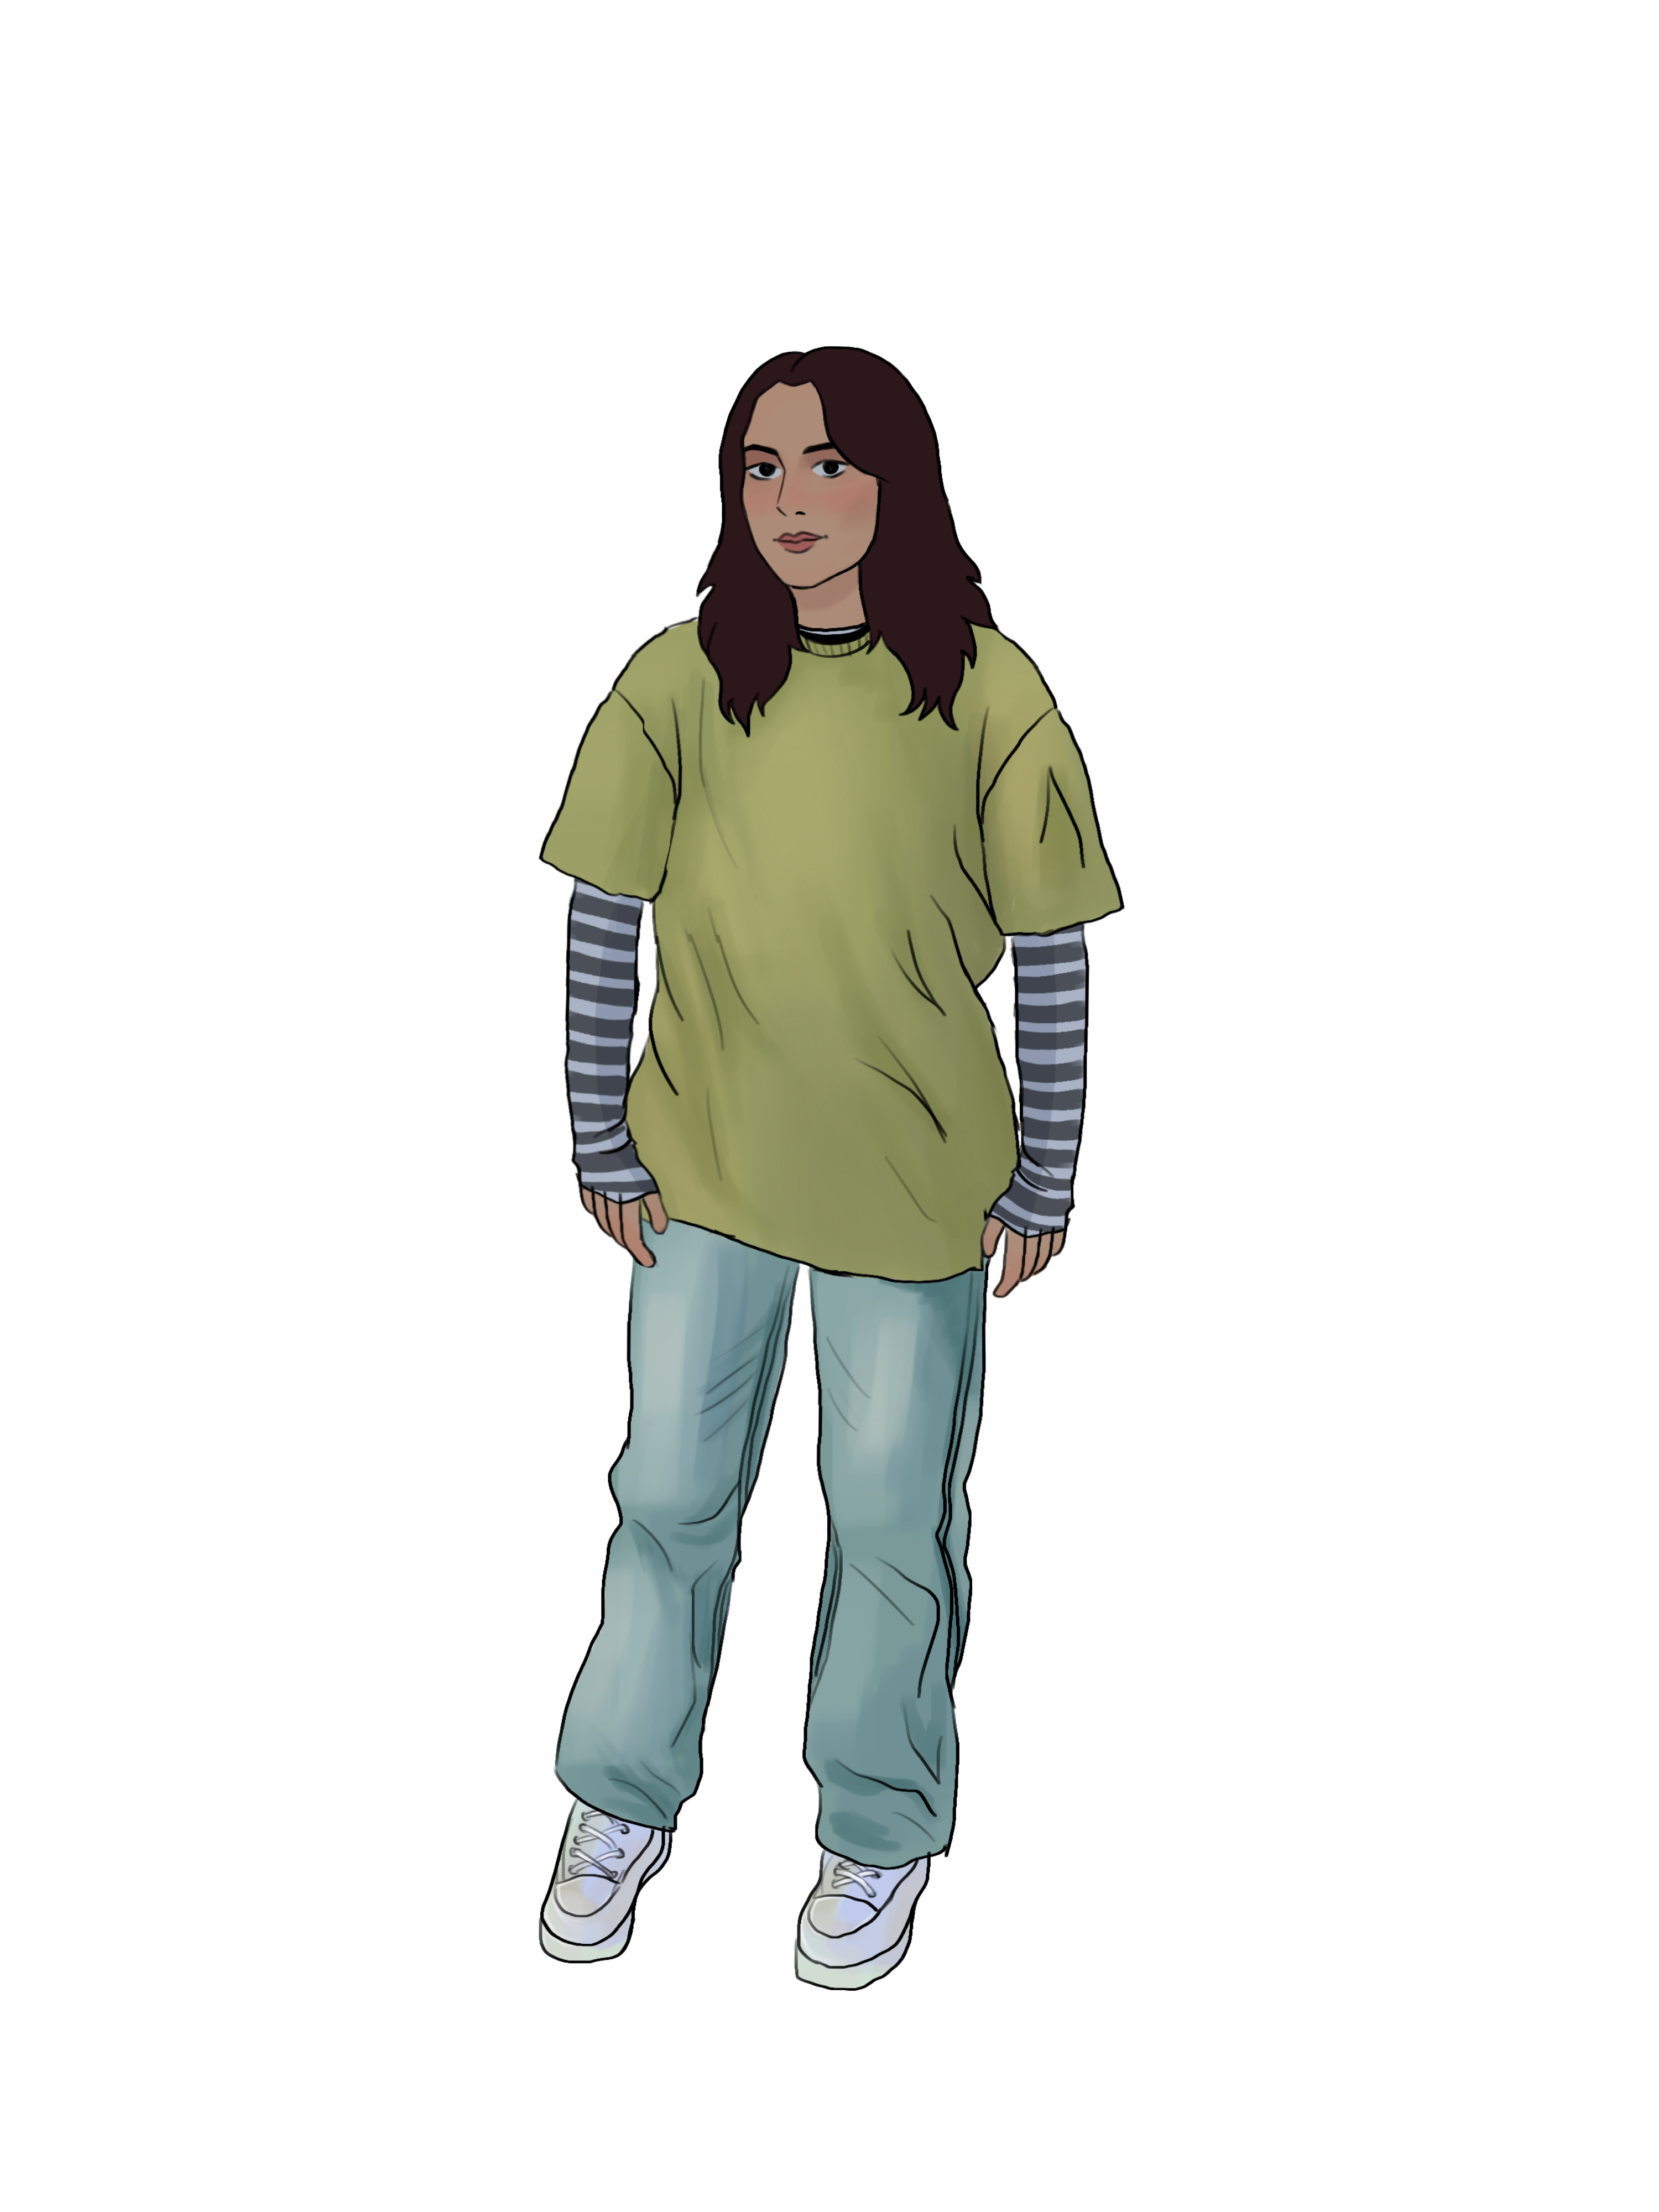


