• We are STAs
    • Asha Rountree
    • Haley Ma
    • Kate Shih
    • Kyra Lee
    • Nicholas Peasley
    • Sasha Kenney
    • Shanda Horm
    • Shriya Atreya
    • Tomas Marulanda-Mesa
  • We were STAs
  • STA Presentation
    • STA Presentation 2017
    • STA Presentation 2016
  • Testimonials
  • Resources
  • Home

STA Blog

STA Orientation

April 2, 2024 By Shanda Horm

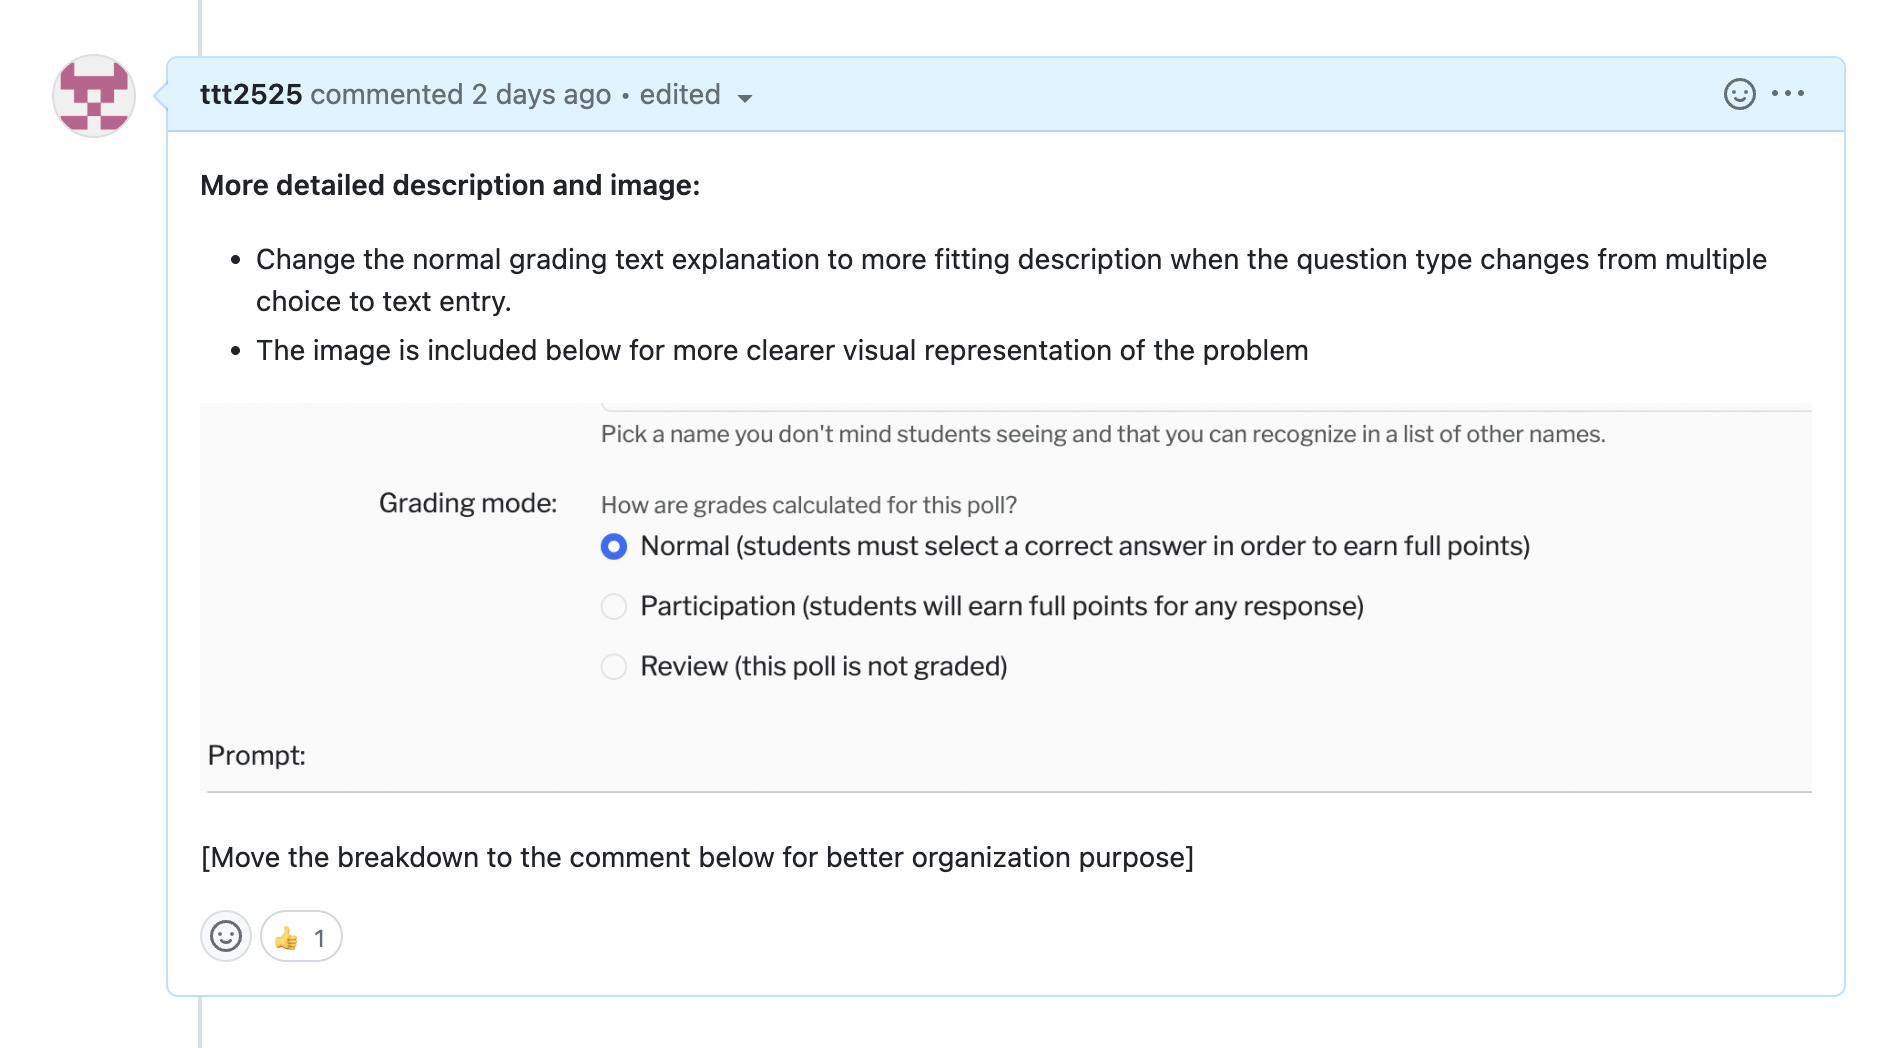
STA Orientation 4/1/24-4/5/24

Day 1: I began my orientation process! De’sha went over the STA Design handbook with me and after I began a walkthrough of the applications needed with Marissa.

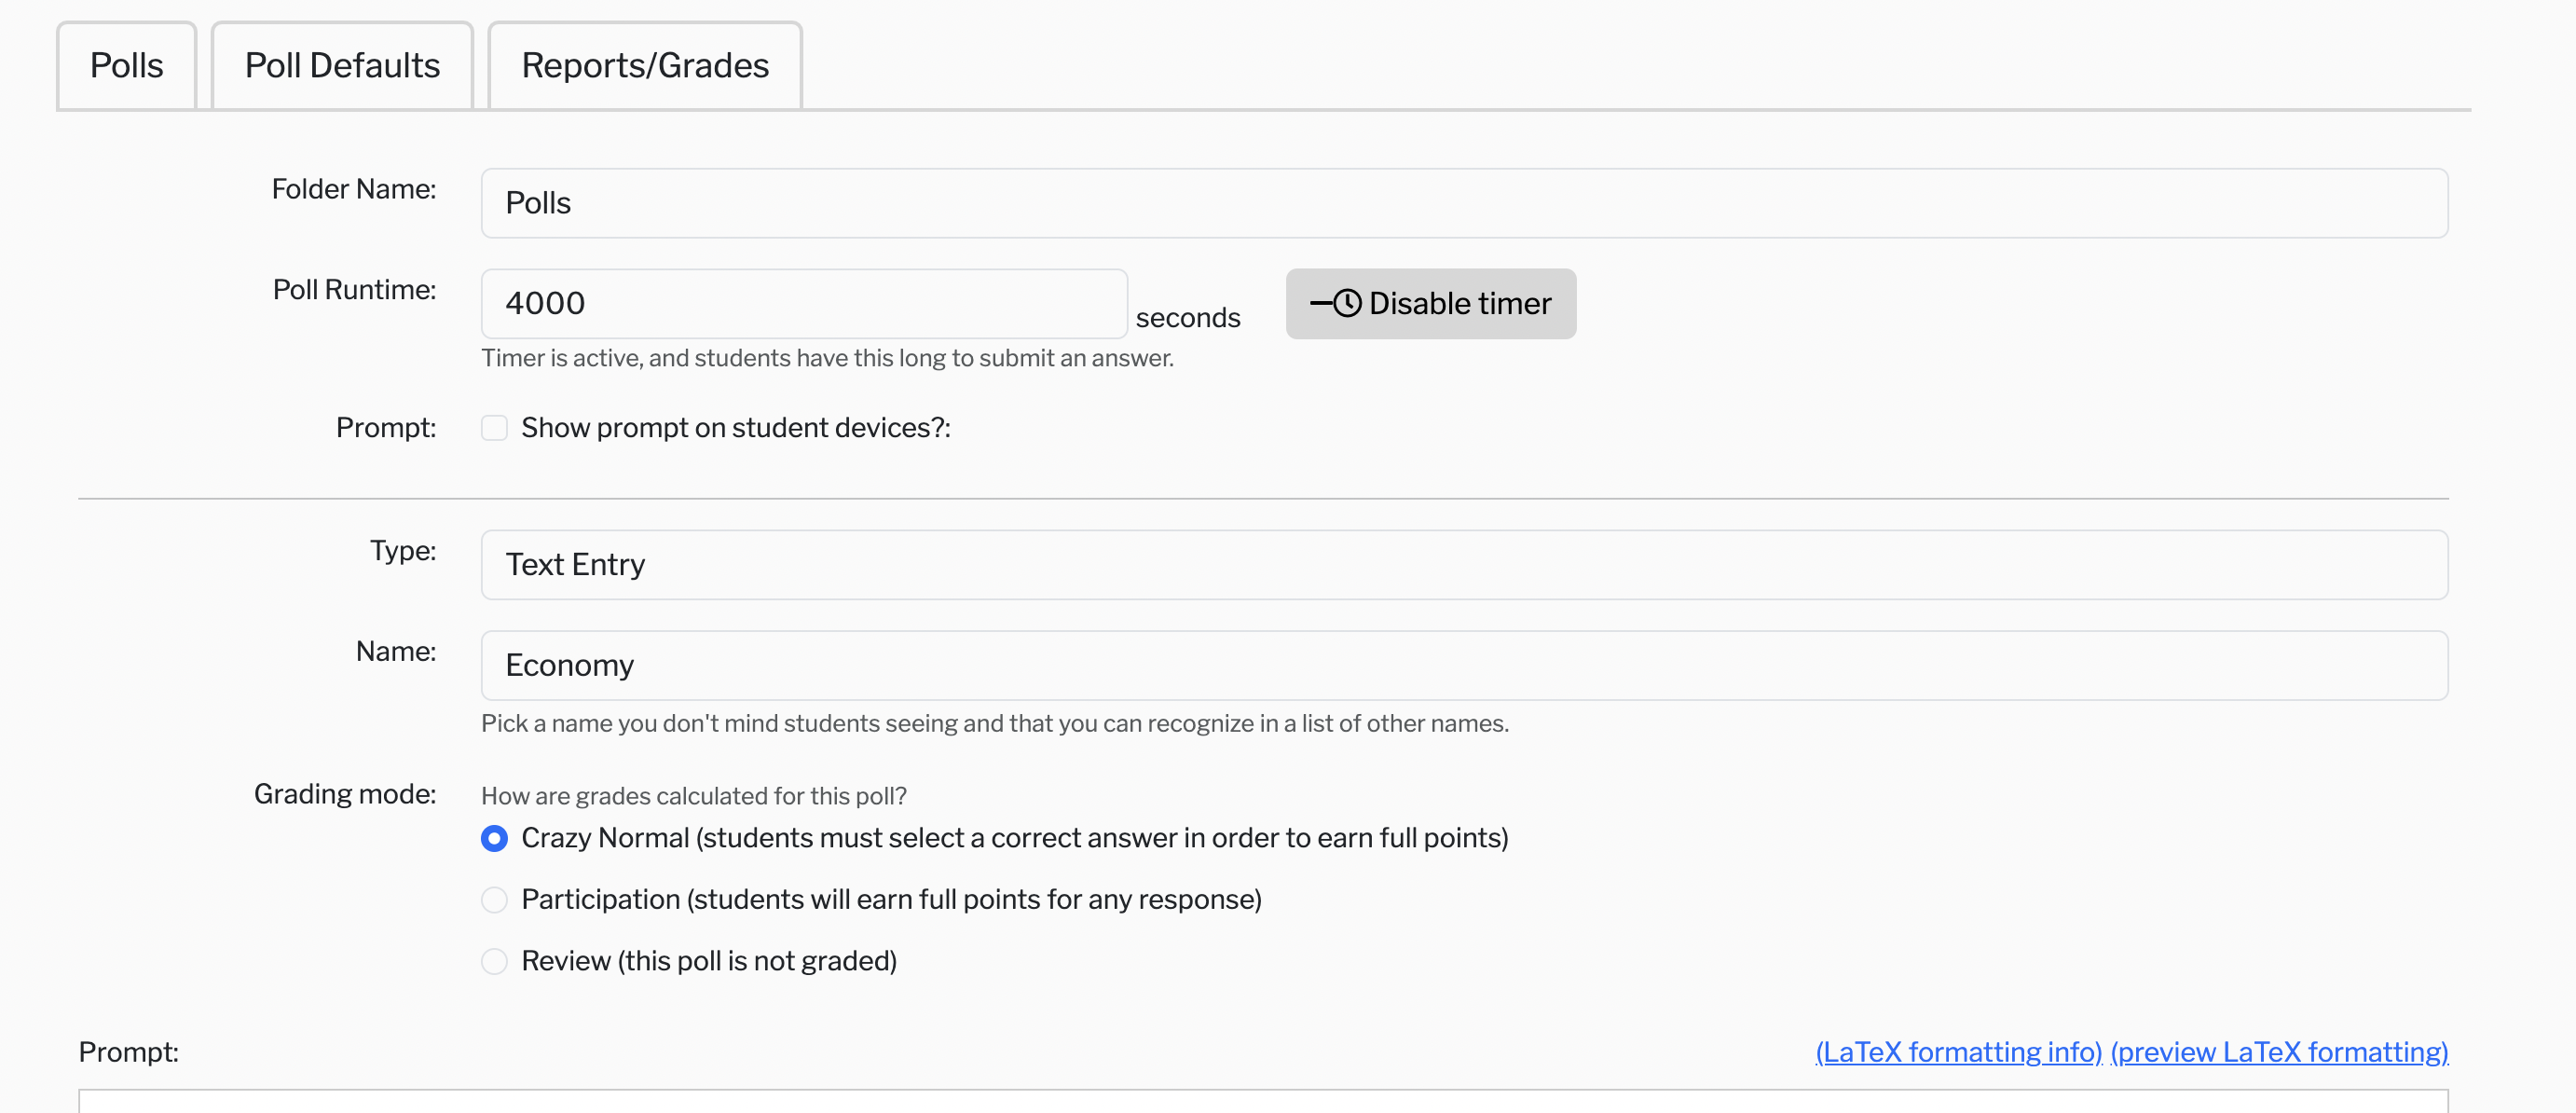
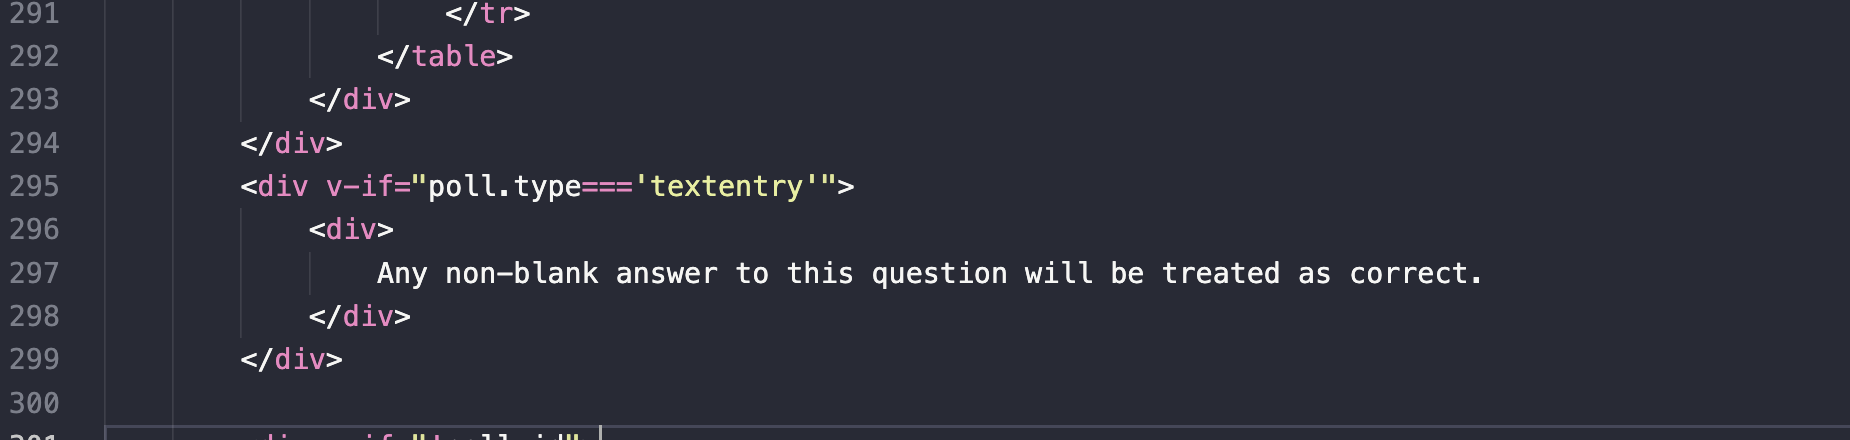
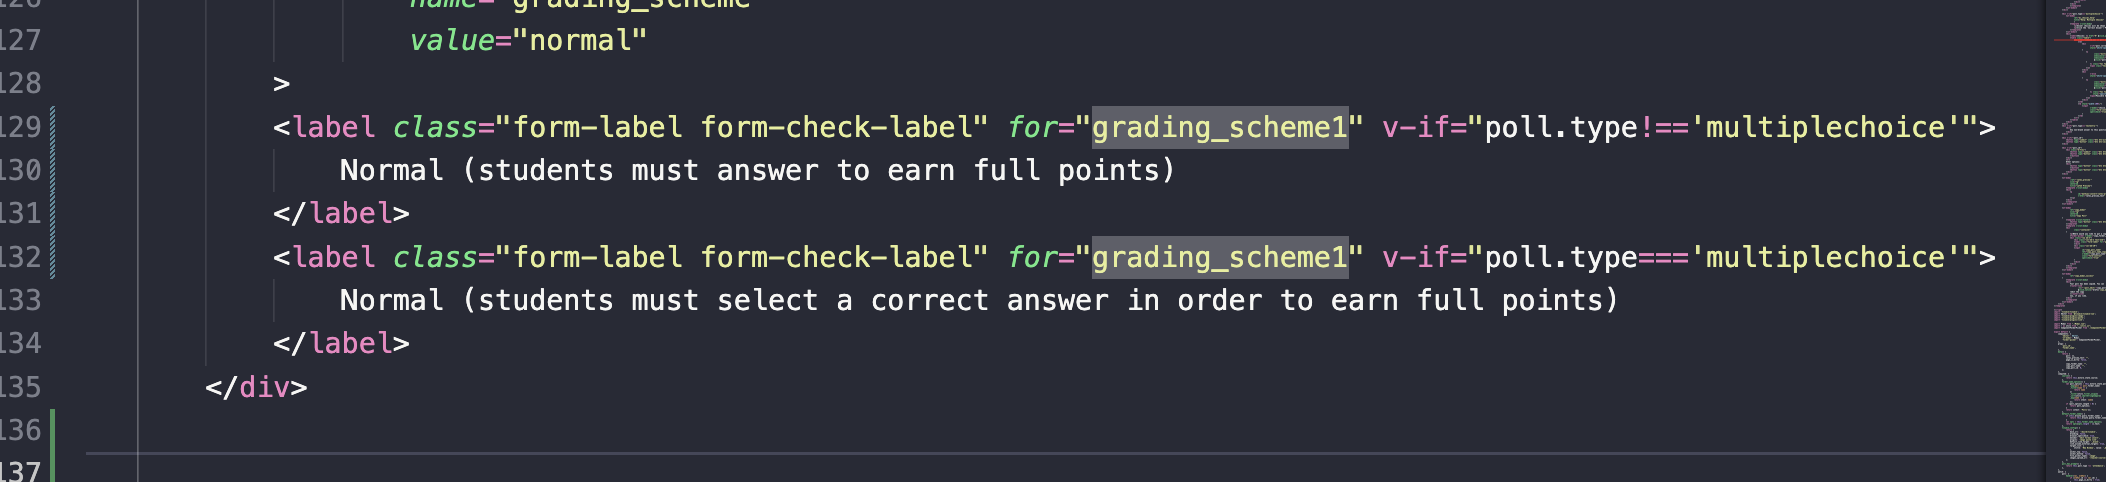
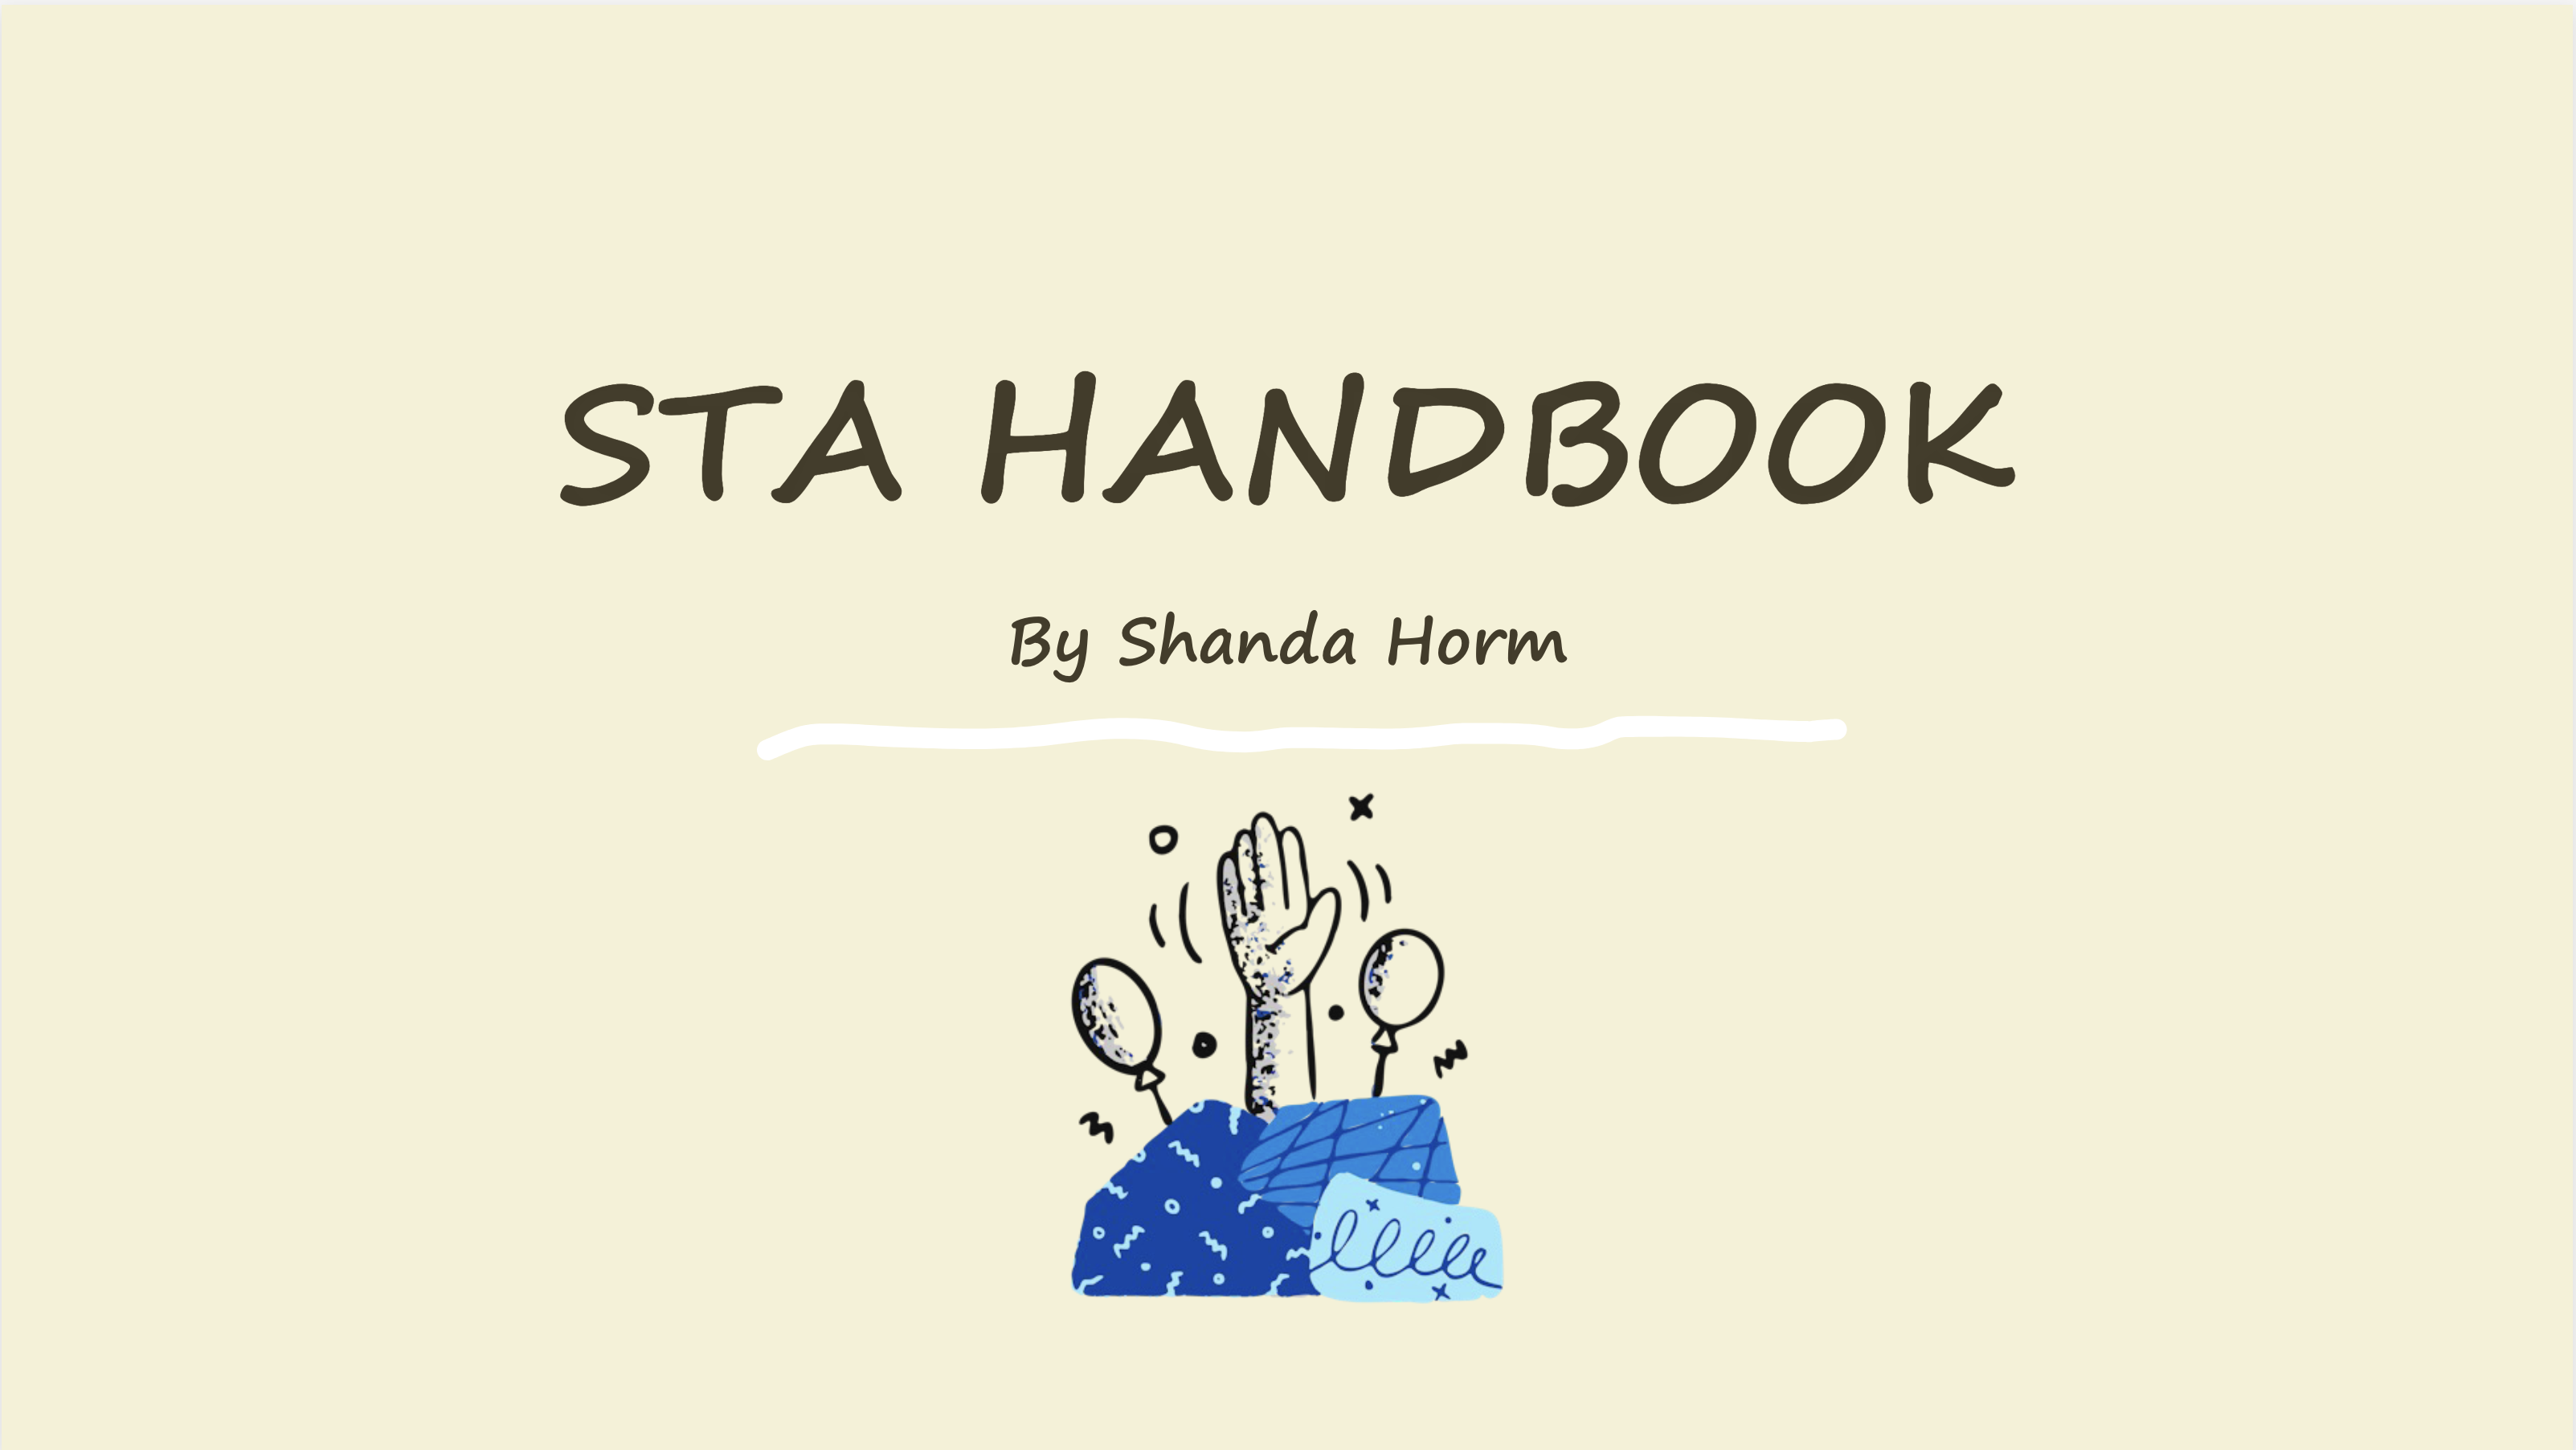
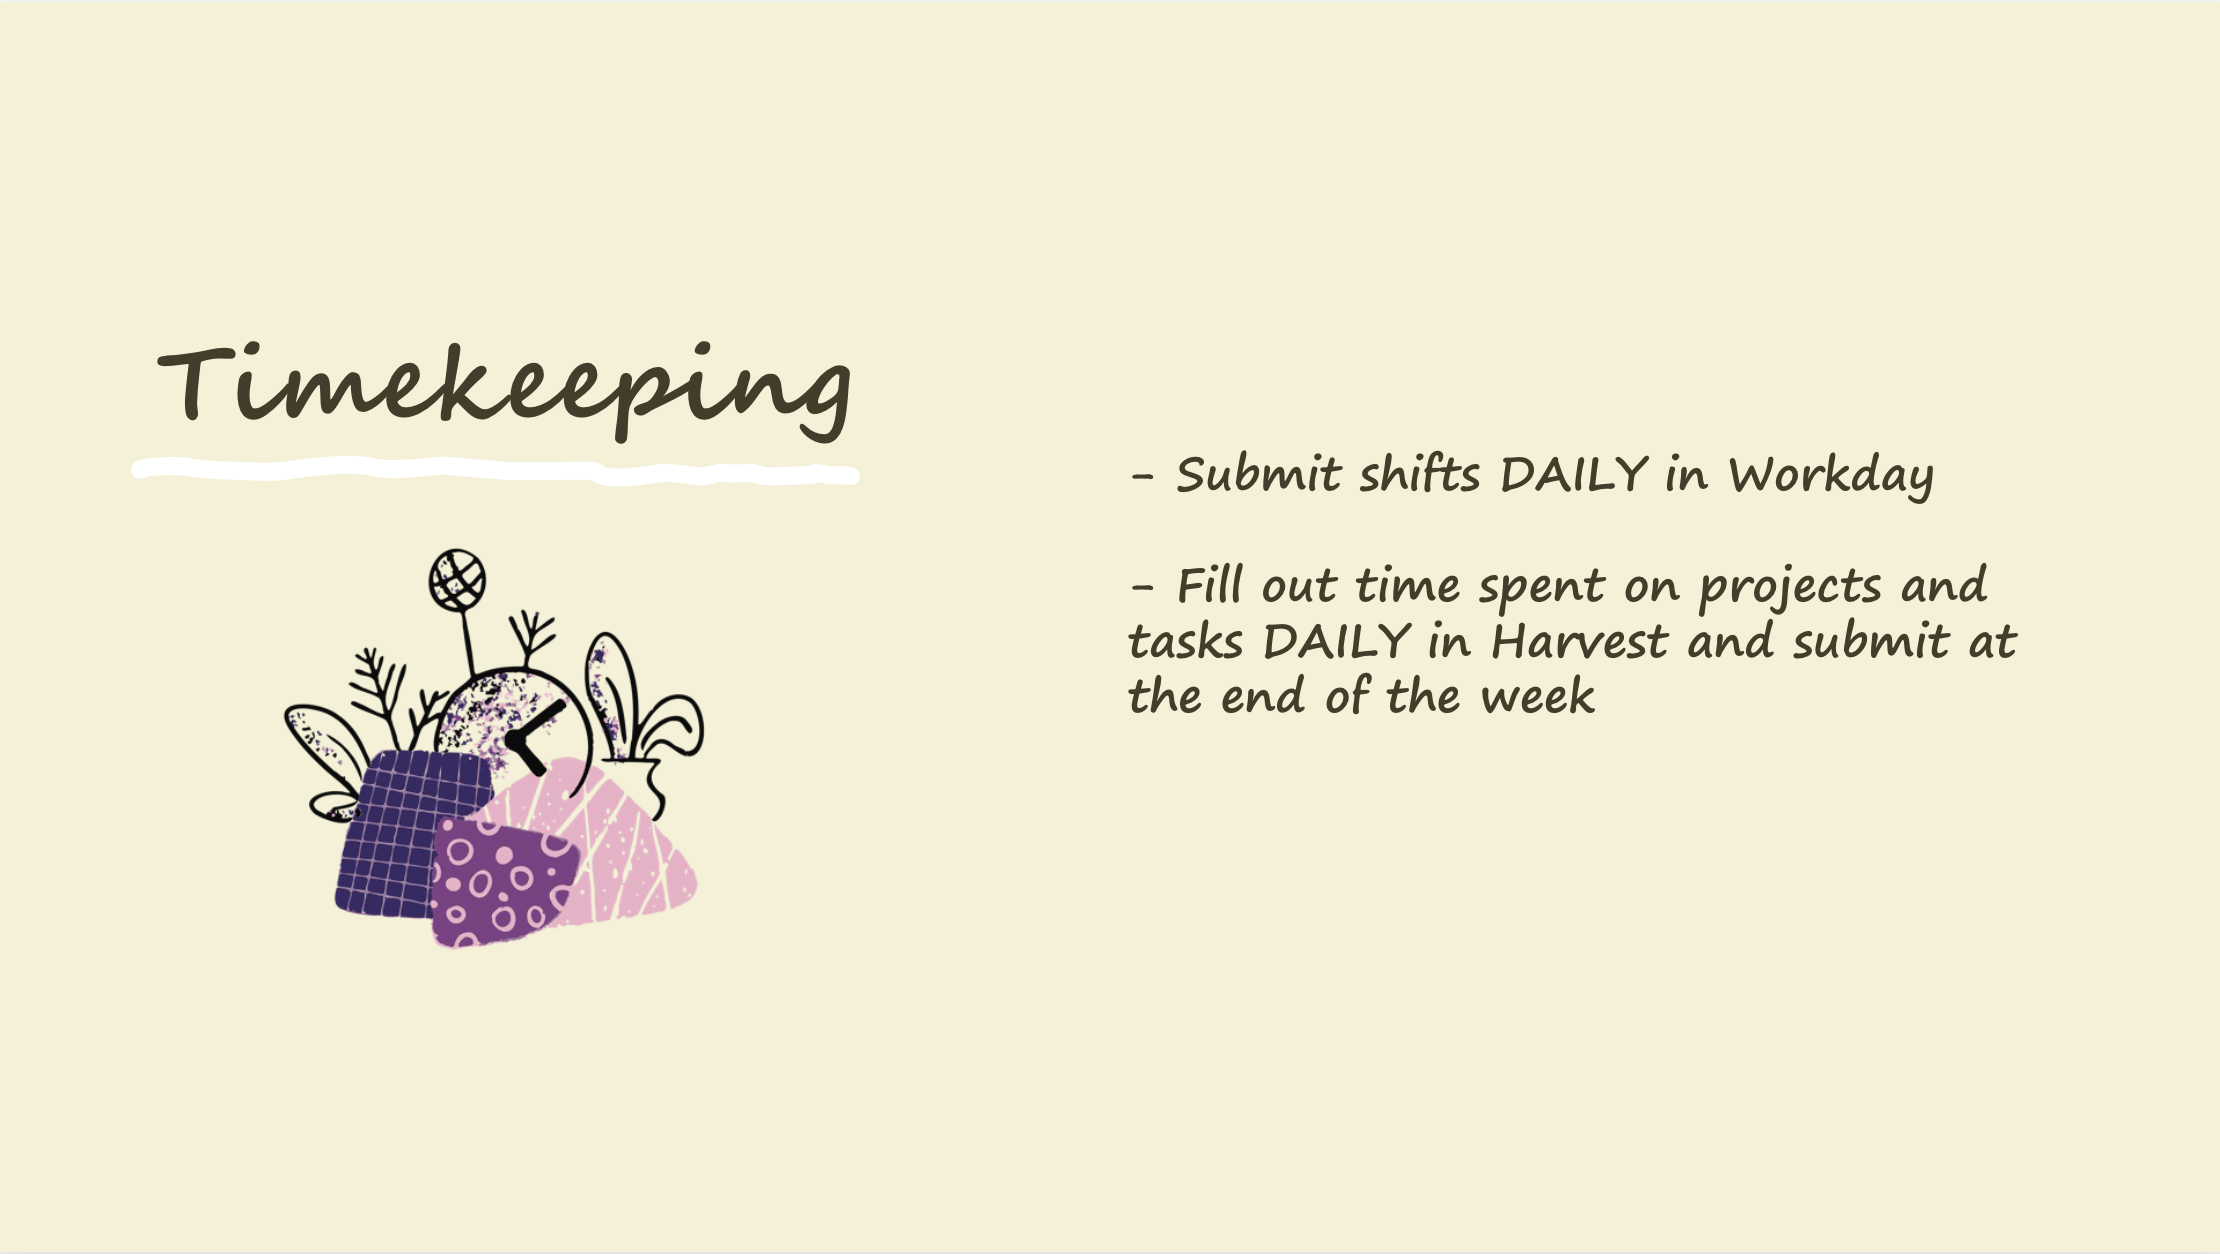
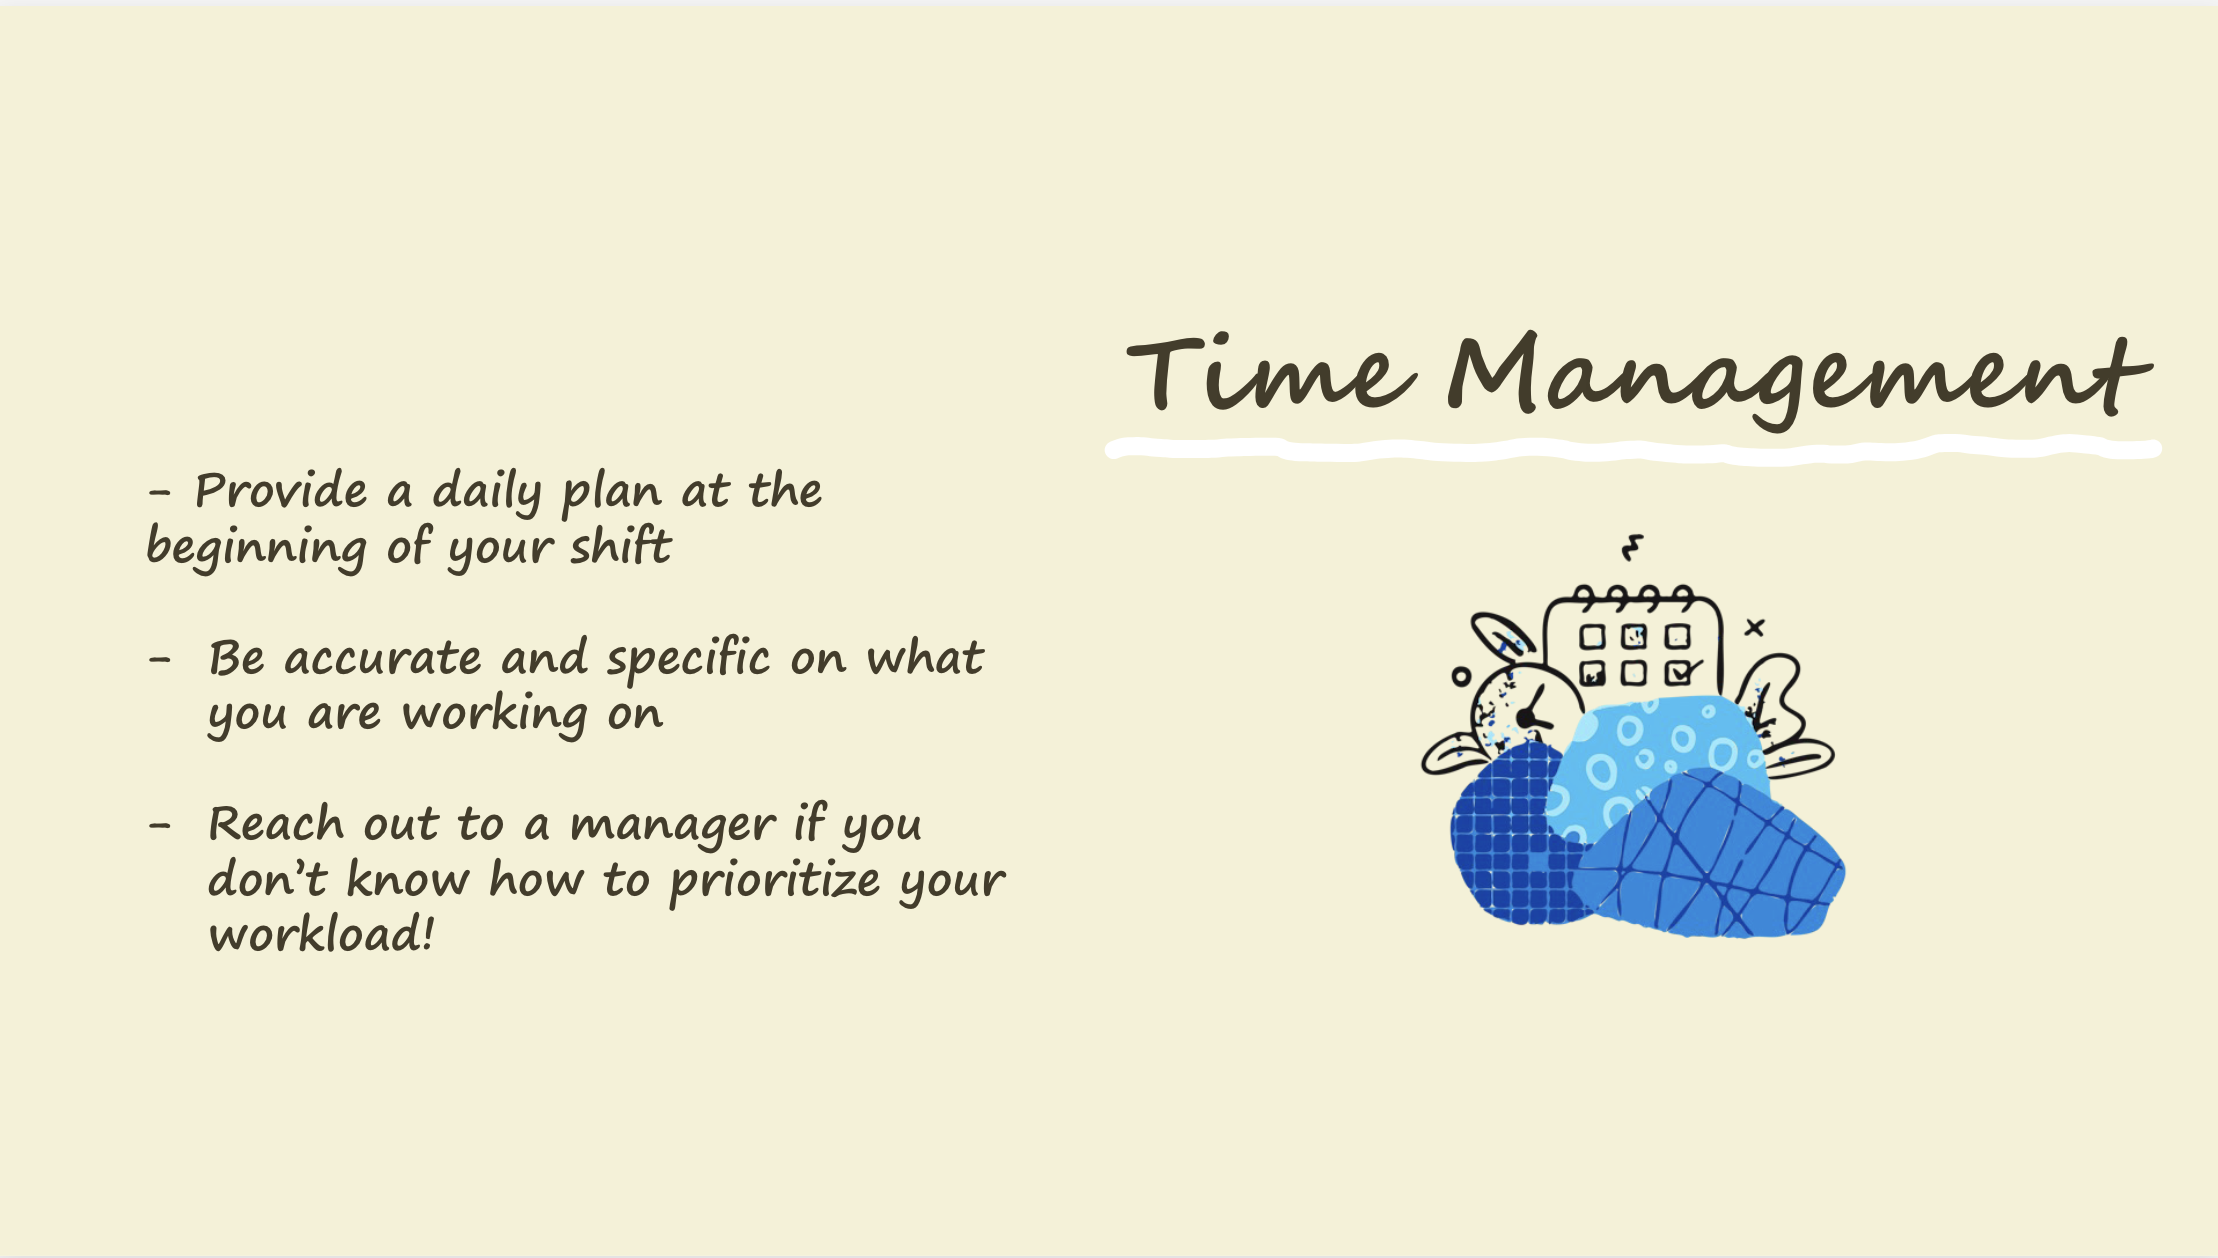
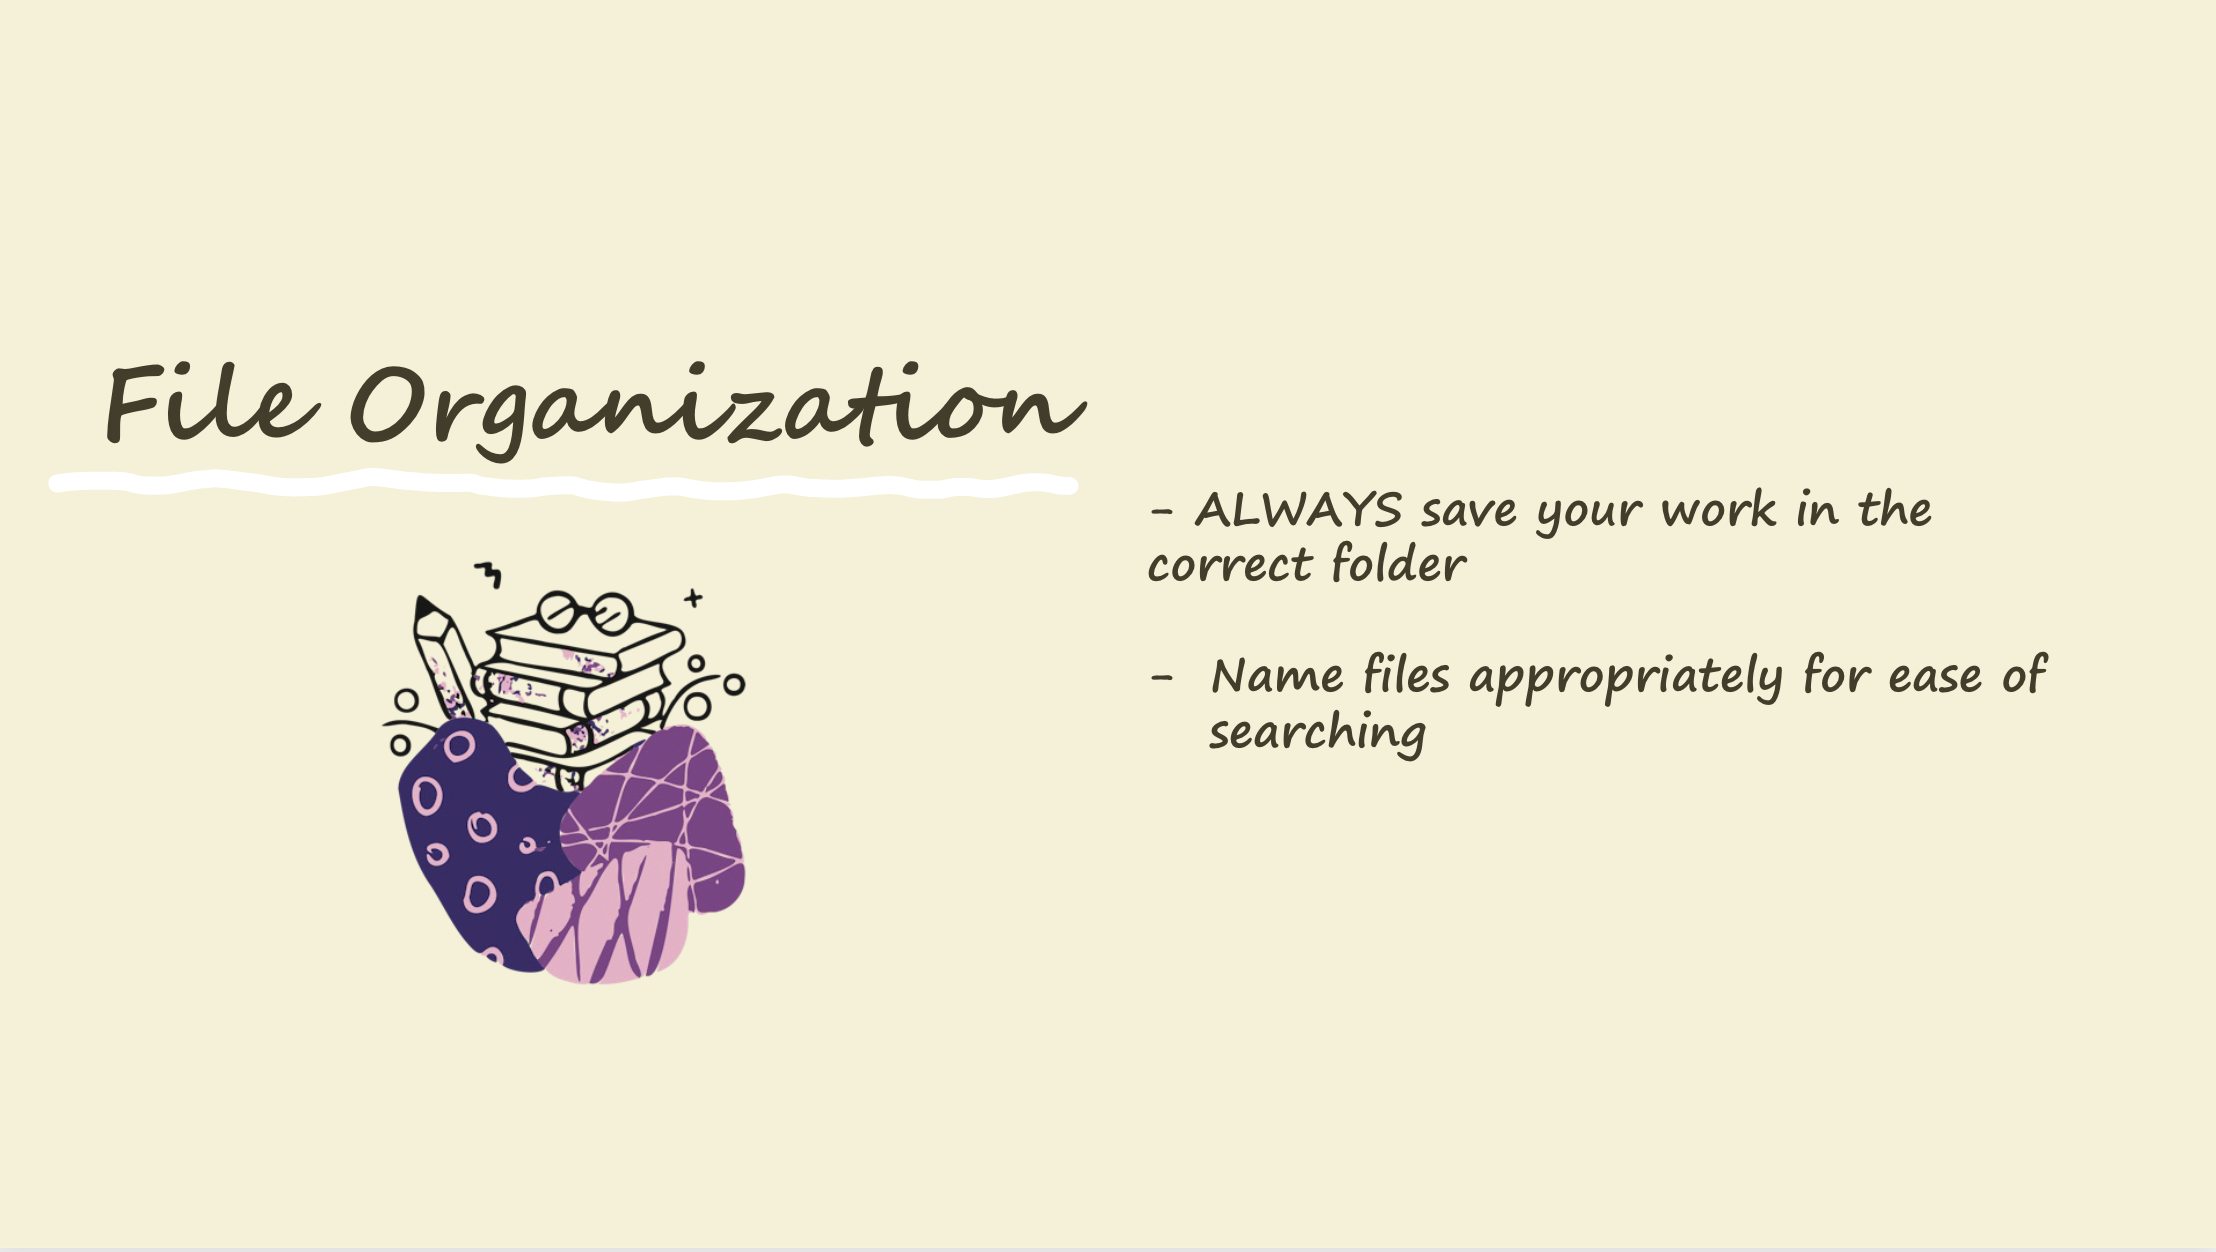
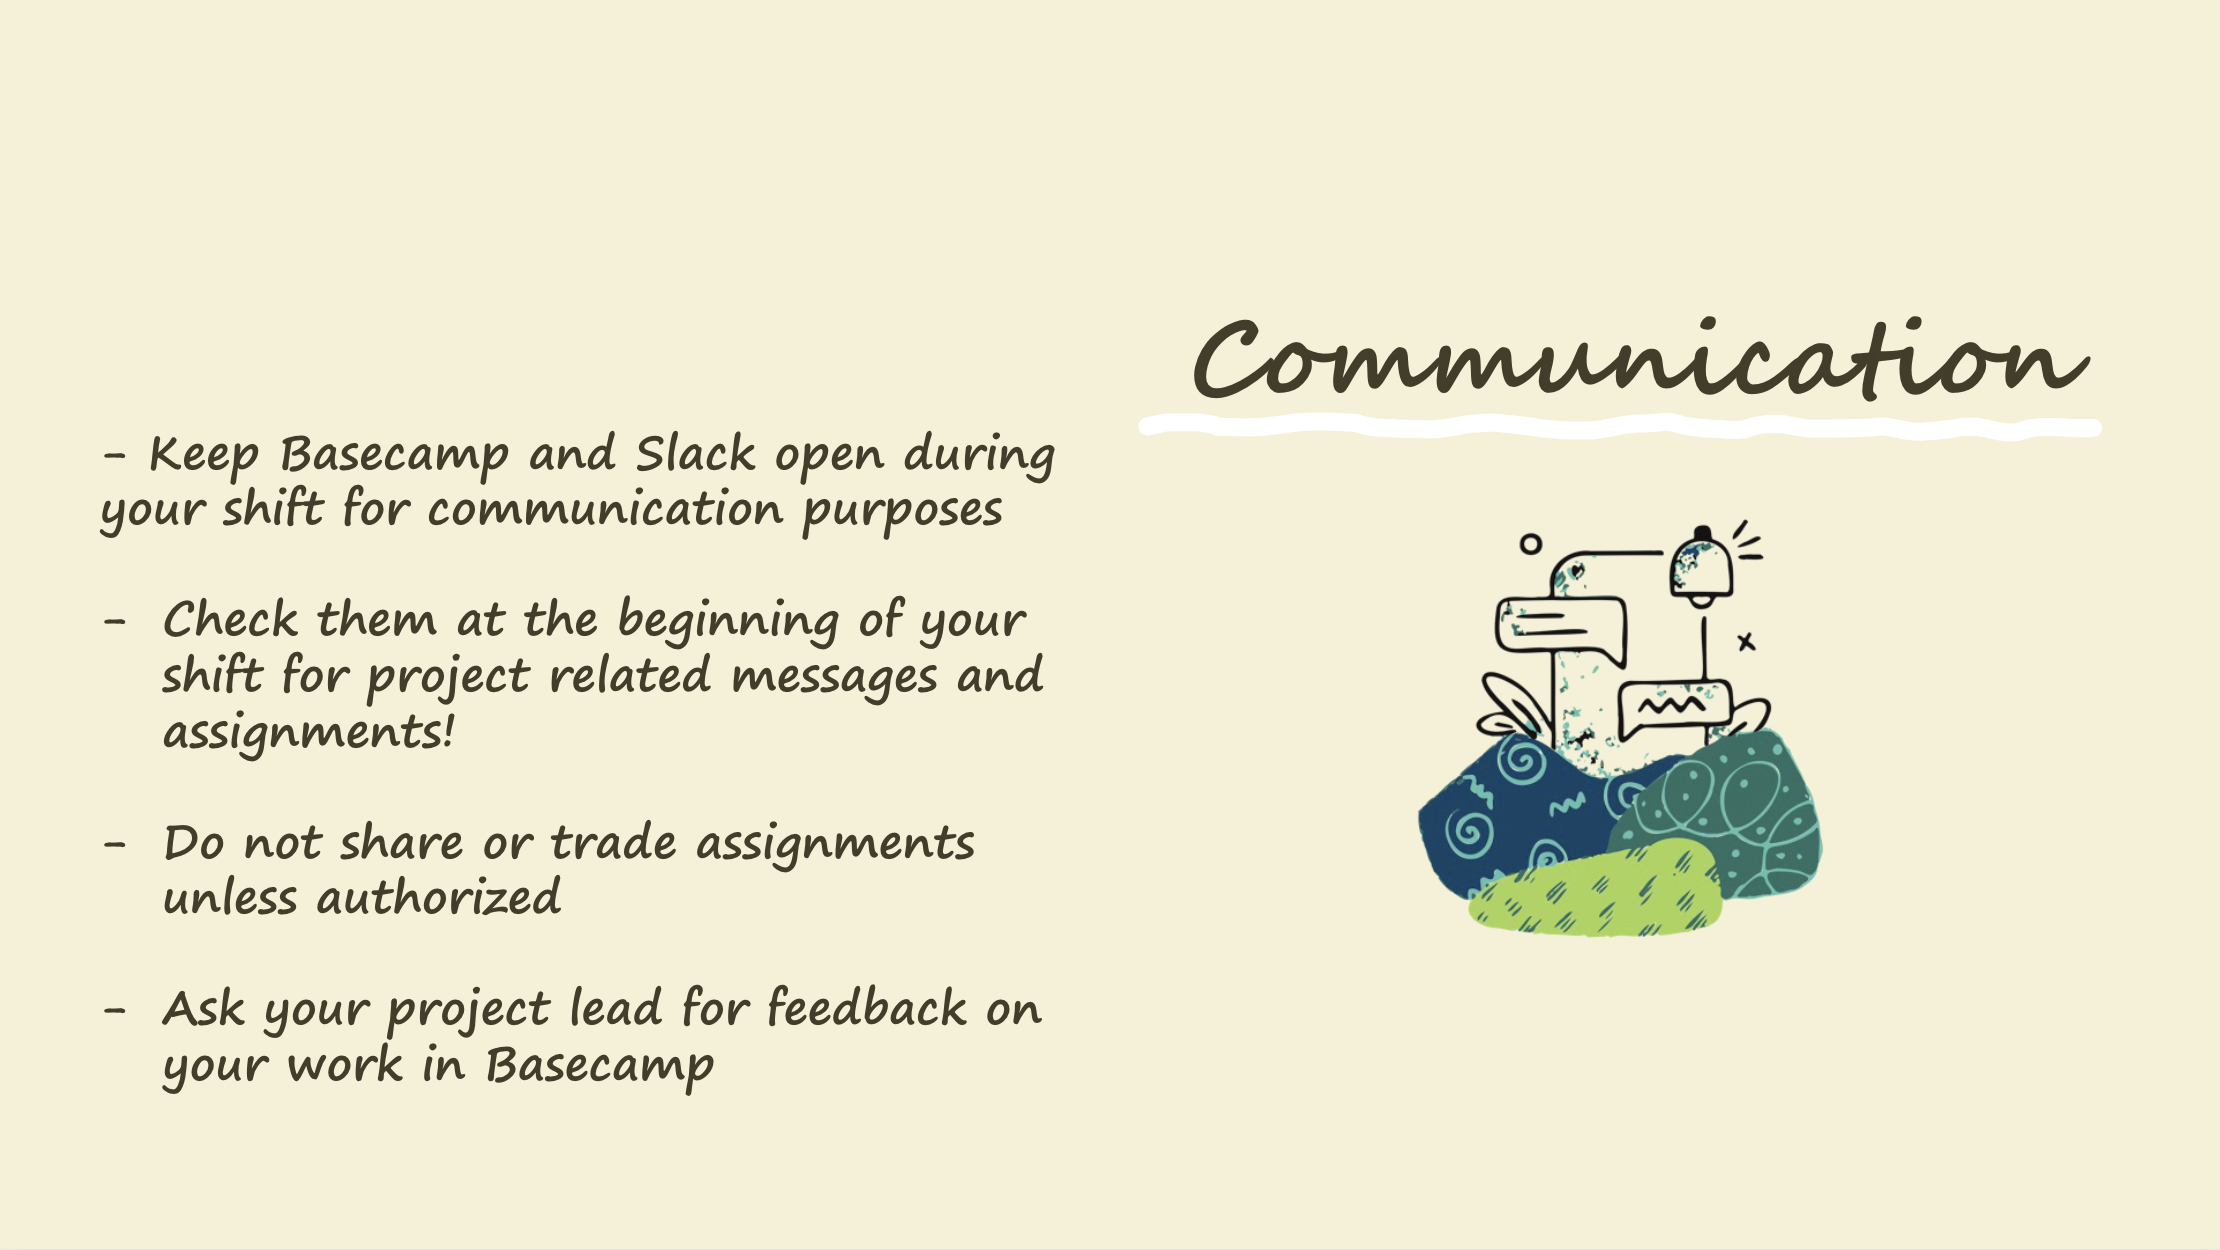
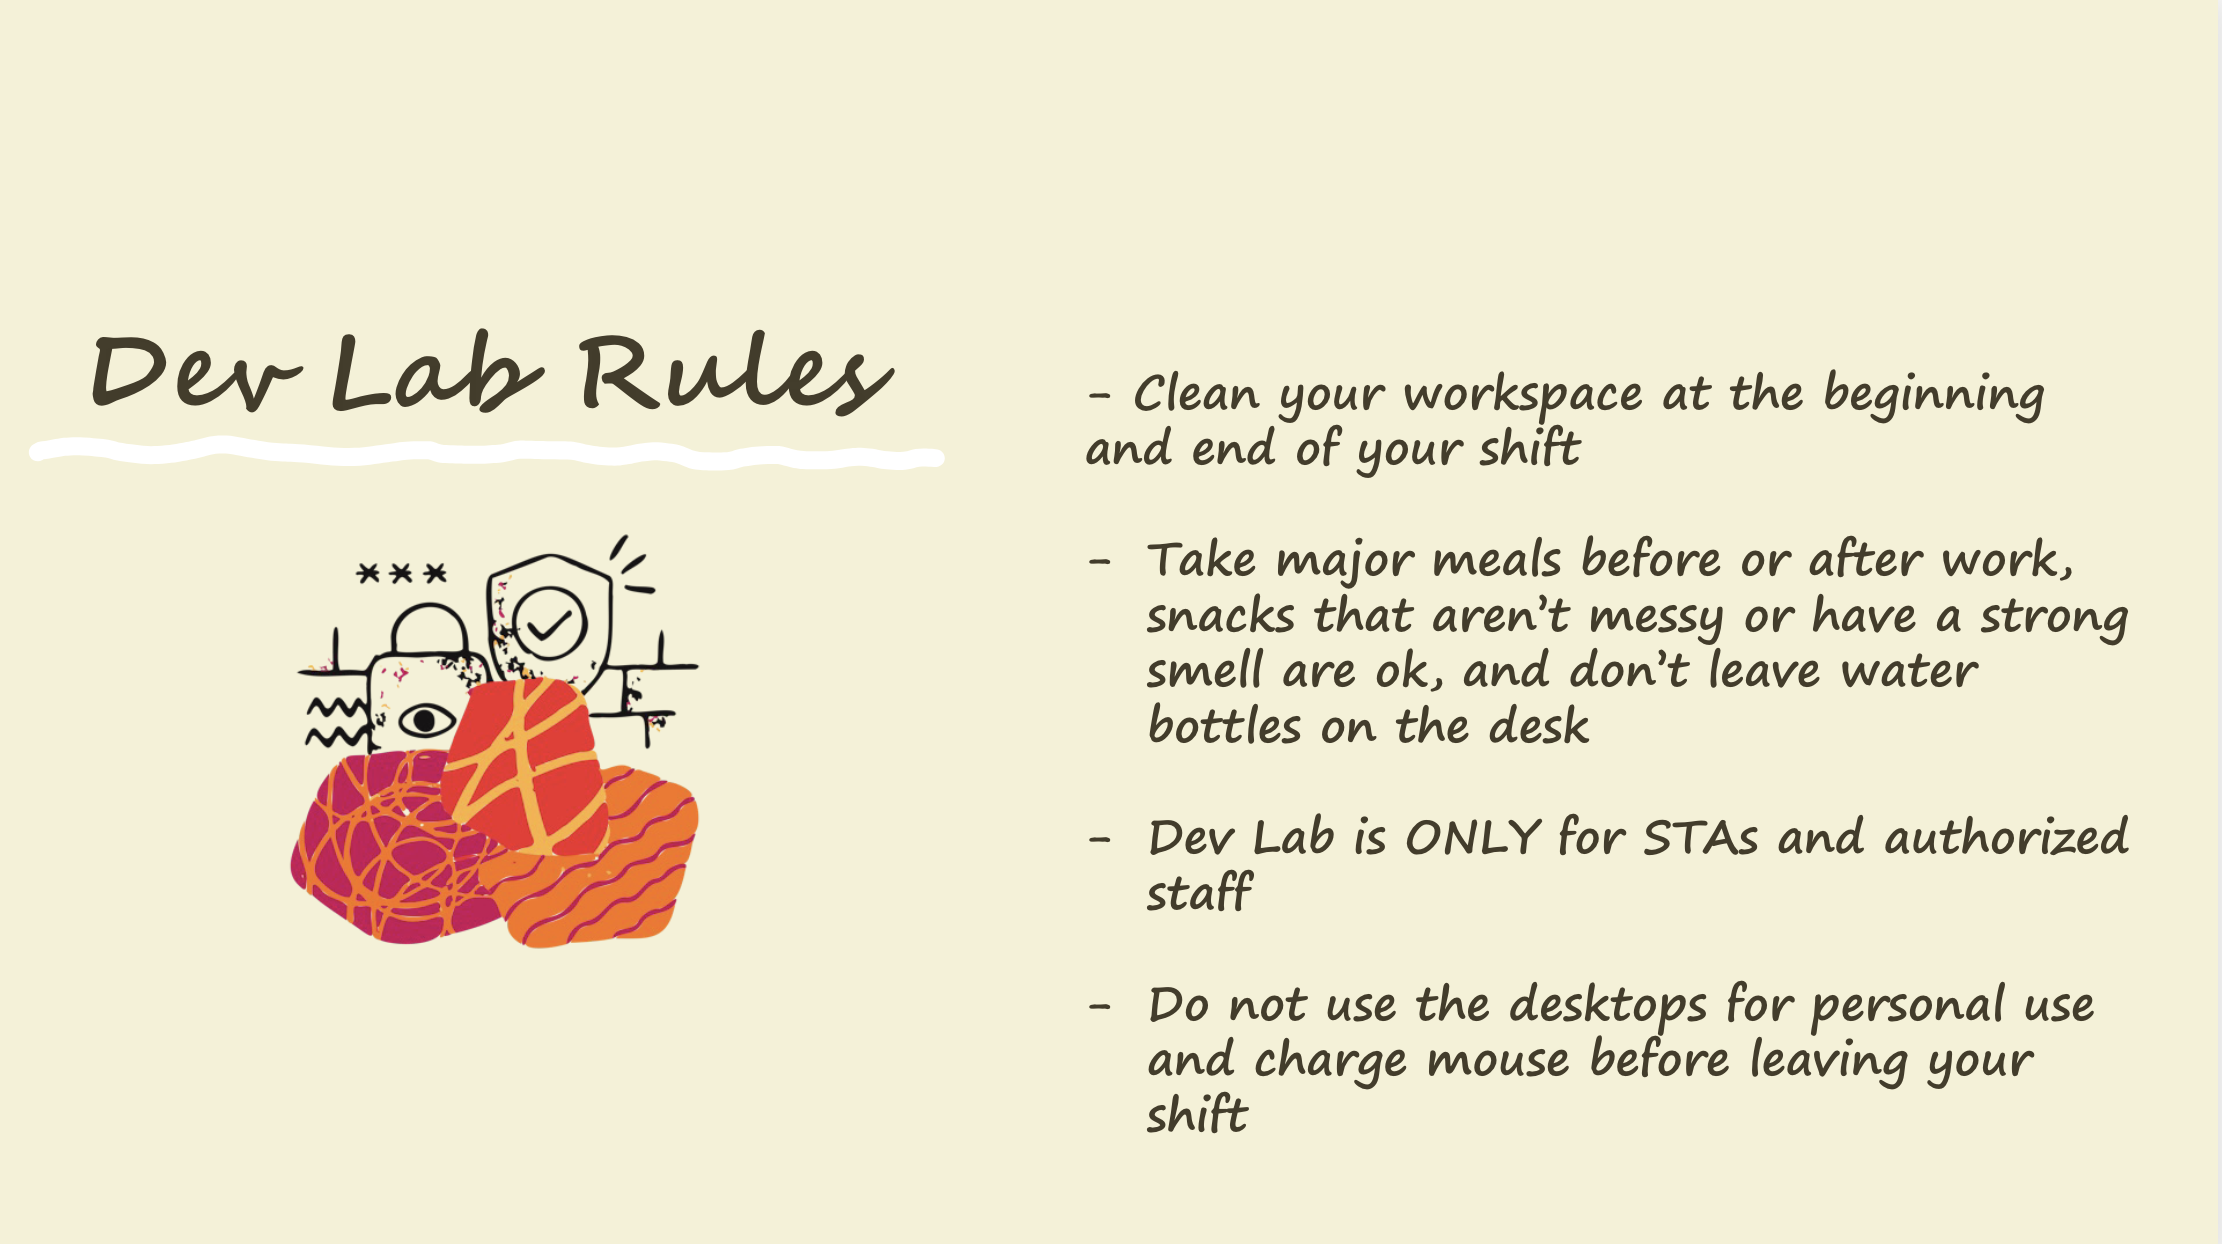
Here are the slides for the STA Handbook Powerpoint that I made:

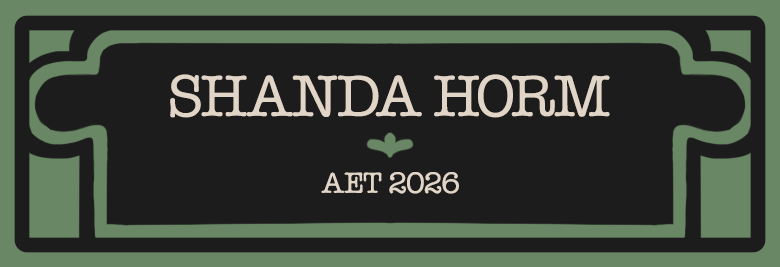
I also did my blog banner:


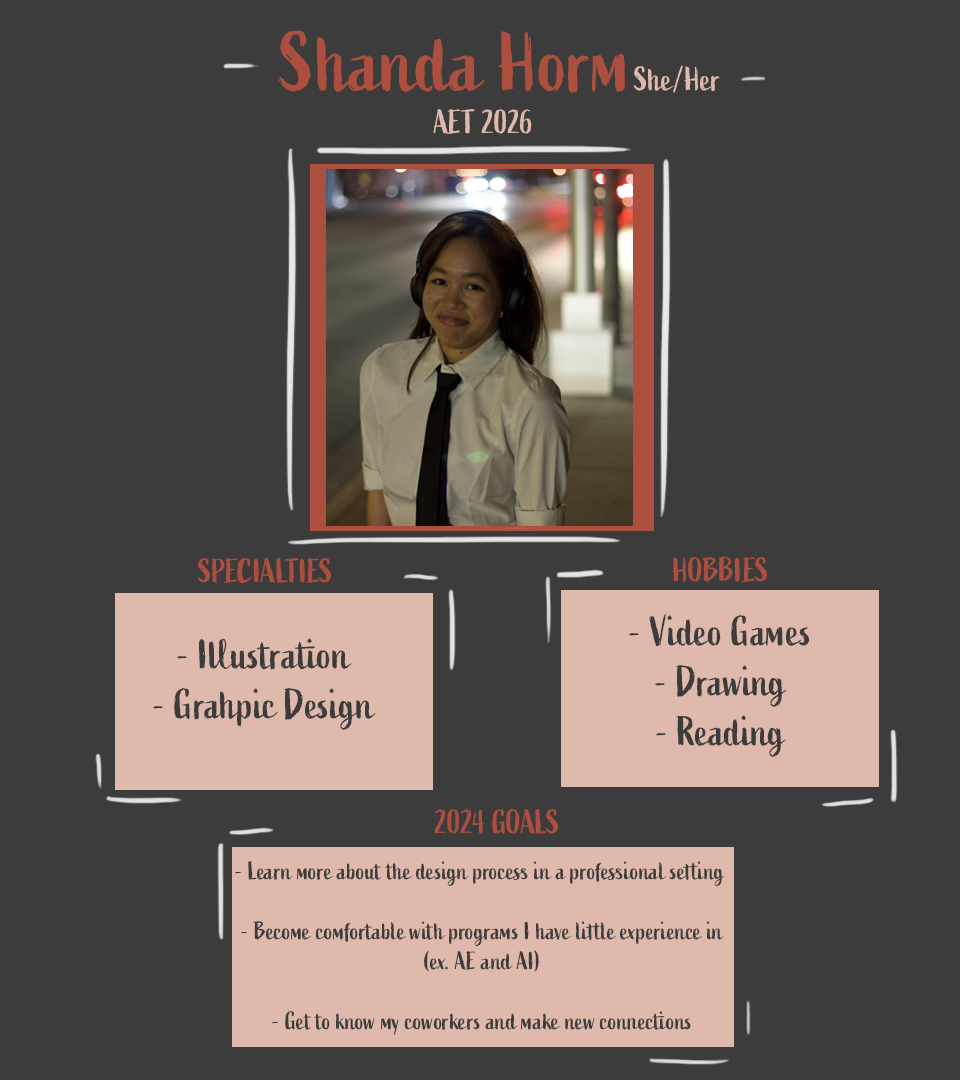
Day 2: Working on getting into the flow of things and I also did my STA questionnaire and Bio.

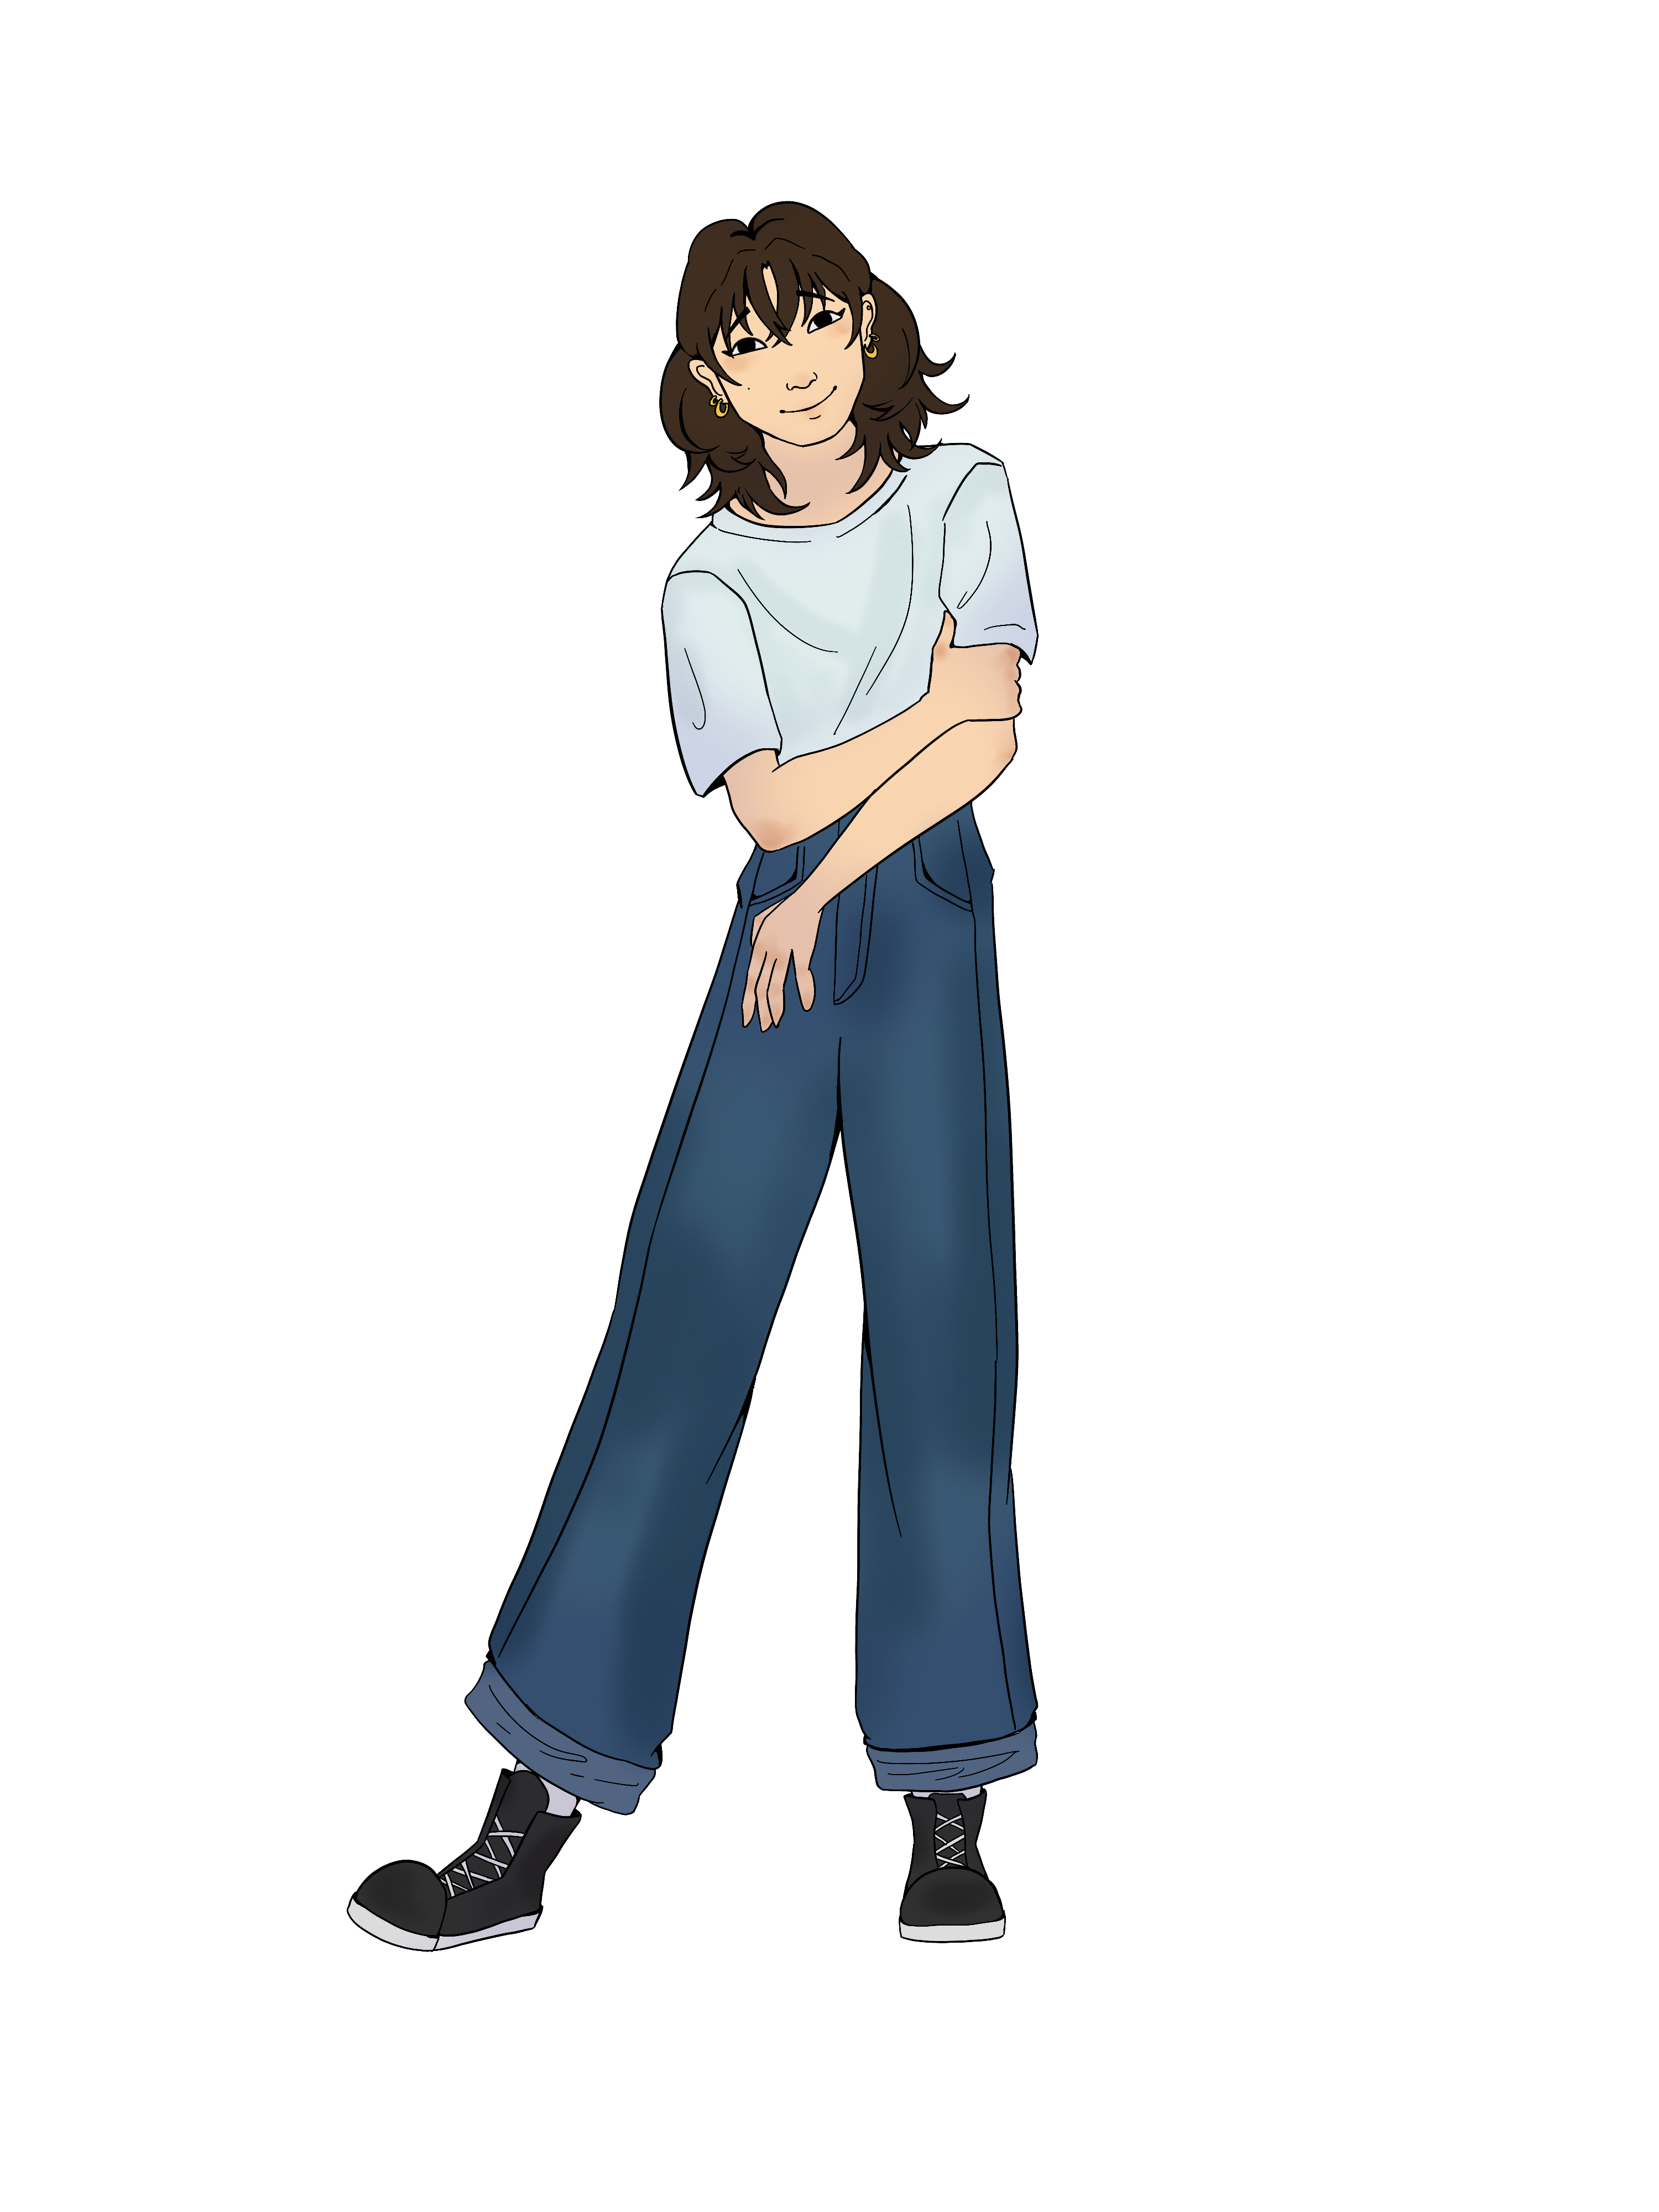
Day 3: I did my caricature- finishing off my orientation. I then began my training. Below is the caricature I made of myself!

Day 4: I continued my training where I’m learning the process of making style A and B course graphics.

Filed Under: Fall 2023 - Spring 2024, We are STAs

Welcome to the STA Blog!

March 29, 2024 By Shanda Horm

Hi Shanda! Welcome to the STA Blog! This the page where your blog posts will published.

Toward the end of your STA Orientation, you’ll design and upload a banner to go at the top of this page.

Upload a Blog Banner


Step One: Design Your Banner in Photoshop

Use these Photoshop specs when you’re making your banner:

    • Your banner should be 780 pixels wide (the height doesn’t matter)
    • Must include your name, your major, and your expected graduation year
    • Your banner should reflect who you are (your personality, interests or major)
    • Make sure to save your banner for the web (i.e. File > Export > Save for Web (Legacy))
    • If you save your banner as a JPG, make sure sure the quality is high (i.e. at least 60)

Step Two: Save Your Banner

  • There are two places you can save your completed projects: UT Box and the LAITS server. You’ll be given a personal folder in both locations. For now, you only have to save your banner to UT Box, but you may have to access the server at some point in the future.

Accessing UT Box

    • If you haven’t already registered with Duo, follow the instructions here to set up an account.
    • Then log in to UT Box with your EID and password: http://utexas.box.com/
    • Go to the folder called Design-Coding-STAs, then the subfolder STA-folders
    • Find the folder with your name on it
    • Save your banner both as an image and an unmerged PSD

Accessing the LAITS server

    • Accessing the LAITS server from off-campus is slightly more complicated.
    • You’ll need to be registered with Duo if you aren’t already (you can register here).
    • Then you’ll need to connect to the UT VPN and the LAITS server. The videos below will walk you through how to do that:
      • Connect to the Server – PC
      • Connect to the Server – Mac
    •  Then navigate to your STA volume folder and save
      • smb://file.laits.utexas.edu/sta/Shanda Horm
    • Save your banner both as an image and an unmerged PSD

Step Three: Upload Your Banner to the STA Blog

  • Log in the the STA Blog here. You should’ve received an email confirming your new WordPress account with your username and assigned password. If didn’t get it or you can’t log in, ask De’sha or another STA.
  • You’ll be able to change your password anytime by going to Users > Your Profile > Account Management > New Password.

Uploading media and banners in WP

  • Read these links before you upload your banner.
  • They will walk you through how to upload media to your blog.

How to Upload a Homepage Banner

Adding New Posts and Media

Make Your First Blog post


  • Reflect on the day. You blog posts will be a documented experience of your time as an STA with LAITS. They can include anything you want to share about the projects you’re working on, and the more media (screenshots, images, links, videos, gifs) you can use, the better.
  • For today, write a bit about about yourself and what you did during orientation.
  • If you haven’t already, upload your banner.

Things to Remember


Image Specs

  • You should never copy and paste images intoto your blog. Always upload images into the media section of blog first (Click on the add media button), then insert the image from the media folder to display on your blog.
  • Don’t use the thumbnail version of your images.
  • Use images that are 72 dpi
  • Screenshots are fine
  • Images that are 780 pix wide format nicely above or below text blocks

Always Categorize Your Posts

  • Always check the category “Fall 2023 – Spring 2024” on the blog posts you make this summer. This is the only category you need to check.
  • Make sure your posts are categorized correctly so that all of your work is documented in the correct semesters.

Commenting on Basecamp

Notification comments: etiquette, files, questions, feedback

Let us know when you’ve completed this task by adding a link to your blog to a comment in Basecamp.
Notes for all comments in Basecamp:
  • *Always address the person/people you are writing to by their names.
  • *Always use complete sentences.
  • *Always add links or paths to your design file in your STA folder.
  • *Make it easier for your collaborators and mentors to give you feedback on a design by adding screenshots to your comment.


Notify people in Basecamp by adding the @ symbol before their names (no spaces), otherwise they may not see your comment.

@ your STA mentor in your comments when you want to:

  • ask us questions about the mechanics of using the STA blog,
  • about the mechanics of photoshop,
  • to let us know that you have completed this task,
  • or that you would like a little feedback on on your banner design

Thank you & have fun!

Filed Under: Fall 2023 - Spring 2024

Welcome to the STA Blog!

March 29, 2024 By Kyra Lee

Hi Kyra! Welcome to the STA Blog! This the page where your blog posts will published.

Toward the end of your STA Orientation, you’ll design and upload a banner to go at the top of this page.

Upload a Blog Banner


Step One: Design Your Banner in Photoshop

Use these Photoshop specs when you’re making your banner:

    • Your banner should be 780 pixels wide (the height doesn’t matter)
    • Must include your name, your major, and your expected graduation year
    • Your banner should reflect who you are (your personality, interests or major)
    • Make sure to save your banner for the web (i.e. File > Export > Save for Web (Legacy))
    • If you save your banner as a JPG, make sure sure the quality is high (i.e. at least 60)

Step Two: Save Your Banner

  • There are two places you can save your completed projects: UT Box and the LAITS server. You’ll be given a personal folder in both locations. For now, you only have to save your banner to UT Box, but you may have to access the server at some point in the future.

Accessing UT Box

    • If you haven’t already registered with Duo, follow the instructions here to set up an account.
    • Then log in to UT Box with your EID and password: http://utexas.box.com/
    • Go to the folder called Design-Coding-STAs, then the subfolder STA-folders
    • Find the folder with your name on it
    • Save your banner both as an image and an unmerged PSD

Accessing the LAITS server

    • Accessing the LAITS server from off-campus is slightly more complicated.
    • You’ll need to be registered with Duo if you aren’t already (you can register here).
    • Then you’ll need to connect to the UT VPN and the LAITS server. The videos below will walk you through how to do that:
      • Connect to the Server – PC
      • Connect to the Server – Mac
    •  Then navigate to your STA volume folder and save
      • smb://file.laits.utexas.edu/sta/Kyra Lee
    • Save your banner both as an image and an unmerged PSD

Step Three: Upload Your Banner to the STA Blog

  • Log in the the STA Blog here. You should’ve received an email confirming your new WordPress account with your username and assigned password. If didn’t get it or you can’t log in, ask De’sha or another STA.
  • You’ll be able to change your password anytime by going to Users > Your Profile > Account Management > New Password.

Uploading media and banners in WP

  • Read these links before you upload your banner.
  • They will walk you through how to upload media to your blog.

How to Upload a Homepage Banner

Adding New Posts and Media

Make Your First Blog post


  • Reflect on the day. You blog posts will be a documented experience of your time as an STA with LAITS. They can include anything you want to share about the projects you’re working on, and the more media (screenshots, images, links, videos, gifs) you can use, the better.
  • For today, write a bit about about yourself and what you did during orientation.
  • If you haven’t already, upload your banner.

Things to Remember


Image Specs

  • You should never copy and paste images intoto your blog. Always upload images into the media section of blog first (Click on the add media button), then insert the image from the media folder to display on your blog.
  • Don’t use the thumbnail version of your images.
  • Use images that are 72 dpi
  • Screenshots are fine
  • Images that are 780 pix wide format nicely above or below text blocks

Always Categorize Your Posts

  • Always check the category “Fall 2023 – Spring 2024” on the blog posts you make this summer. This is the only category you need to check.
  • Make sure your posts are categorized correctly so that all of your work is documented in the correct semesters.

Commenting on Basecamp

Notification comments: etiquette, files, questions, feedback

Let us know when you’ve completed this task by adding a link to your blog to a comment in Basecamp.
Notes for all comments in Basecamp:
  • *Always address the person/people you are writing to by their names.
  • *Always use complete sentences.
  • *Always add links or paths to your design file in your STA folder.
  • *Make it easier for your collaborators and mentors to give you feedback on a design by adding screenshots to your comment.


Notify people in Basecamp by adding the @ symbol before their names (no spaces), otherwise they may not see your comment.

@ your STA mentor in your comments when you want to:

  • ask us questions about the mechanics of using the STA blog,
  • about the mechanics of photoshop,
  • to let us know that you have completed this task,
  • or that you would like a little feedback on on your banner design

Thank you & have fun!

Filed Under: Fall 2023 - Spring 2024

Week 38: Instapoll + Presentation

March 28, 2024 By Thang Truong

Project: UT Instapoll

Started on: Mar 26, 2024

Staff Guidance: Chris Pittman

Description: 

  • Task: Change ‘Normal’ grading explanation for non-MC polls #110: The explanation for ‘Normal’ grading reads “Students must select a correct answer”. This makes sense for MC polls, but not for text entry or attendance polls. Change the wording here when the poll type changes.
  • Visual Description:

Breakdown of the task:

Update:

Phase 1: Operation Finding Where To Change

  • Identify in the codebase the explanation of normal (resources/js/components/PageTeacherPollSetDefaults.vue) -> Actually, this vue file is for the poll defaults. Might need to consider: Should we also change the explanation in the poll defaults? ✅
  • The actual location of the file is PageTeacherPollEdit instead of PageTeacherPollSetDefaults ✅
  • After changing the file, need to do npm run build to update the vue file -> The PageTeacherPollEdit works ✅
  • Change the explanation to some other text and test it out ✅

In this screenshot, the normal becomes crazy normal (works) ✅

Phase 2: Experiment with if/else statement

  • Include if/else statement to change the explanation when the question type changes (include v-if for that label)
    Might do something like this so that whenever it detects the question type to “text entry”, the explanation changes to something else. ✅

Screen Shot 2024-03-26 at 3 52 48 PM

  • The third steps include the knowledge of how to retrieve the question type and when to trigger the change in the question type (only use if/else statement is sufficient) ✅
    Might look something like this:

– Test it fully with UT Instapoll

Some considerations:

  • The text: What should the explanation for multiple choice be?
  • Is this the optimal solutions
  • Are there any cases where it breaks? (Think about edge cases?)

Something to take in mind when changing:

  • Whenever the vue.js file gets updated, always npm run build
  • Always use === instead of only == for stronger comparisons.


Project: STA Presentation

Started on: Mar 27, 2024

Staff Guidance: Mike, De’sha

Description: 

  • Plan out the STA presentation outline

https://docs.google.com/document/d/1j4EJSDJxxyTbDPehnLjNEdy0JwYLmTp3yKytZXwnaOo/edit?usp=sharing


Filed Under: Fall 2023 - Spring 2024, We are STAs

Project: STA Presentation Poster

March 22, 2024 By Leilani Cabello

STA Presentation Poster

https://3.basecamp.com/4001554/buckets/13723406/todos/7117045933#__recording_7209950051
During the spring break, I took the initiative to guide Raaga through the process of creating a poster for our end-of-the-year STA presentation celebration. The project’s objective was not only to commemorate the year’s achievements but also to bring the team together visually and thematically. The idea was to reflect on what the STAs have accomplished through a design that was both meaningful and visually appealing, incorporating elements that make the STA program unique.
The poster’s design was centered around the theme “We experience or attend the theme,” with stacked polaroids serving as a template to showcase the team’s unity and diversity. The must-have details included the presentation date, time, and location, along with a list of all the groups within our STA program if space allowed.
Guiding Through the Process
My role involved guiding Raaga on how to approach this design task effectively. I recommended starting with a sketch to develop the template, emphasizing the importance of having fun with the creation process and including unique elements reflective of the STA program’s essence. I also pointed her to last year’s presentation poster for inspiration, helping her grasp the project’s scope and expectations.
Overcoming Challenges
One challenge we encountered was fitting all the necessary information and visual elements into the poster without making it look cluttered or overwhelming. This required careful planning and creative problem-solving. We discussed various layout options, experimenting with different arrangements of the polaroids and considering how to incorporate images of STAs into the design.
Collaboration and Feedback
Collaboration and open communication were key throughout this project. I regularly checked in with Raaga to review her progress, providing feedback and suggestions to refine the poster. This iterative process helped us to gradually improve the design, ensuring that it effectively represented the STA program and captured the celebratory spirit of the presentation.
Taking Charge
With the deadline approaching and understanding the importance of this poster in setting the tone for the rest of the presentation graphics, I decided to take charge during the spring break to help complete the project. This involved finalizing the design, selecting and editing images for better cohesion with the overall theme, and making adjustments based on feedback from De’sha and other team members.
Final Touches
In the final stages, we focused on adding decorations and fine-tuning the visual details, such as the background texture and the arrangement of the polaroids. The goal was to create a visually compelling poster that would be memorable and impactful for all attendees of the STA presentation.
Reflection
This project was a testament to the power of teamwork, creativity, and dedication. Guiding Raaga through this process was a rewarding experience, and it was gratifying to see the project come to fruition. The end-of-the-year presentation poster not only celebrated our accomplishments but also symbolized the unity and collaborative spirit of the STA program.

Filed Under: Fall 2023 - Spring 2024, We are STAs

Shriya – Week 3/1 – 3/9

March 22, 2024 By Shriya Atreya

SAVE THE DATE:

2024 STA PRESENTATION EMAIL INVITE FLYER


START: March 7, 2024

COMPLETED BY: March 14th, 2024


BRIEF:

This week I was tasked with creating the email flyer for the 2024 STA Presentation. For this flyer they wanted a concert/festival theme to match with the rest of the graphic assets.

IDEATION:

To start this poster I first wanted to outline my vision for what I wanted this 600px width graphic would look like. For this, I referred to a mix of both Last year’s SAVE THE DATE flyers and other concert festival graphics and posters.

From here I took the direction of a wristband style that would use the idea of concert wristbands to display the required information

Inspiration Picture from the 2023 INCHEON PENTAPORT Rock Festival
LAITS 2023 STA Presentation Email Flyer

DESIGN + ITERATION:

Through this process of design and iteration, I experimented with various elements to capture the essence of a concert/festival theme while drawing inspiration from the festival wristabnds and last year’s SAVE THE DATE flyers. Iterating on this concept, I refined the layout, color scheme, and typography to create a visually striking email flyer that resonates with the spirit of the event along with icons that represent the multiple different sections of LAITS.

FINAL PRODUCT:

WHAT I LEARNED:

This project challenged me to think creatively and adapt design principles to fit a specific theme and audience. By exploring different visual styles and experimenting with layout techniques, I gained valuable insights into effective communication through graphic design. Overall, this experience reinforced the importance of flexibility, iteration, and attention to detail in creating impactful design solutions.


Filed Under: Fall 2023 - Spring 2024, Uncategorized, We are STAs

  • « Previous Page
  • 1
  • …
  • 5
  • 6
  • 7
  • 8
  • 9
  • …
  • 28
  • Next Page »

link to LAITS home page

Video STA Home

© 2025 Liberal Arts Instructional Technology Services | Production Credits