• We are STAs
    • Asha Rountree
    • Haley Ma
    • Kate Shih
    • Kyra Lee
    • Nicholas Peasley
    • Sasha Kenney
    • Shanda Horm
    • Shriya Atreya
    • Tomas Marulanda-Mesa
  • We were STAs
  • STA Presentation
    • STA Presentation 2017
    • STA Presentation 2016
  • Testimonials
  • Resources
  • Home

STA Blog

Rachel Sacks

Rachel Sacks

GOV 371U Powerpoints

January 26, 2022 By Rachel Sacks

GOV 371U Powerpoints

This past week and a half, I have been working on powerpoints for the GOV 371U course – Politics and Film. As there are quite a few powerpoints that I have done, I will exhibit and example of the type of work I am doing in a step-by-step process.

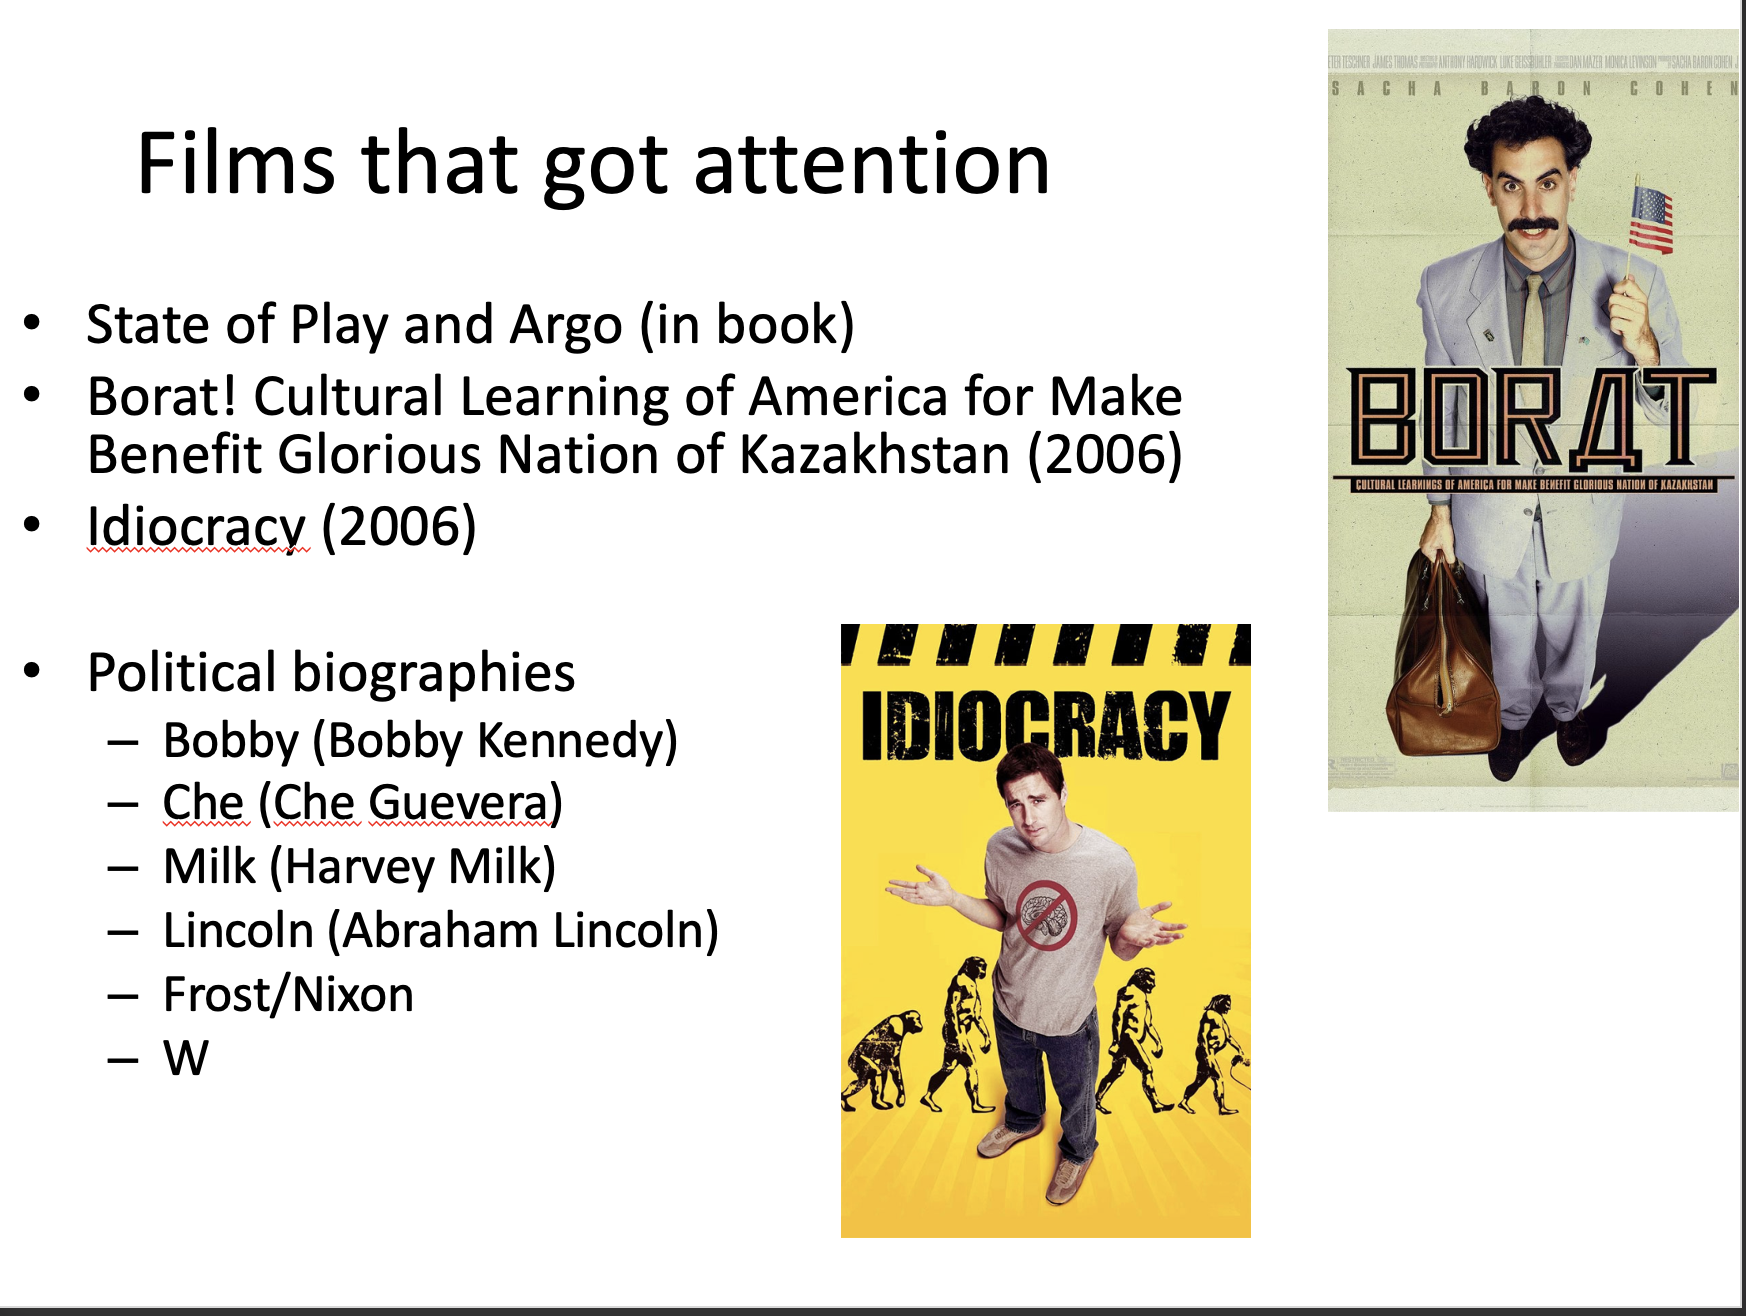
1.) Review the old powerpoint

The first step is to review the old slides – these are created by the professor and have all the content that I need to move over. When reviewing these, I try to keep in mind the format and overall vibe the professor went for on each slide.

2.) Copying and pasting the content

This next step involves copying the content – usually with the actual copy and paste tool – onto the new template document. When doing this, I try to keep the format the same as much as possible. However, because the original powerpoint is 4:3 and does not have a picture-in-picture, there is quite a bit of structural difference between the original and the new powerpoint, which is 16:9 and has a picture-in-picture. Usually this can be fixed by moving around the images to accompany the picture-in-picture better. Additionally, there are instances when there is too much text to fit in the new slide format. This can be fixed by splitting up the text into two separate slides, this way the text can remain a bit larger and easy to read.

3.) Editing for visual clarity

The final step involves moving things around further to make sure that the slide is as visually balanced as possible. Ingrid has been incredibly helpful in this step, and we have been able to solve some tough formatting situations!

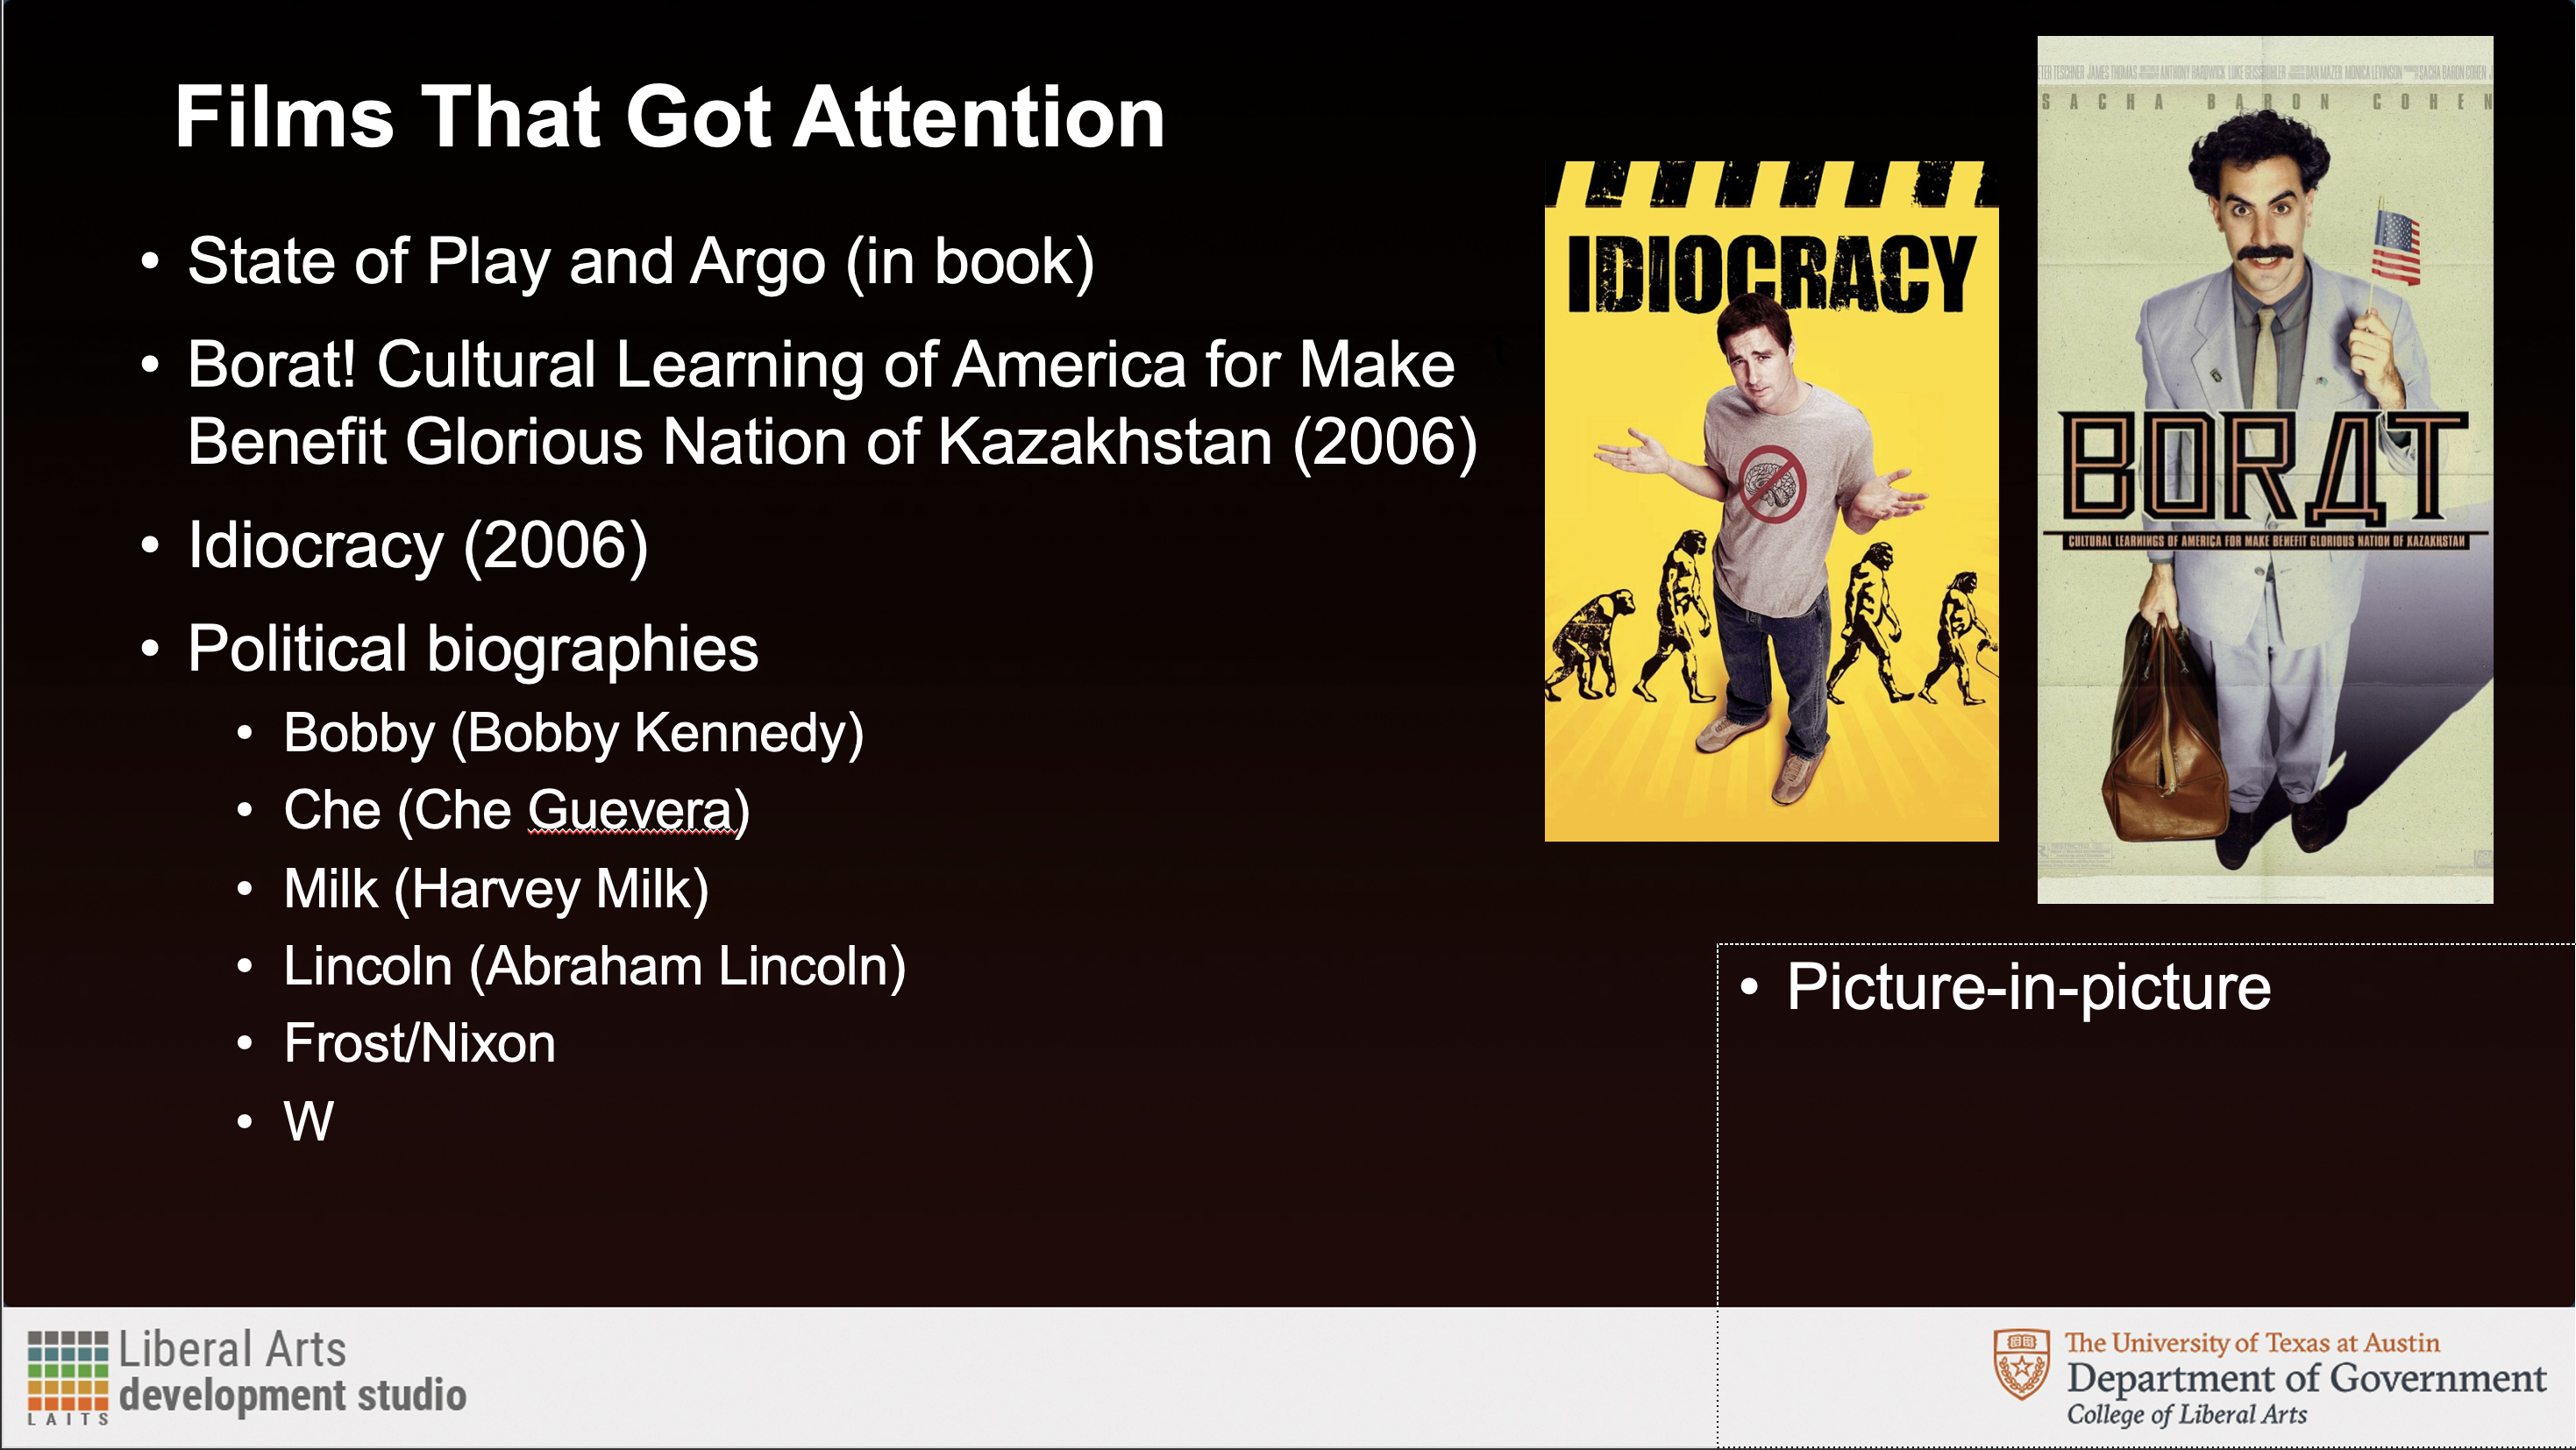
As you can see in this transfer, I kept the main “feel” of the original powerpoint, while moving things around to fit the format. I decided to place the two film images next to each other to create more balance than if “Idiocracy” was placed on lower than “Borat.” Sometimes, I try to have the film images perfectly align next to each other, but this can only be done if they are the same aspect ratio.

A few other ways I tend to organize the images include:

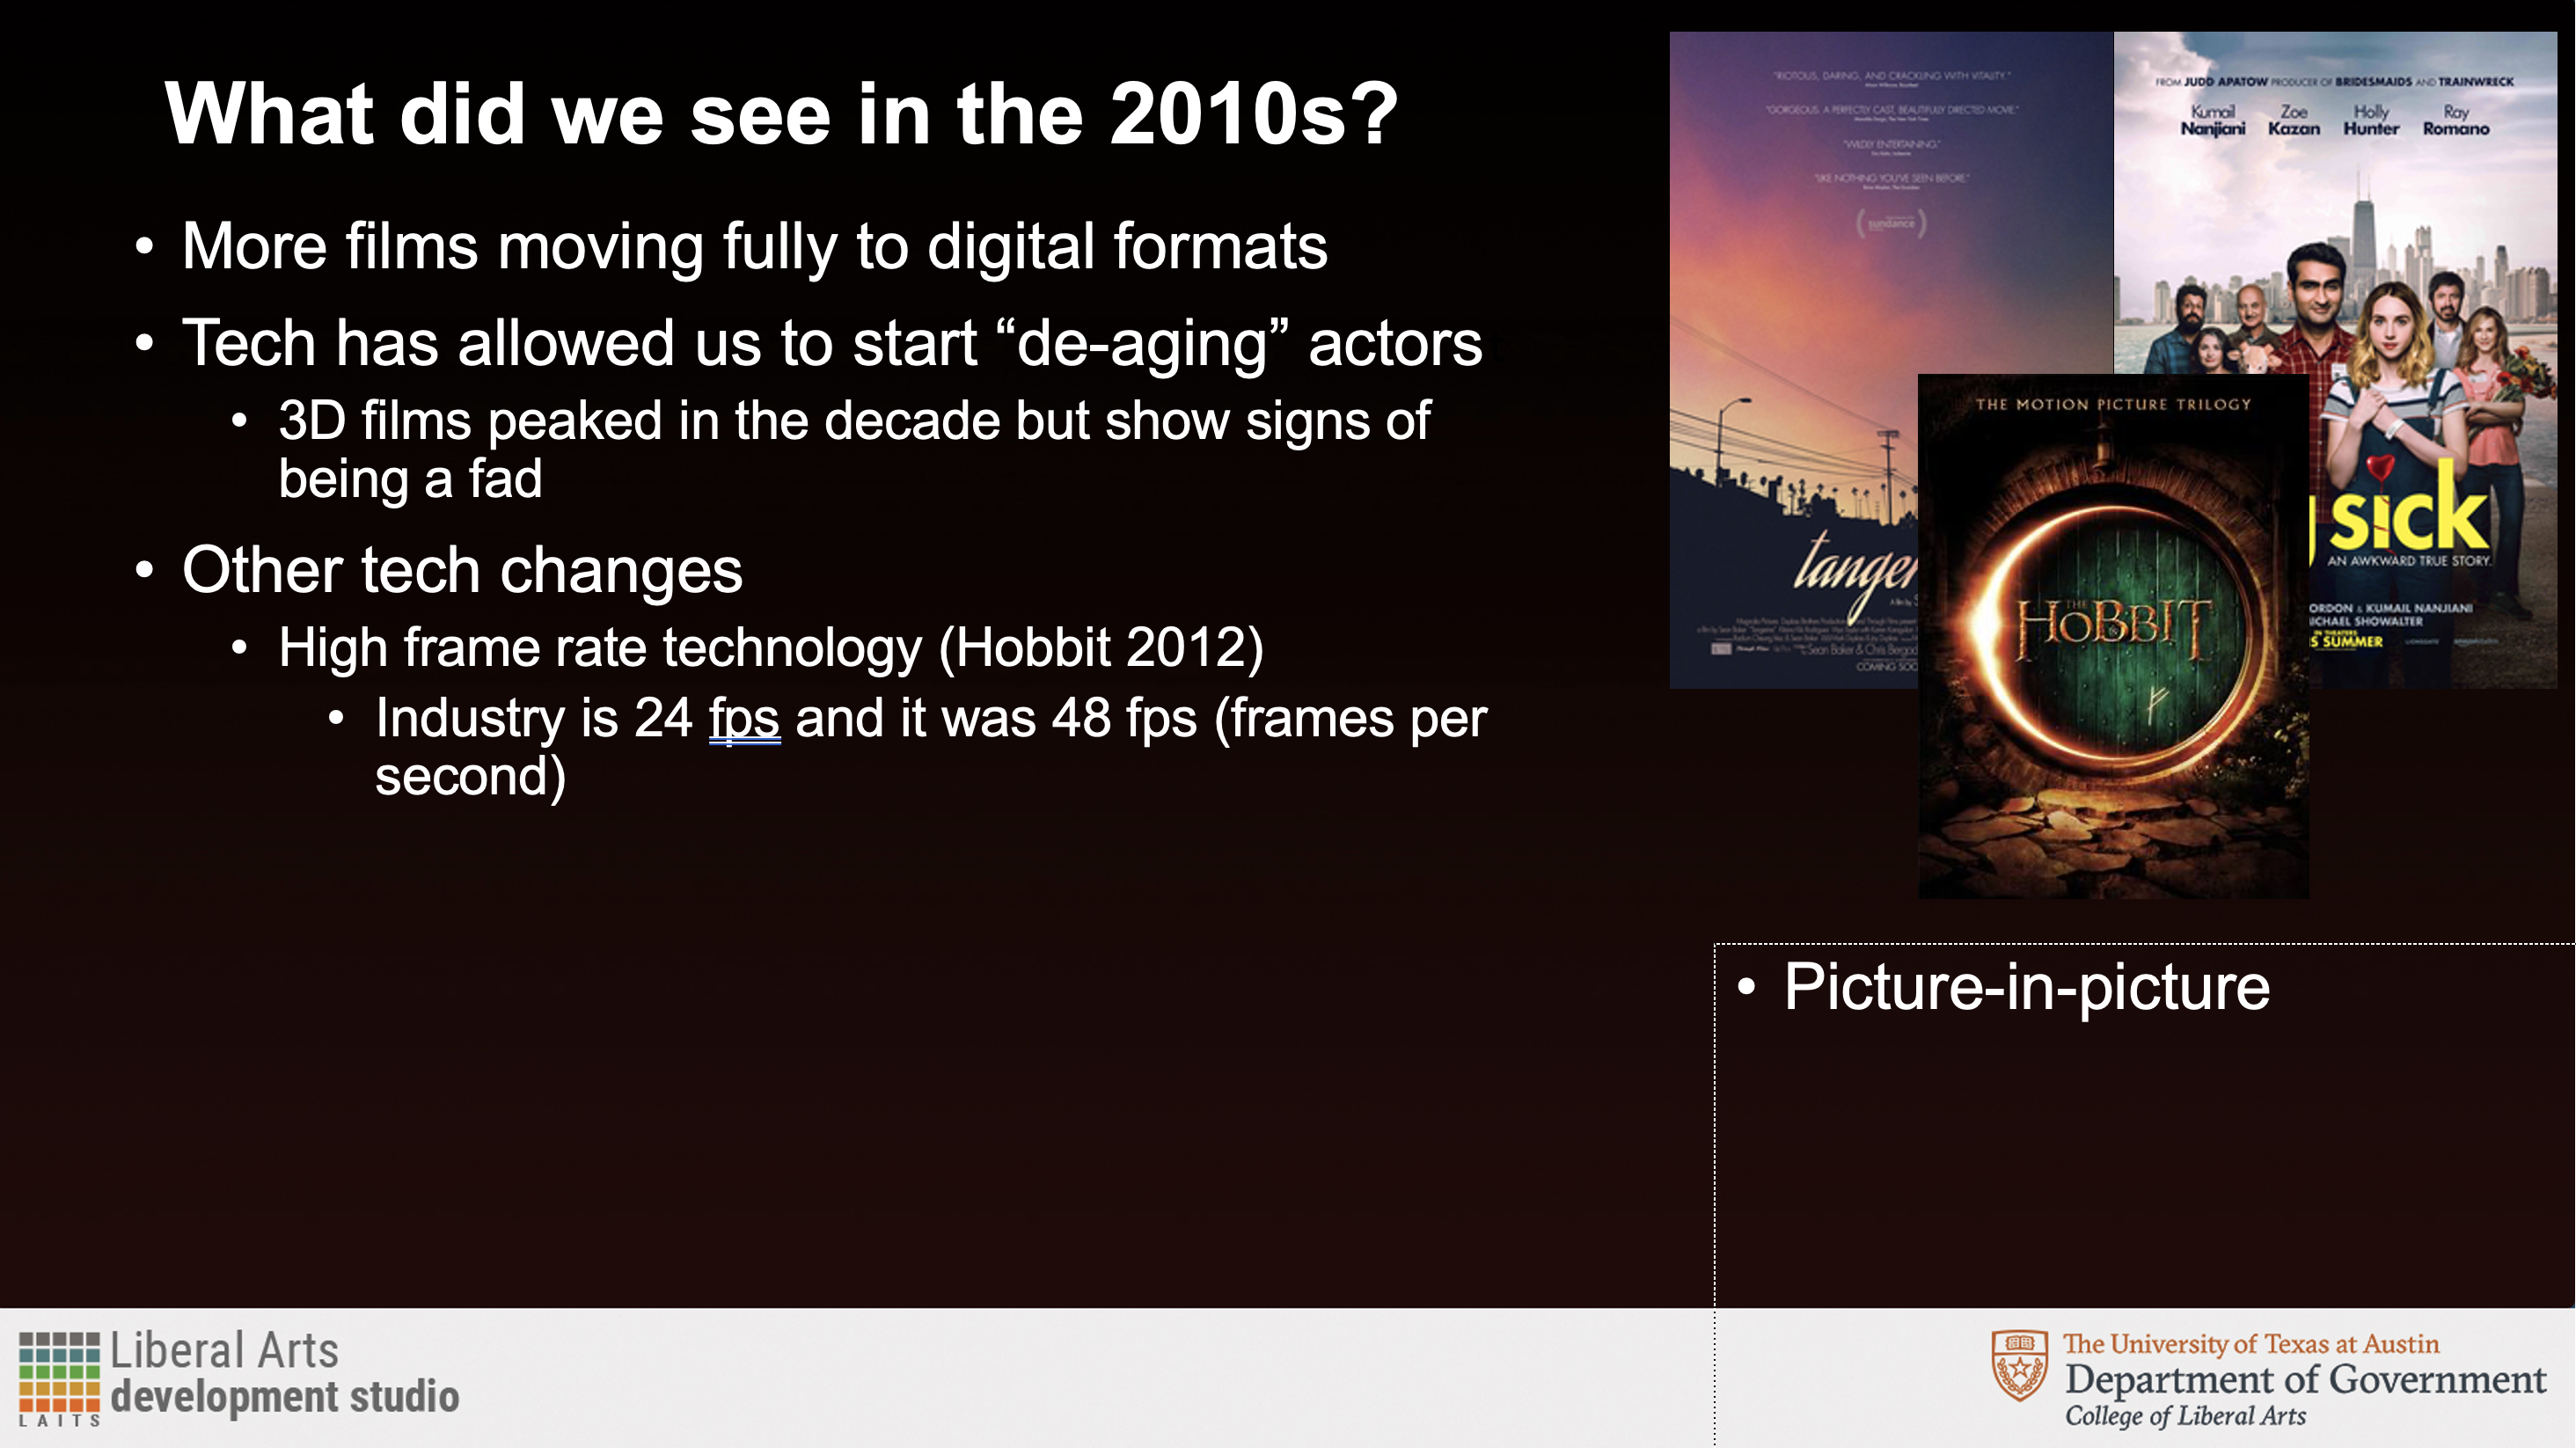
A tryptic-style where they overlap each other – usually I do this when there isn’t a lot of extra space and the images can be inferred even if a bit is covered up.

A scatter style, if there is enough space and only a small amount of images.

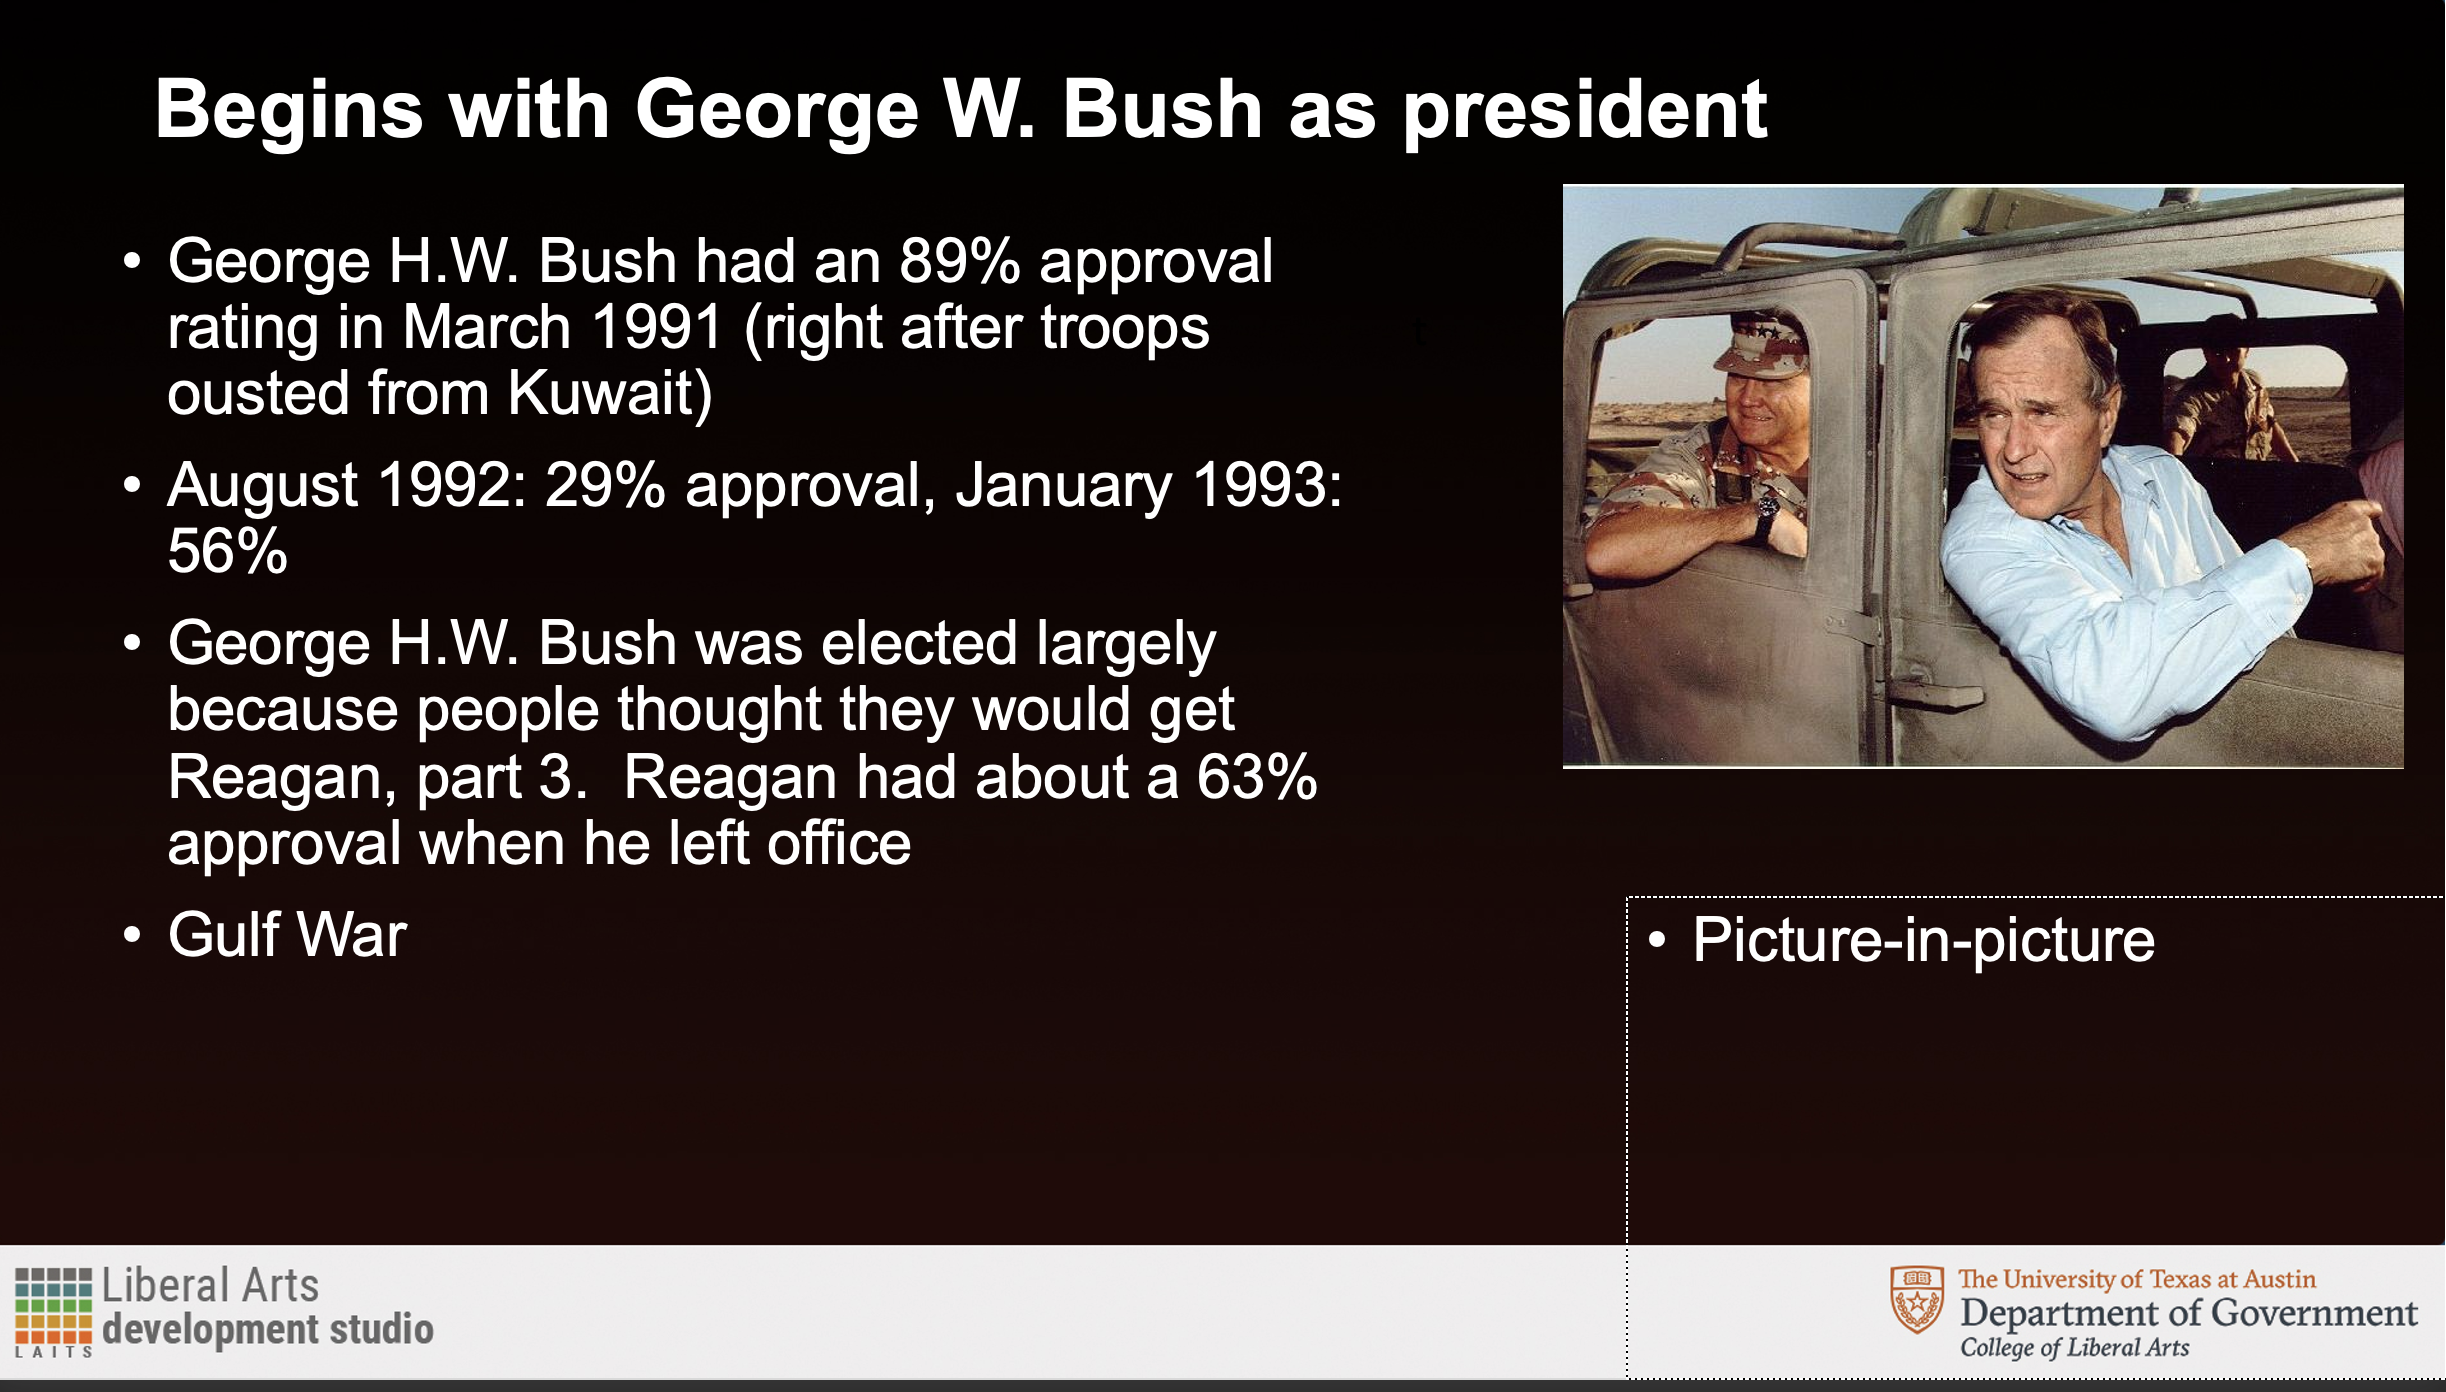
Single images are usually the most straight-forward – as you can just place them to the right of wherever the text is.

Things I’ve learned (and learned to avoid doing):

  • Do not try to move the text to the right of the image – it throws off the general balance of the powerpoint
  • 2-3 images has the best overall visual balance. 1 is okay, and more than 3 can be too cluttered
  • Images that have the same aspect ratio look the best together
  • Text does not always have to be the same size every slide, but should be as consistent as possible (i.e. located in the same place, and as little variation in size as possible)
  • It’s better to keep all the text closer to the left of the slide. People typically have trouble reading horizontally-long lines, and have an easier time reading vertically (which is interesting, as many languages have entirely vertically-set reading systems.)

And that’s it! I’ve learned quite a lot doing these powerpoints for this course. I’m not certain I could ace an exam in this class – but maybe a quiz?

Filed Under: Fall 2021 - Spring 2022

Winter Break GOV Project

January 19, 2022 By Rachel Sacks

Winter Break GOV Project

I hope y’all had a lovely winter break! Over winter break, I created animated graphics for two government classes – 360F (Global Governance) and 371U (Politics and Film.)


GOV 360F – Global Governance

The concept behind this one was to create a globe which then transitioned into a moving building. In a sense, we were going for a news-intro style introductory video. The first draft looked like this (disregard the 30 second length):

http://sta.laits.utexas.edu/wp-content/uploads/2022/01/Globe-Animation_Draft1.mp4

While the basic idea was there, the glow was too strong, and it was lacking the text needed to transition the video into the powerpoint. In the second version, I resolved most of these issues:

http://sta.laits.utexas.edu/wp-content/uploads/2022/01/Globe-Animation_glow_fixedtest.mp4

We ultimately decided that the glow was a bit too much, so I cut it out in the final version. Additionally, the concepts of the globe felt a bit too abstract compared to very realistic photo of the building. To counteract this, Maddy and I came up with a plan to add features to connect the two concepts better:

— Add images behind the globe that move around and give some color to that part

— Color in the globe greyscale so that it fits in more with the building’s design

http://sta.laits.utexas.edu/wp-content/uploads/2022/01/Globe-Animation_noglow.mp4

Ultimately, we decided not to include the glow at all, as it detracts a bit from the focus of the animation. With this decision made, the video was complete!


GOV 371U – Politics and Film

Gov 371U was a bit faster of a process than for 360F, as the assets had already been pre-made. What I mainly did was compile the glowing and non-glowing versions of the film image over each other in after effects, which creates an old glowing sign look.

http://sta.laits.utexas.edu/wp-content/uploads/2022/01/GOV371U_Test1.mp4

For the first draft, we felt that the glowing signs were a bit too far apart, and that there was not enough of a pause between when the red and yellow lights come on. I was able to fix this in draft 2:

http://sta.laits.utexas.edu/wp-content/uploads/2022/01/GOV_371U_Intro_Draft2-1.mp4

Besides adding length between when the red and yellow lights turn on, I also added length to the beginning part, before any of the lights turn on. A trick I used when making this was applying a “fade-in” effect to some of the lights, while not doing it for others. This helped create a balance where the lights turn on more properly in some parts, and more like an “accidental-shut-off-shut-on” in other parts.

After doing this, the assignment was complete! Now, I am moving on to working on some of the powerpoints for these courses.

Filed Under: Fall 2021 - Spring 2022

color theory training

November 29, 2021 By Rachel Sacks

Training: Color Theory

GOAL: Understand the purpose of colors and how they relate to others, as well as their societal and cultural meanings and how they may vary.

Step 1:

The first step of this training was  to devise a color wheel. I decided to create a color wheel within an eye, which I created within adobe illustrator. It was a bit tricky at first to create such an organic shape with the curved pen tool, but with a bit of practice and tweaking I was able to make the shape work. Instead of relying on the adobe illustrator pen strokes, I used the pen shapes and created thin shapes that would look like stroke lines but be more organic and fluid.

I started out with an eye that looked like this:


However, I felt that it looked a bit cartoonish for my taste, like something out of a coloring book. I decided to try and change the lines to a white color, and it worked much better!

I decided to also play around with shapes so that the shapes did not align quite as perfectly – this created a more playful and colorful aesthetic. I also removed the shadow that was under the eyelid, as I felt like the shading was contributing to the coloring book feel. The color wheel works such that the colors get darker as you go down, starting with tint, then going to a medium/default color, then a grey tone, and then finally a dark shade. I went with this route rather than starting with the default color as I felt visually it made more sense to show a hierarchy of lightness.


Step 2:

The second step of this training was to create a representation of value (a greyscale going from light to dark or vice versa) to go with this initial color wheel. I chose this as I felt it would complement the first eye, considering that eyes go in pairs (…generally).

I created a new eye and then began a value ring

I particularly like how this one came out, and am surprised I was able to make it in illustrator. If you look at it for long enough, the rings look as if they are moving.

Step 3:

The next step to this training was to create a color palette for three different “clients,” based off of what we learned in the KB about color and meaning. The clients were a civil war course, branding yourself, and a modern Latinx studies course.

I started with these colors:

For the Civil War Course, the colors worked well, but would work even better with some sepia browns to represent the warmth of old films and papers. I kept my own color palette the same as it fit my vision well, but I decided to entirely change the Latinx Studies one. Abriella suggested I go for traditional colors rather than using the colors of one flag, as they’d appear more vibrant and relevant to a larger population. Thus, I edited the civil war course palette to look like this:

And used traditional colors for the Latinx Studies course that looked like this:

All together, they looked like this:

After finishing this, I was done with the training!

To more thoroughly explain why I chose the colors I did, I wrote this check for understanding:


Civil War Main Color: Dark Brown

  • Brown is associated with professionalism, age or antiquity, continuity, and traditional masculinity. It felt like a fitting color to represent the Civil War: a historical event that dealt with soldiers and antiquated male ideals.
  • I did not want to use either blue or red as those colors are associated with war “sides” more. Brown seemed to be the most neutral and professional of the colors.
  • The color scheme is complementary with the blue and red, and then the rest of the colors are neutral or low in saturation. This yields a slightly last dramatic form of complementary color scheme, but still has the impact of the blue and red.
  • In this case, I focused mostly on changing the hues. I made slight alterations to the tint, but maintained mostly medium-toned colors for this color palette.
My Main Color: Lavender
  • Amongst many things, purple represents imagination and creativity. These are qualities I appreciate, and I consider myself to be an imaginative person, so I felt it is a suitable color (amongst being my favorite color.) I wanted to focus on these aspects rather than the “royal” or “noble” ones, so I went with a lighter purple as it appears more whimsical and a bit less regal.
  • I was torn between purple and teal, but decided to make purple the primary color as the symbolism for it was more accurate.
  • This color scheme ended up being very analogous. I imagine these are the types of colors one would see in a forest at night.
  • In this one the focus was primary on tint/shades with slight hue alterations, since the colors are close to each other and there is not a huge variety of hues.
Latinx Course Main Color: Forest/Emerald Green
  • Looking through various traditional colors, this one was the one that stuck out to me the most. Green often represents freshness, energy, and ingenuity. I felt as if it was a fitting color for the primary color palette, and also fit the general tone of the class and social justice.
  • I picked this color over magenta as I felt the meanings behind green were more significant overall.
  • The color scheme is tetradic with various hues around the color wheel. Some colors like red and orange and magenta and red are closer to each other than others, such as magenta and blue or red and green. This allows for some analogous colors and some that are complementary.
  • In this one the focus was on hue and not on tint or shade, and there is very little variation in the tint or shade beyond the main green color.


Filed Under: Fall 2021 - Spring 2022

Pixel Art Trainings

November 22, 2021 By Rachel Sacks

Pixel Art Training

Goal: With the live paint tool in Adobe Illustrator, create pixel art based off of a reference image

For the Pixel Art Training, I had to first take an image and create a color palette based off of the image using the eye-dropper tool in Illustrator. I chose this lovely image of my cat, Travis.

I made a few extra palette groups to keep track of the colors that I ended up changing once I realized that the colors I chose were not perfect.

Once I did the palette, I created a 120×120 grid in illustrator (because I hate myself), and used the Live Painting tool to paint pixel-like dots over the image I was referencing.

After this, I used the live painting tool and pixeled him in! I chose to crop the image a bit to make it more visually interesting, as his feet looked a bit odd in the pixelated version.

This is the final result!

  • What I learned from this training:

    • How to use the live paint tool
    • Successful ways to color pick that convey more complicated shades with less colors
    • Less is often more
    • Sometimes you want to abstract features more to make it look MORE like the thing you’re imitating (his eyes don’t have any color besides black and a bit of green because the green color makes it more cluttered in the pixelated version)
    • How to change out colors in the swatch tool

Filed Under: Fall 2021 - Spring 2022

Photo ID Training

November 17, 2021 By Rachel Sacks

Training: Photo IDs

Assignment: Take sets of example photos and edit them to fit the LAITS quality guidelines

The important thing for these images is for them to be:

  • Neutral colored (not too warm or too cold)
  • Good, flat lighting
  • Medium or slightly-heightened contrast (higher contrast can appear more professional and attractive)
  • Framed in a visually understandable and appealing manner

There are three photo sets: easy, medium, and hard.

I…accidentally did all four for easy. I will showcase here the two that came out the best.


Easy:

Original

Edited: Higher contrast, cropped for LAITS

Original

Edited: Cropped, lighting slightly fixed

Medium:

Original

Edited: Fixed cool tone, higher contrast, edited exposure slightly to reduce blending between shirt and hair, cropped

Original

Edited: Fixed warm sepia tone, contrast, cropped, increased exposure as image was too dark

Difficult:

Original

Edited: exposure, color, contrast, + used blur and brush tools to lower severity of highlights until her skin looked more even, used multiply layers, cropped

This was certainly the most difficult of all of them, but was quite fun to do.

Original

Edited: exposure, lighting, contrast, air-brushed his face to have the lighting more even

This is the non-cropped version. I wanted to share this to show how the door is over-exposed now, but his face is not. If this were in a real ID, you wouldn’t see anything past the first pillar to his left, and the image would work much better over-exposed than under-exposed.

General What-I-Learned:

  • The best colors and contrast levels to use for LAITS photos
  • LAITS cropping and sizing guidelines
  • How to artificially light or darken areas of the face to get a more even lighting
  • Blurring out background elements for the sake of the face standing out more
  • How to use the curves and levels tool to alter gamma and exposure
  • What mid-tones need to be toned down for the sake of having a more neutral color palette in the image.


Filed Under: Fall 2021 - Spring 2022

Shape and Pattern Training

November 16, 2021 By Rachel Sacks

Assignment: Create and Learn more Shapes and Patterns

Step 1: Create three shapes

These shapes had to fit three styles – free and lazy, direct and authoritative, and energetic and fun.

After this, I was tasked with creating various patterns and shapes within adobe illustrator with a set color pattern. I had already known about the basic pattern tool, but was able to play around with it to create something more energetic and exciting.


This ultimately came off very 90s – but in a good way.

What I Learned:

  • Patterns are more interesting if there is variety – in shape, in color, even in rotation
  • The pathfinder tool is extremely useful for merging or separating two separate objects or images
  • You can make many, many shapes with the pen curve tool! I love this tool!
  • Sticking with one color palette is…tricky, but very fun and rewarding. I enjoyed working within constraints on this one.
  • Lining up shapes is great, but if you purposely misalign it can make for an interesting pattern (see: top left.)

Filed Under: Fall 2021 - Spring 2022

  • « Previous Page
  • 1
  • 2
  • 3
  • 4
  • 5
  • 6
  • Next Page »

link to LAITS home page

Video STA Home

© 2025 Liberal Arts Instructional Technology Services | Production Credits