Hello blôg, Suloni’s asked me to try to upload Canvassers to my blog. Estella told me to use this code, which worked for my flat html site for the Dell Medical School project:
OCILL, OCILL, OCILL!
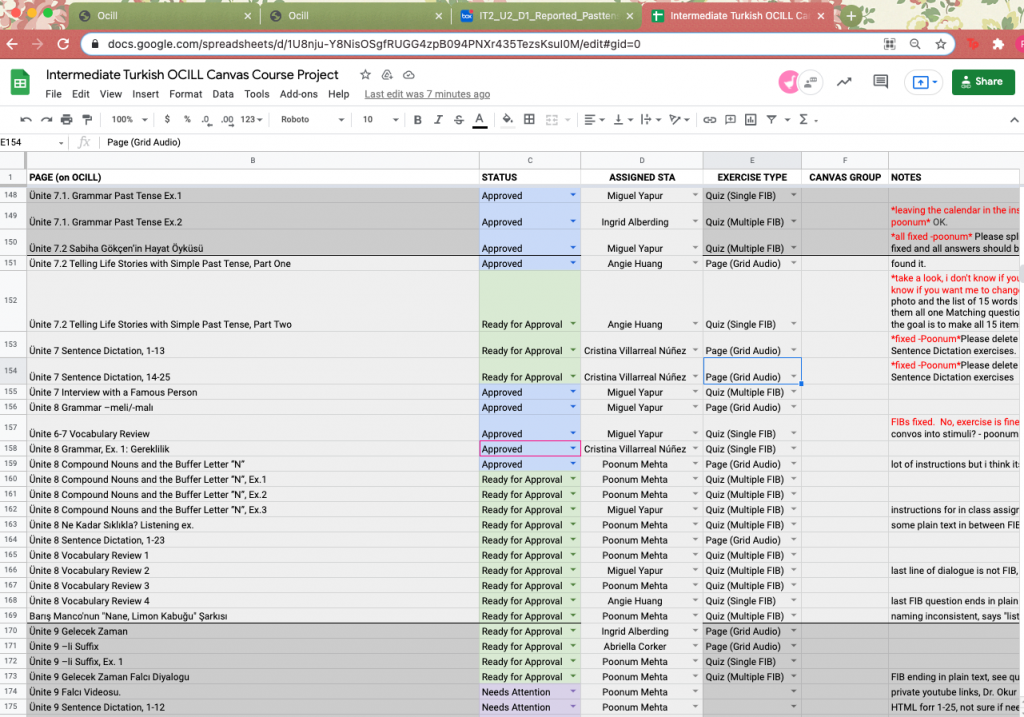
Hiiiiii blög sorry I’ve been MIA, been really busy with this huge project we are calling OCILL. For this project, we are transferring quizzes to Canvas from HTML files that use a quiz-making software called OCILL for two courses – Intensive Turkish 1 and Intensive Turkish 2. We’re using this spreadsheet to track progress and get feedback from Dr. Okur, the professor:
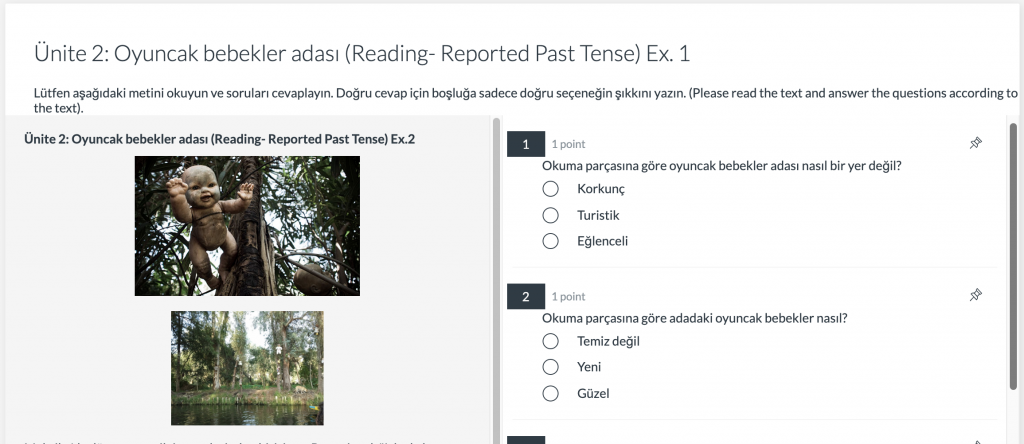
So we’re taking a page that looks like this: 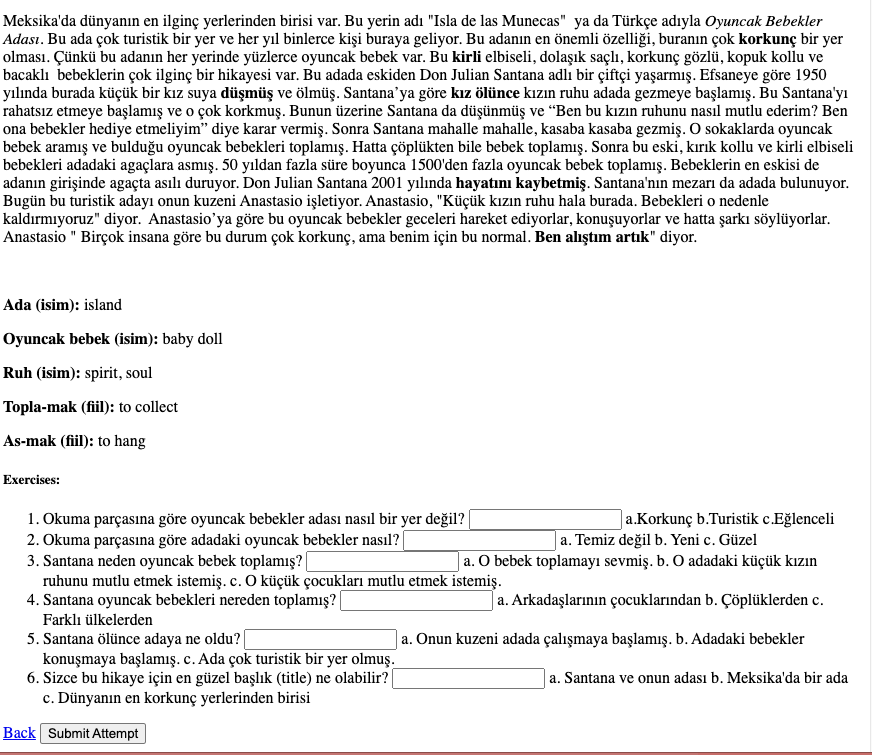
And turning it into this:
I’ve been working on this nonstop for 2 weeks? 3 weeks? I’m not sure, time isn’t real. We’ve completely finished our first round, now just waiting on Dr. Okur to review so we can make edits. This assignment needs to be done by the start of the school year, but I think we’re well on track – could be done as early as this Friday!
I also got an email back from our clients for the Dell Medical School project, and they’d like for me to create graphic flowchart based on a drawing they provided, so I’ll try to spend some time working on that later this week. Updates to follow 🙂
Flat File Site Coding
The Dell Medical School “Anatomy of a Bill” project is finally underway! Went to meetings for this a couple months ago and I *think* I blogged about it but as a refresher: Two Dell Med students want to create a website and Canvasser interactive that teach medical students (and eventually patients) about the components of a medical bill. I offered to work on the flat file site and it’s uhhhh a little hard! But I am doing the absolute best I can. I’m getting familiar with the basics again, but what I can’t figure out is how to turn an image into a button!! I’ve done it before but now it’s just slipped from my brain. Once I figure that out, I’ll have the logo refresh the site, and I’ll also place the “About Us” link on the top bar in line with the logo.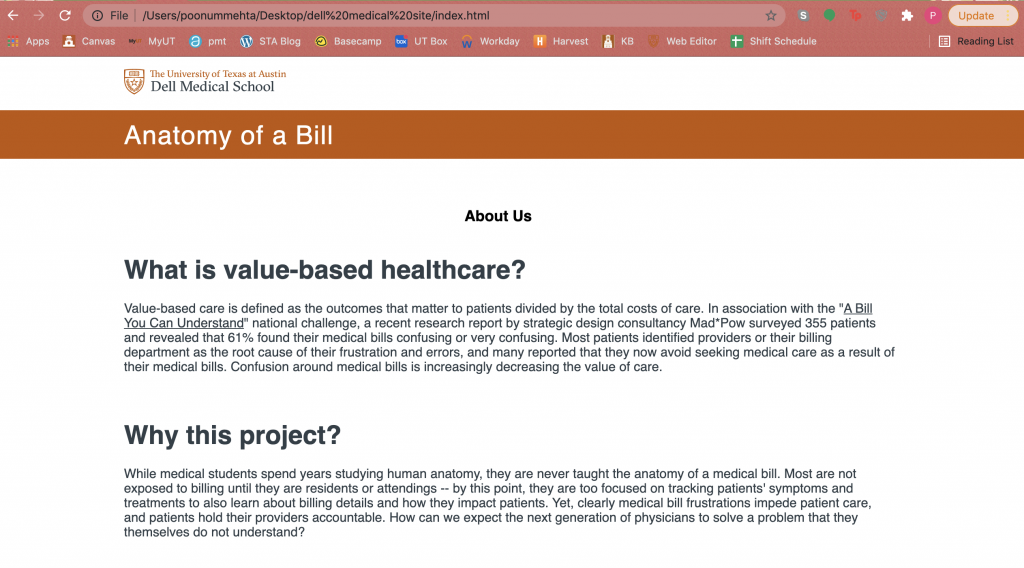
Updating KBs
Hi bl∞g this week I’ve been spending a good amount of time just tweaking and fixing KBs and organizing some internal content for LAITS. Let’s catch up.
Textures Training
I began making an advanced version of the textures training! This training’s going to be a little freeform…I’m providing a few examples of how to use and layer filter galleries and then convert their created ‘texture’ into a brush that can be stamped onto images. Here’s an example of a comic book effect I found:
I want to teach STAs how to add a reflection pool image like the one below: 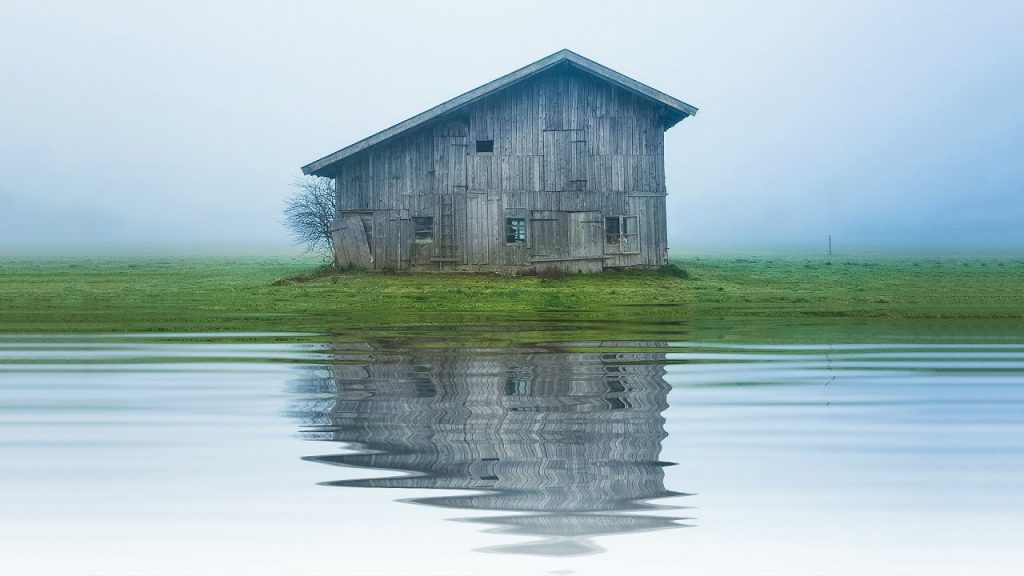 It’s a bit of a tricky process, though, so that’s taken me some time to figure out myself…hopefully I’ll make some headway there soon so I can continue writing up the instructions.
Typography Training
Ingrid had given me some feedback that the headings were uneven for the typography training, so I went through and standardized those. I’m wondering now if there should be some kind of template for all trainings so that headings all match.
Photo Sourcing / Color Grading Training
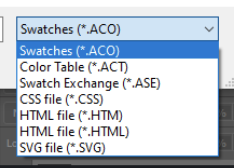
I finished up the instructions for this training last week, but Angie ran into some issues while she was trying to import the color table into the swatches panel. Initially, we thought this was a PC only issue, and that the color table ACT file was not compatible with the Swatches ACO file requirement. Turns out Angie just needed to select the file extension she was searching for (kind of a dumb PC thing if you ask me…)
That’s all for now!
Textures KB
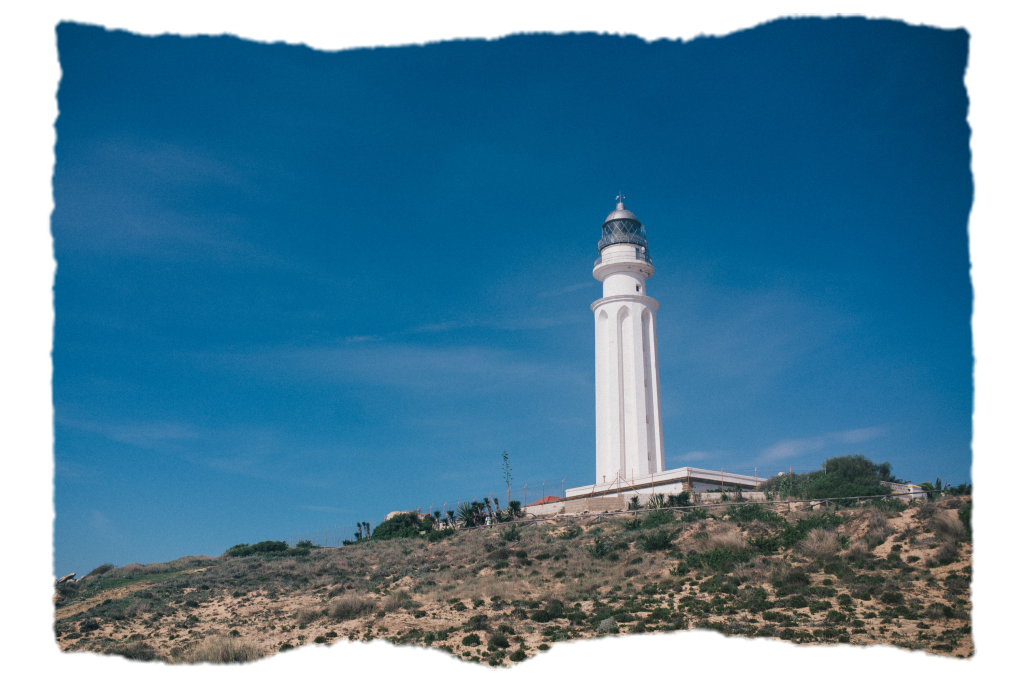
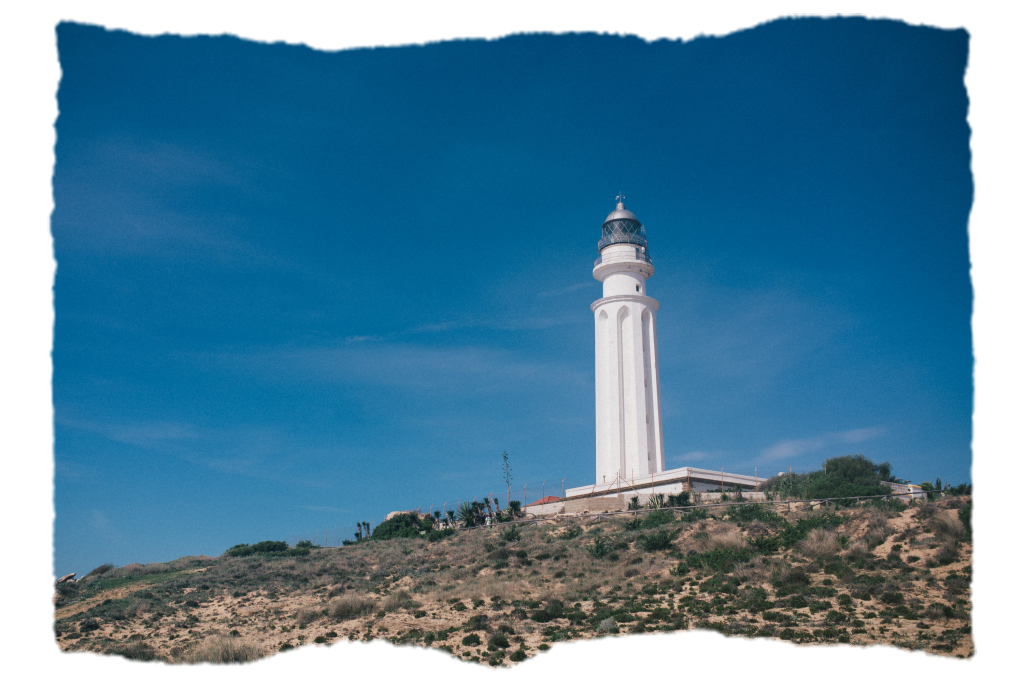
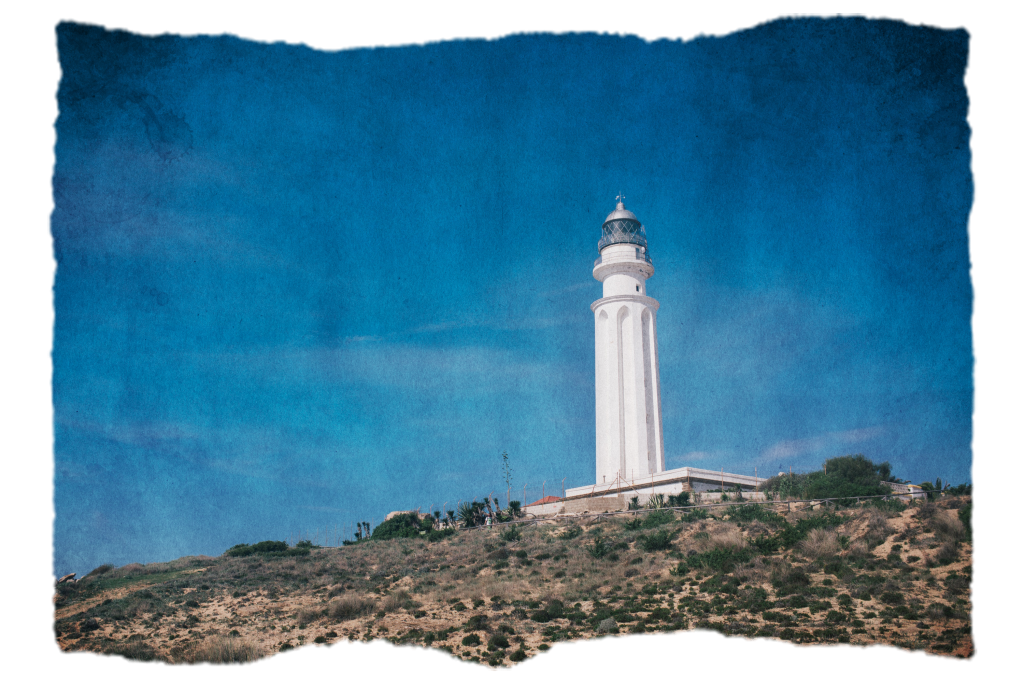
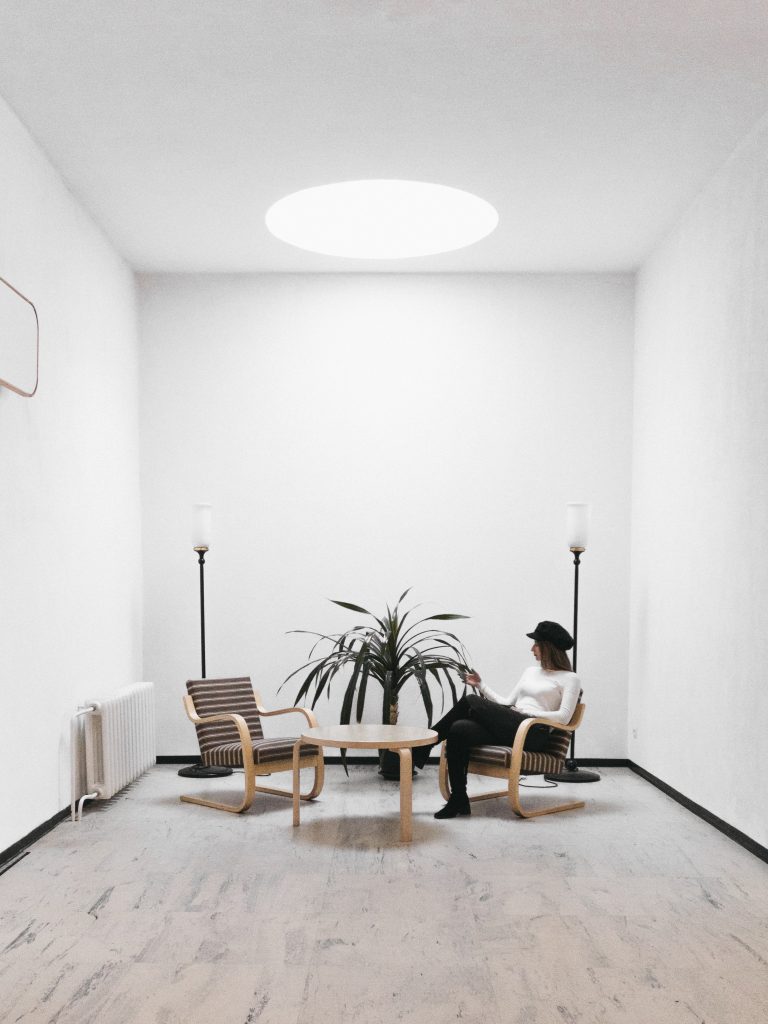
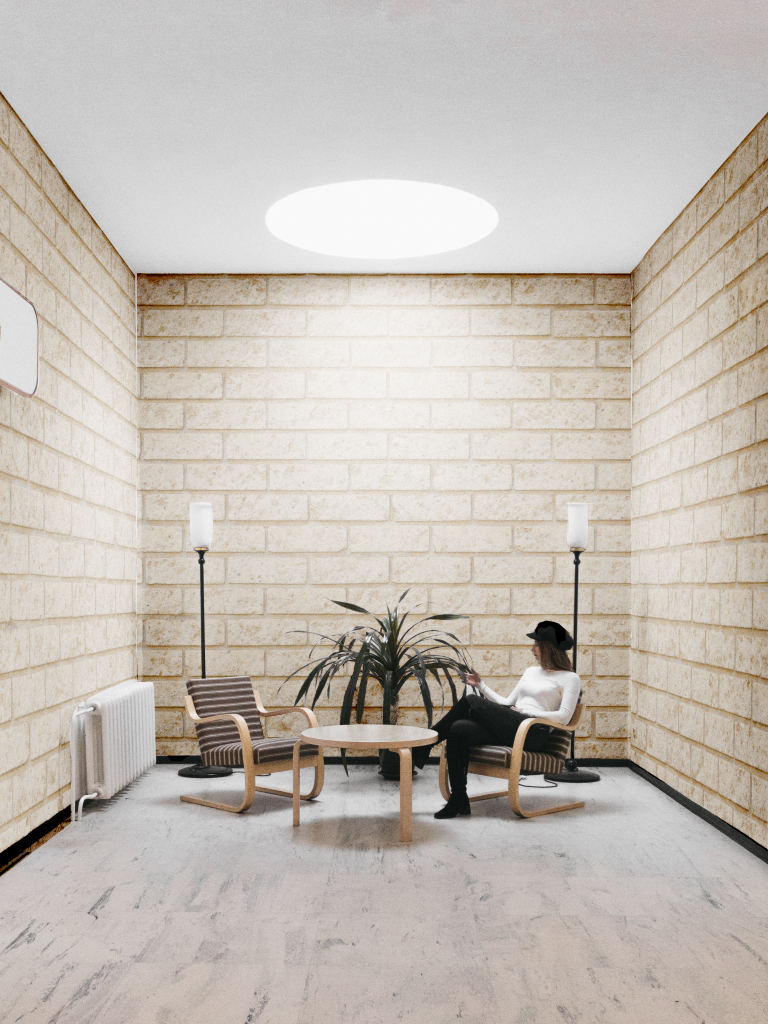
Hi blog, this week I’ve been working on a new training for the KB that will teach STAs how to work with texture overlays. The training goes through four processes that kinda built on each other. Below are the before/afters for each portion.
1: Textured Border
Before:
After:
Texture Overlay (with border!):
Before:
After:
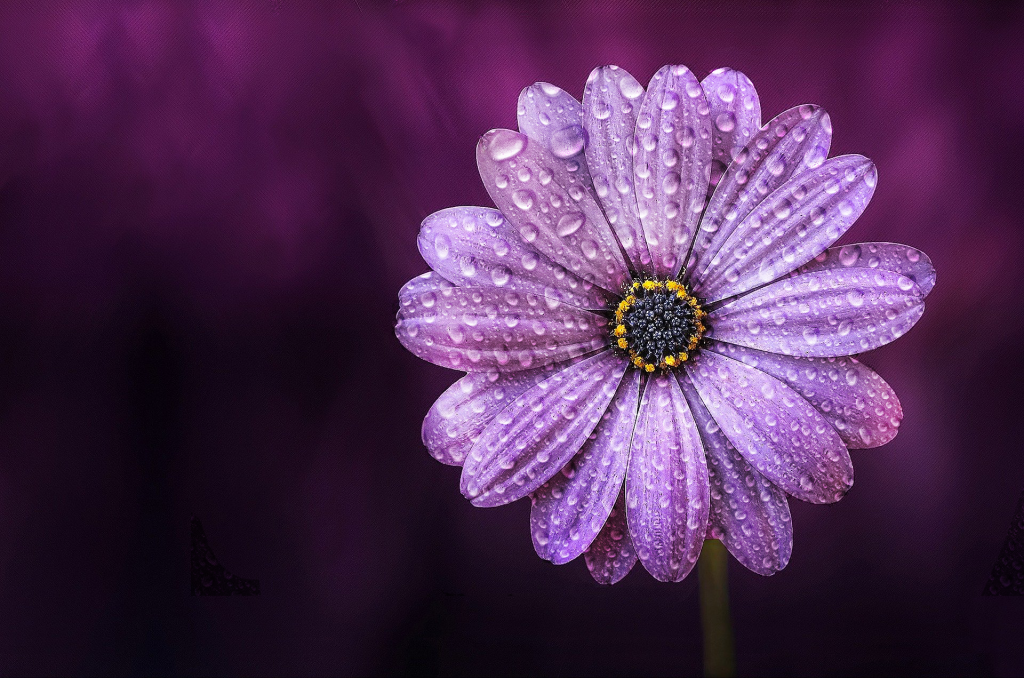
Selective Texture Overlay:
Before: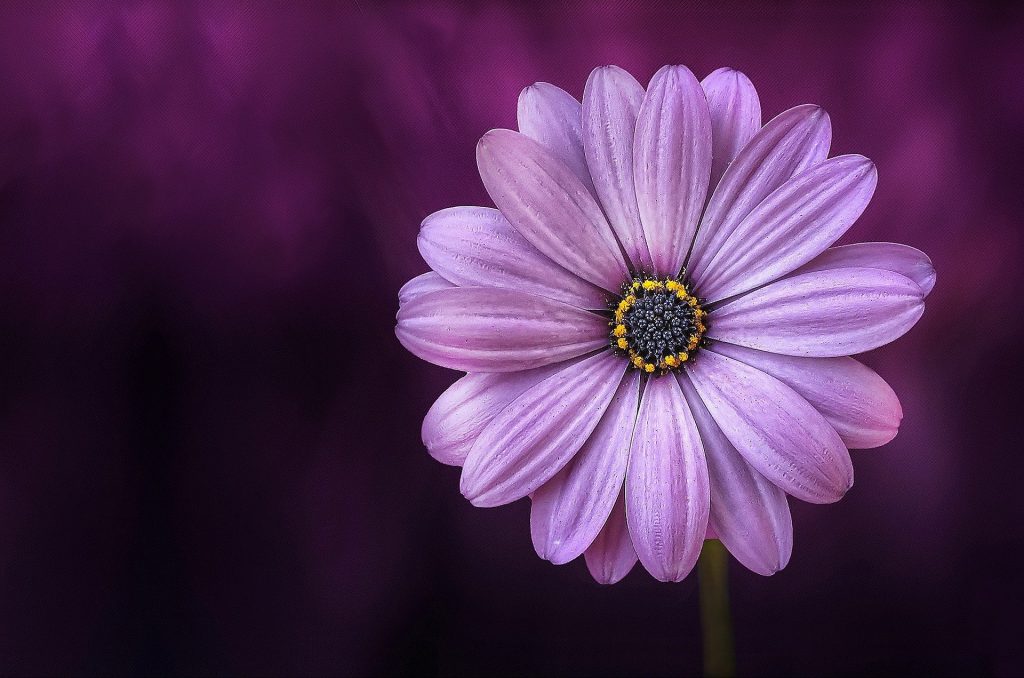
After:
Finally, 3-D Selective Texture Overlay:
Before:
After:
I think for the final task of the training, I will ask STAs to create a textured portrait (of themselves ideally, or using a stock photo) that incorporates the skills gained in the training. Some cool examples Suloni showed me: 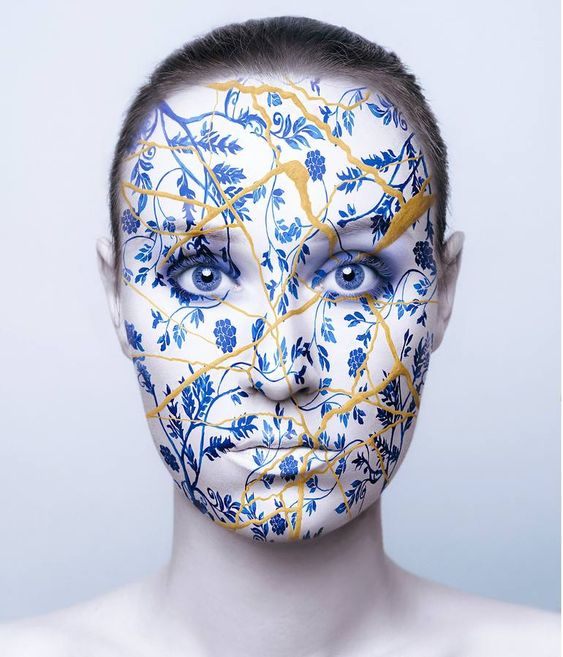
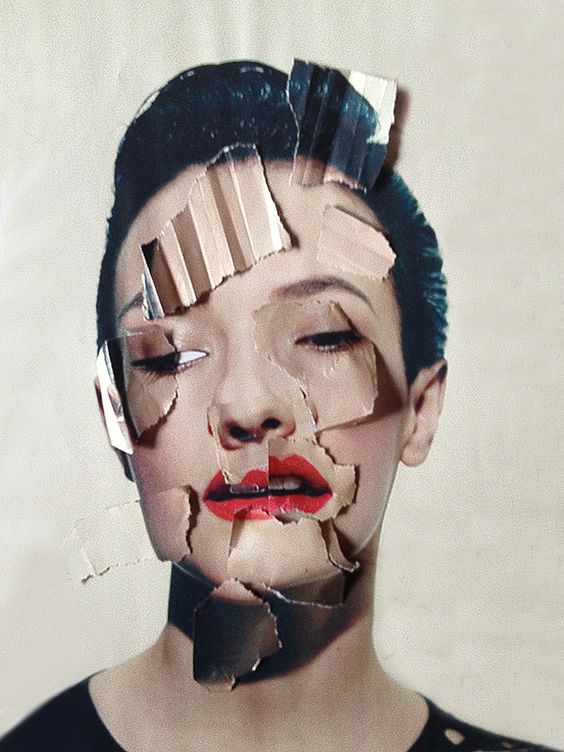
I’ll brainstorm some more next week!
Updating Icons for Portfolio
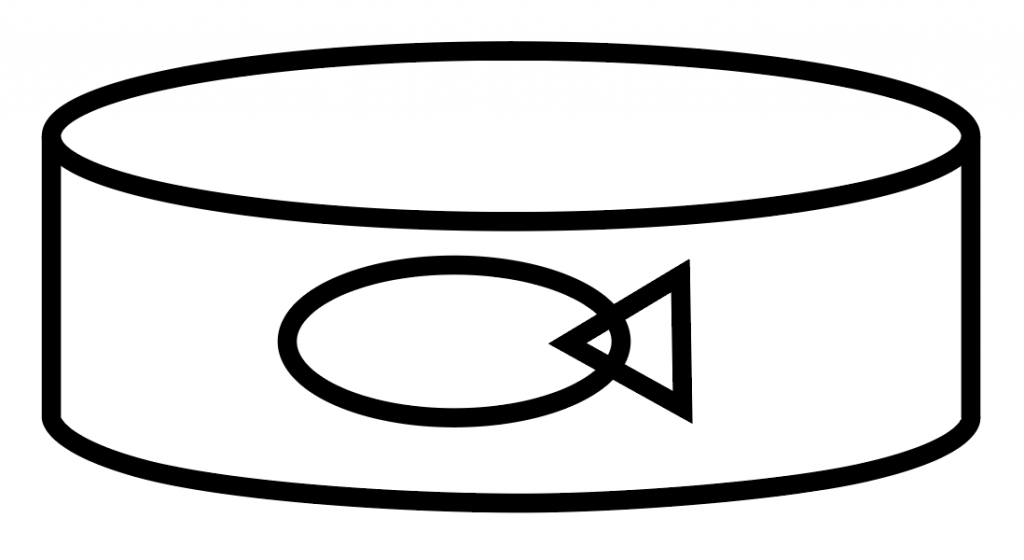
Hiya blõg today I created some icons to be put in an infographic portfolio that will be shown to clients. Here are the original icons, we initially got these from The Noun Project:
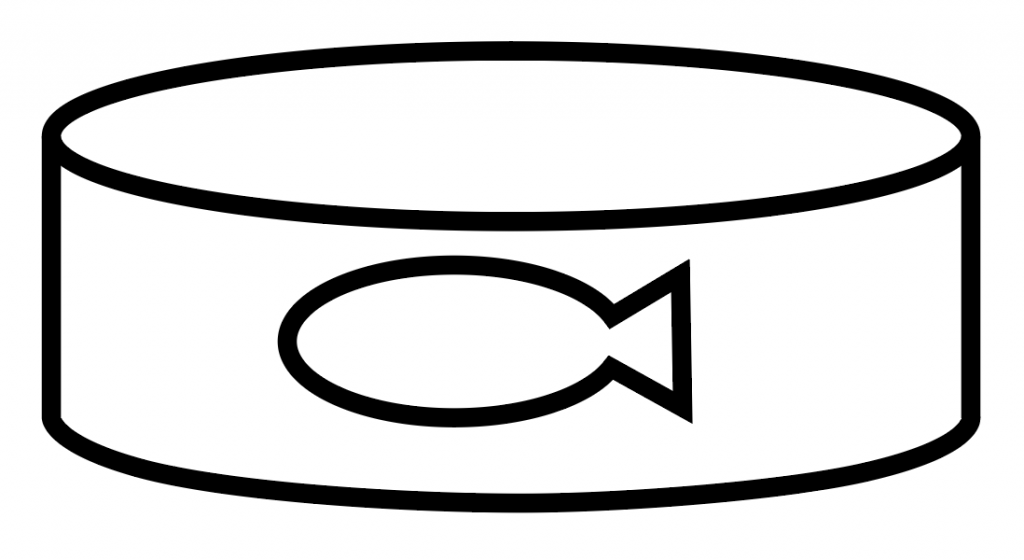
To create updated graphics, I combined shapes and line paths in illustrator, like so. The first image shows the ellipse and triangle that I combined to make a fish:
Maddy and I decided on doing curved corners for all the graphics, here’s the finished product! :
Loooved doing this honestly, icon creation is so fun because there’s no one right way of getting to your finished product 🙂
- « Previous Page
- 1
- 2
- 3
- 4
- …
- 11
- Next Page »

