Training: Course + Studio Graphics
For this training, I was tasked to create a set of course and studio graphics for any course, real or imagined, at UT. I chose to come up with a course that I would like to take in an ideal world, and I called it ARH319: Queer Expression in the Visual Arts, taught by Prof Holly James Johnson.
My goal was to create a cohesive set of graphics that communicated the informative tone of the class while still keeping the energy a little playful. I feel like there is such a range of emotion conveyed in queer art throughout history, and I didn’t want the initial impression of this class to be too somber.
Tier 1: Course Graphics
I began with the course graphics that would appear on the canvas page and powerpoint backgrounds. Creating a range of options, some with solid color layouts, and some with online imagery usage, allowed for options to reference as I continued and options for the professor who would be using them.

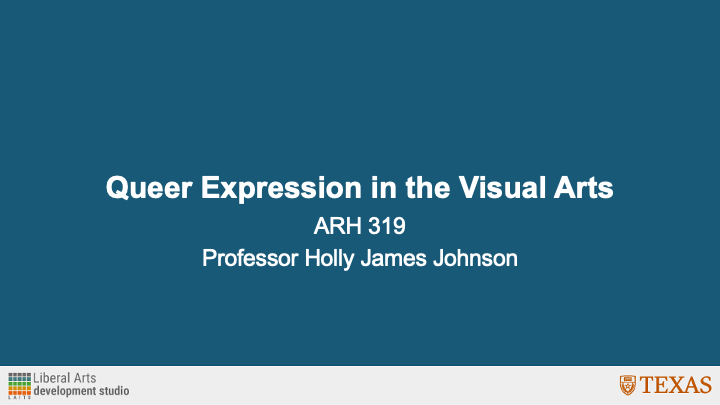
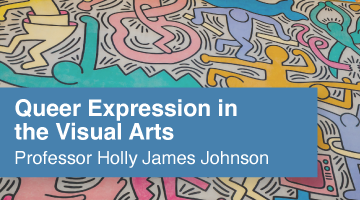

Seen here are the solid color and online imagery compositions for the canvas dashboard and powerpoint background.
Tier 2: Studio Graphics
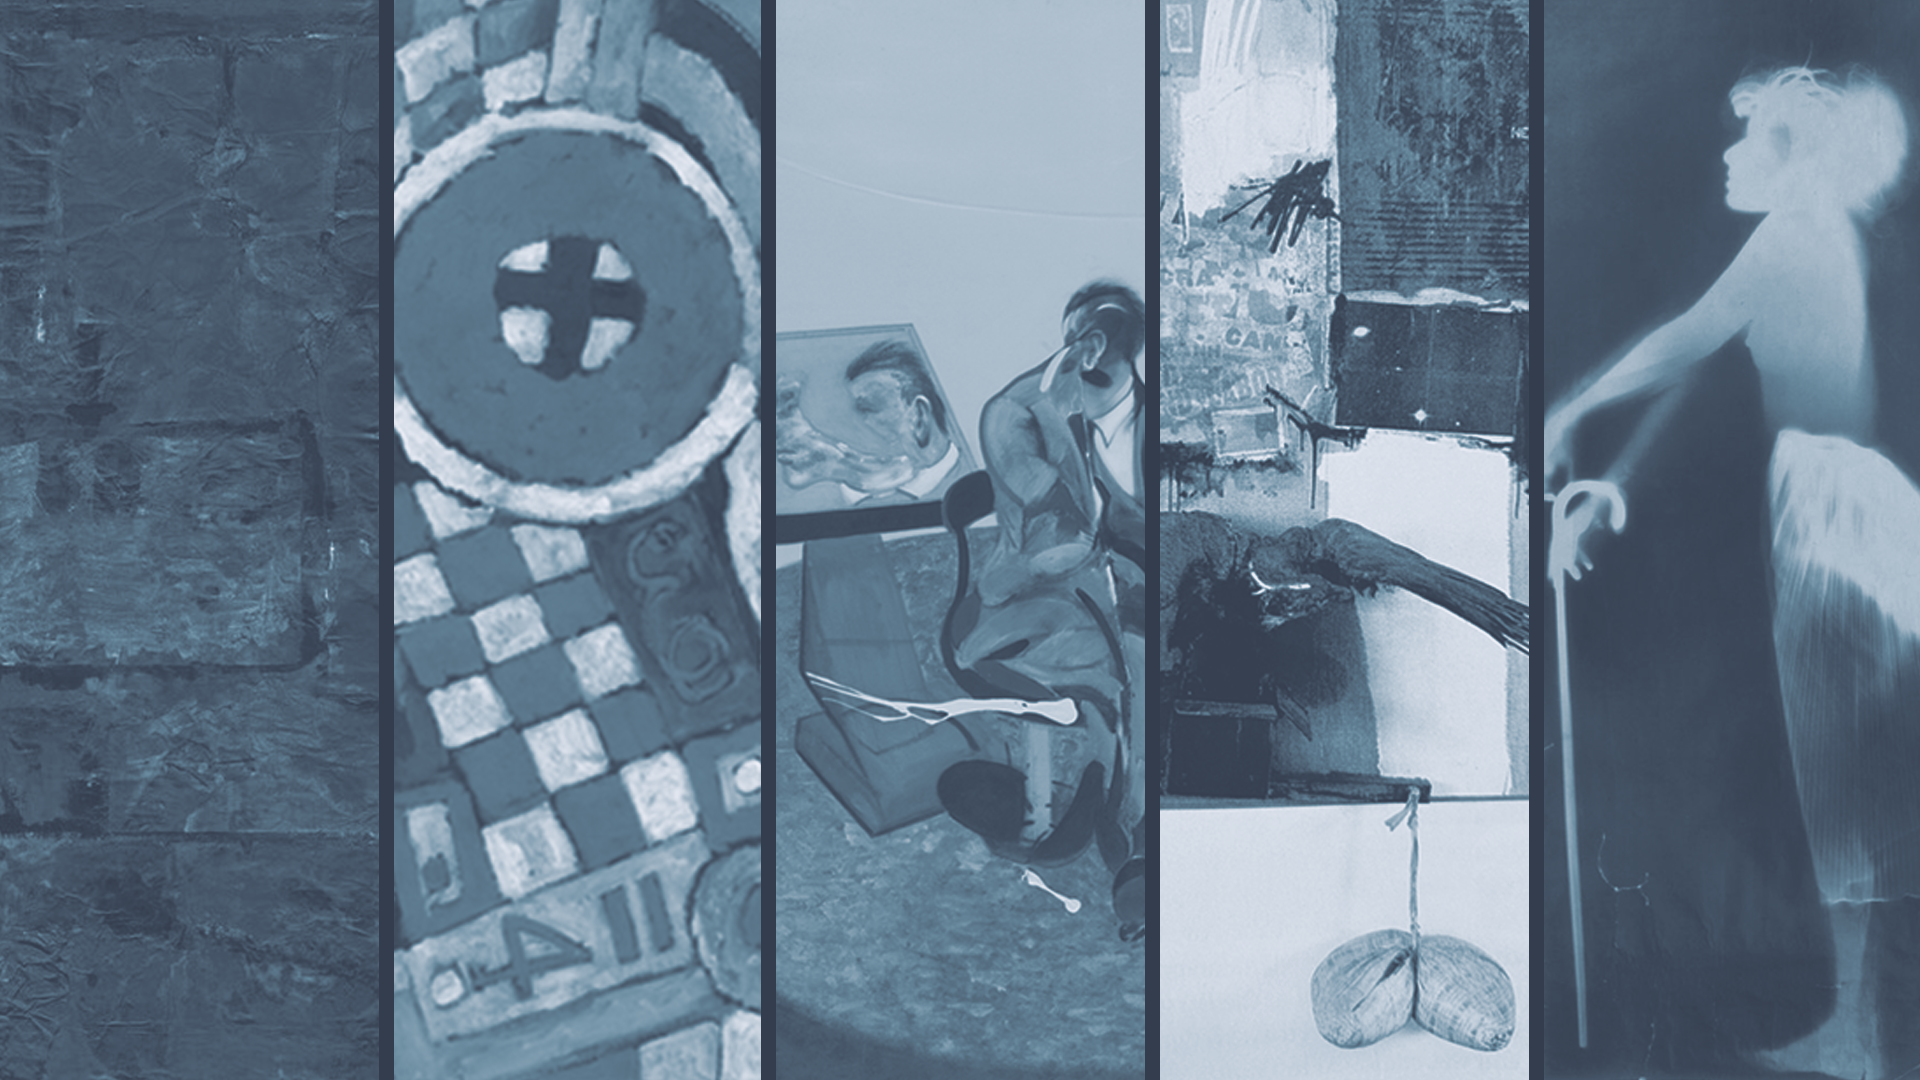
Next, I began to work on the studio graphics. For a digital backdrop, I began with this initial design (left) and after receiving feedback, redirected slightly to an option with dividers and less images (right).

Full Course + Studio Graphics Set:
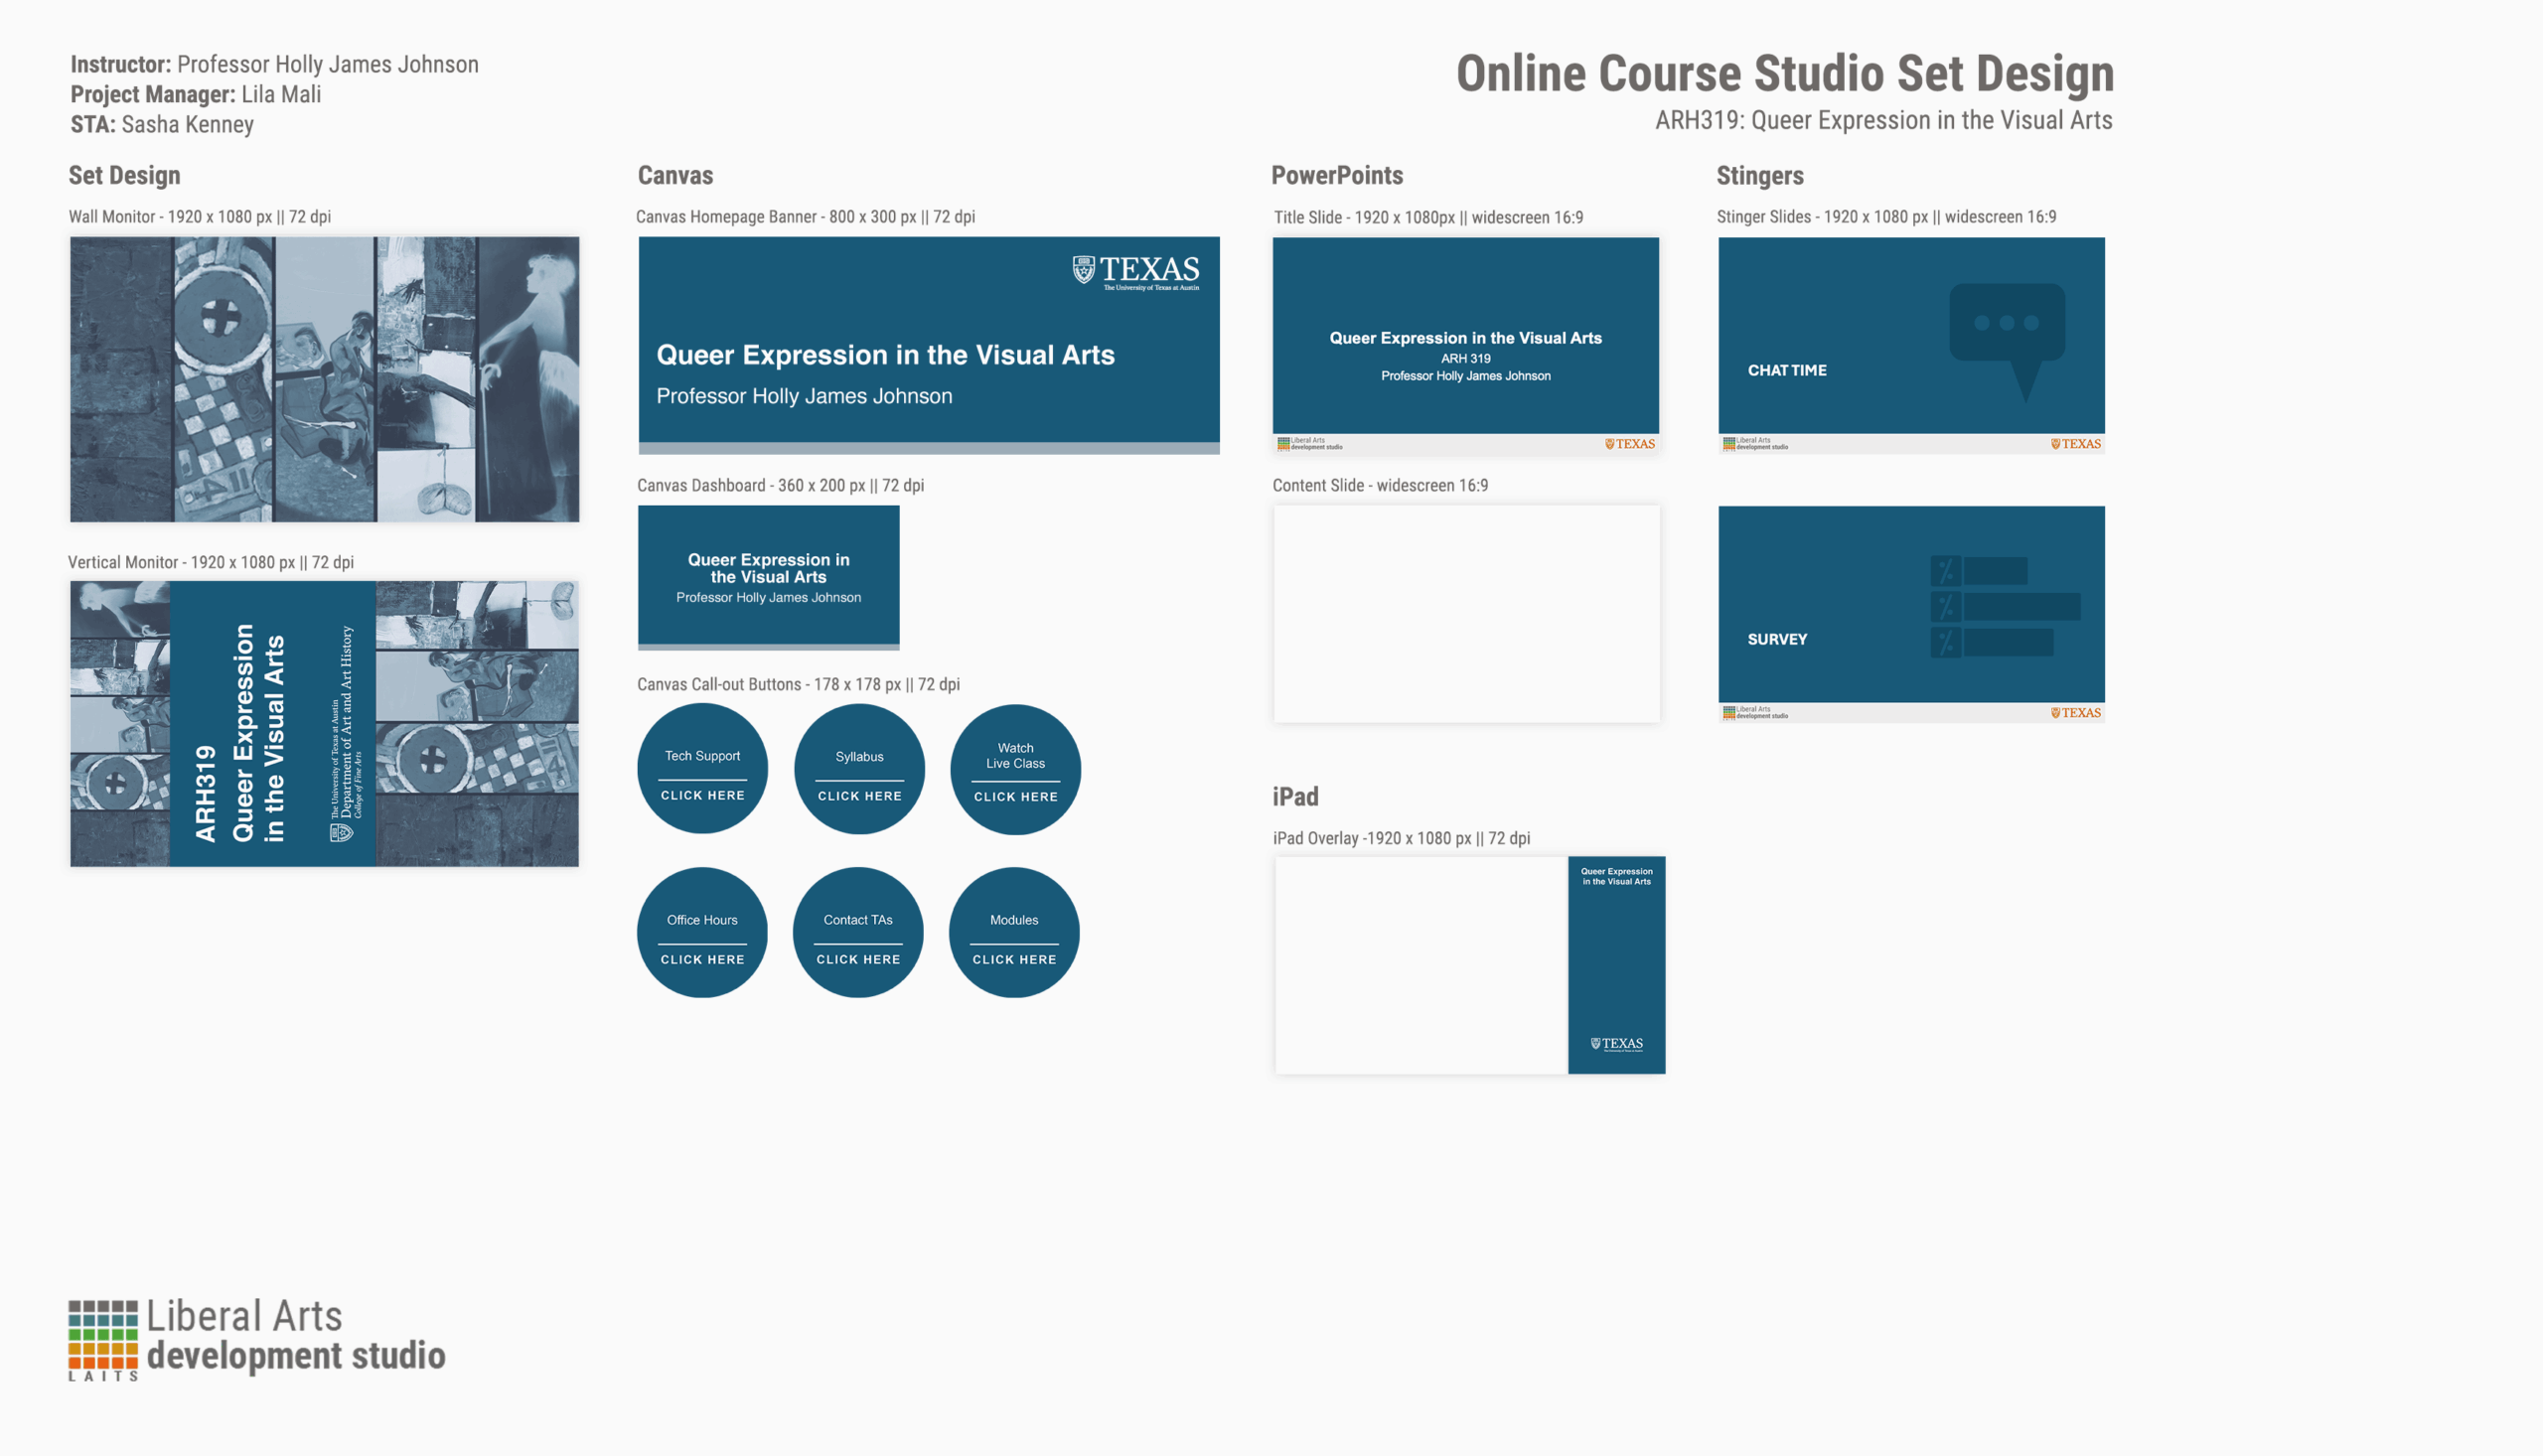
Now I was able to complete a full set of course and studio graphics, with wall and vertical monitors, canvas aspects, powerpoint aspects, stingers, and an iPad overlay.
Final Thoughts:
I had a lot of fun with these trainings. There was just enough direction that I felt like I was able to easily follow along and complete each step while also having a say in what the final result would be. It was really cool to see every piece come together in a cohesive way. I feel like my intention and design direction is communicated efficiently.
Tier 3: Animated Course Graphics
For this part of training, I got to have my first taste of animation!! Which was super exciting for me, as I have never touched Adobe After Effects before. Here I was tasked to create animated stingers, a pre-roll animation, and an animated intro for the class.
Animated Stingers
Seen here are my animated stingers. These were pretty straightforward, and didn’t take me too long once I adjusted to the After Effects setup.
Pre-Roll Graphic
Next was the pre-roll graphic. This part took me a little bit longer because I had to first edit the file directly in Photoshop before touching After Effects. I had to make sure the translation between the two programs worked efficiently, but as soon as I figured that out, this part was very satisfying to see come to life.
Animated Intro
The last part of this tier was to create an animated intro for the class. This was the part that required the most planning, as I was tasked to come up with an exact vision for what I wanted it to look like via storyboard (seen below).
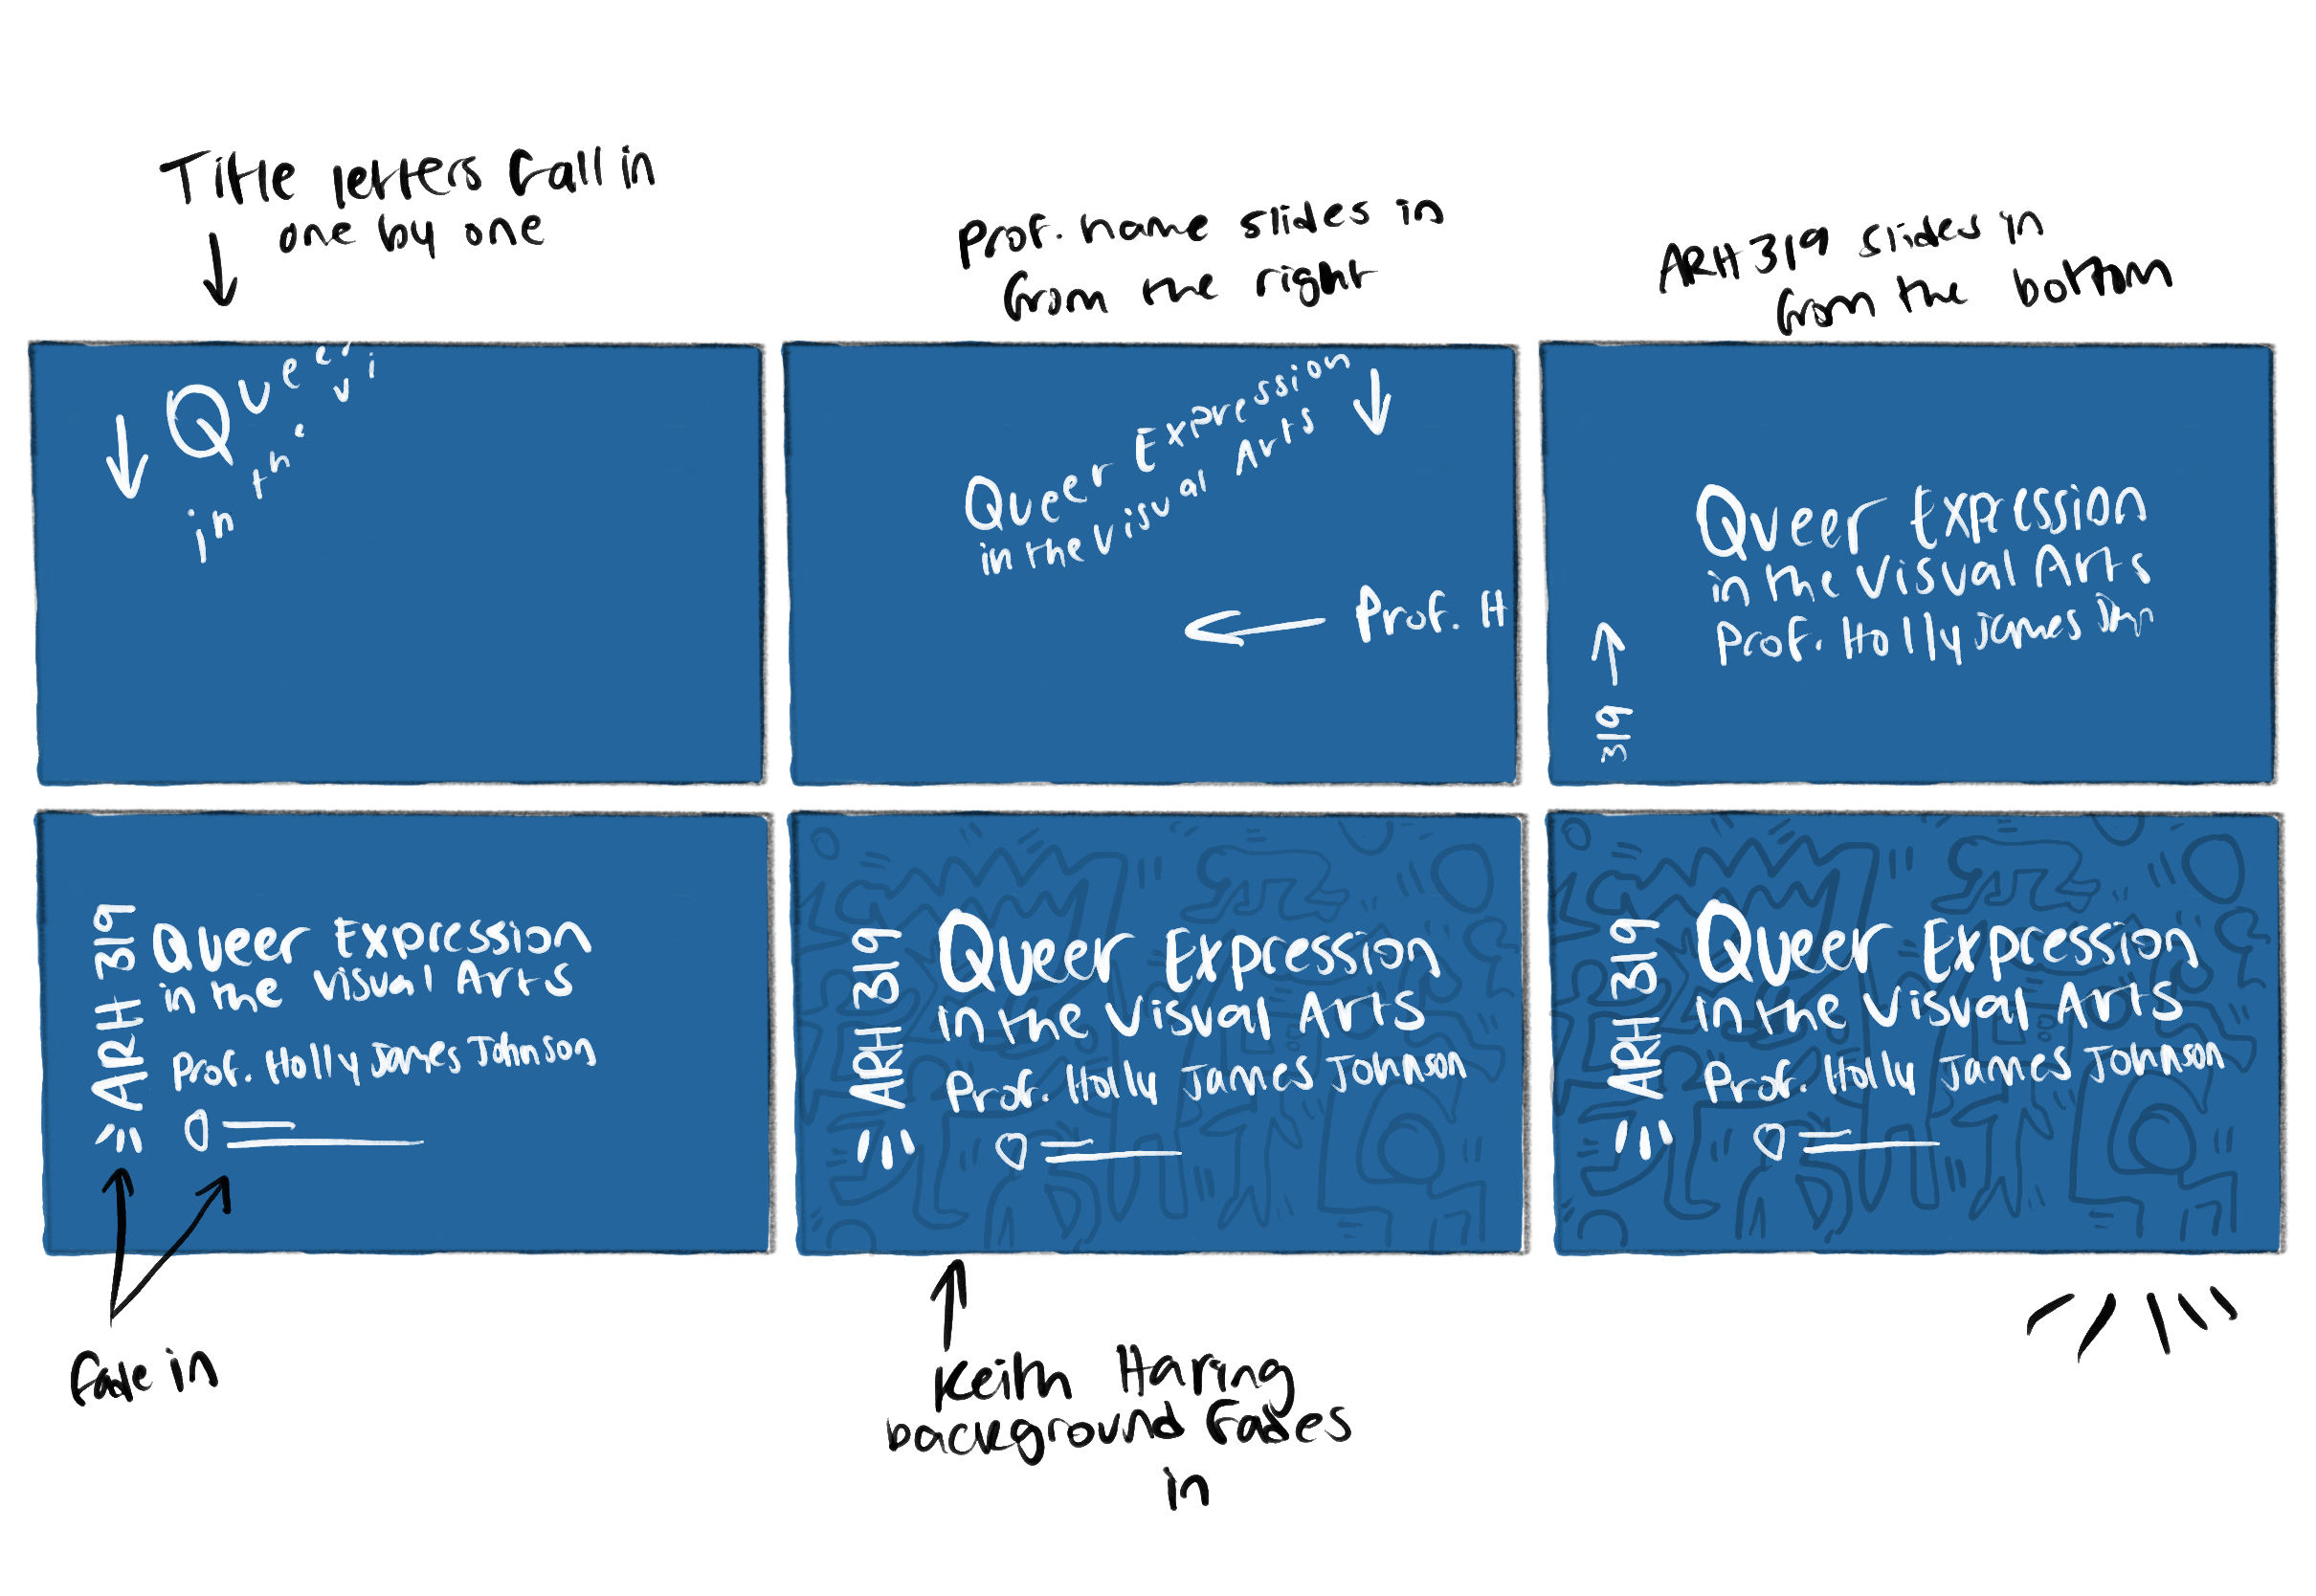
I really wanted each element to stand out in its own way, and try out various AE effects at the same time. This concept made that possible.
Final Thoughts:
This tier was a lot of fun. I learned a lot about After Effects and how many details go into even the shortest animation through that program. I feel very satisfied with how the results of each training tier align with each other to make this class feel like a real class here at UT.