Live Trace – STA Training
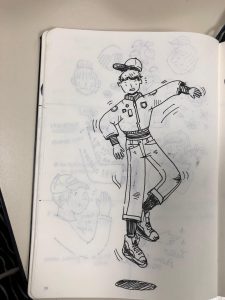
This training exercise was something I had a lot of fun with. I took something I doodled in my sketchbook and then converted it into vector art!
Here is my process.
Step 1) First, I drew something I liked in black pen, made sure they were clear lines and it was what I was satisfied with.
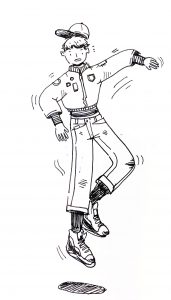
Step 2) I took a picture of that drawing and then I opened it in Photoshop and increased the brightness and contrast (2nd photo) to make the process easier for the image trace with a clearer photo.
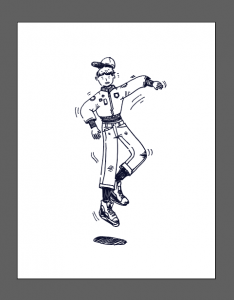
Step 3) I saved that image as a new image (jpg) and then opened it onto Illustrator. From here, I went to Object > Live Trace > Make. Now your drawing has been converted to vector! (below)
Step 4) Color Time! For me, I took an artwork I admire/like and decided to go with a similar color scheme as them. BUT, before I color, I made sure the white parts of the drawing were clear, or of no color. I went through all the parts that are colored white and made them transparent. Then, I layered each element I wanted colored and mostly used the brush tool to color behind the vector art. In the end, I finished it and it turned like that! (below)


