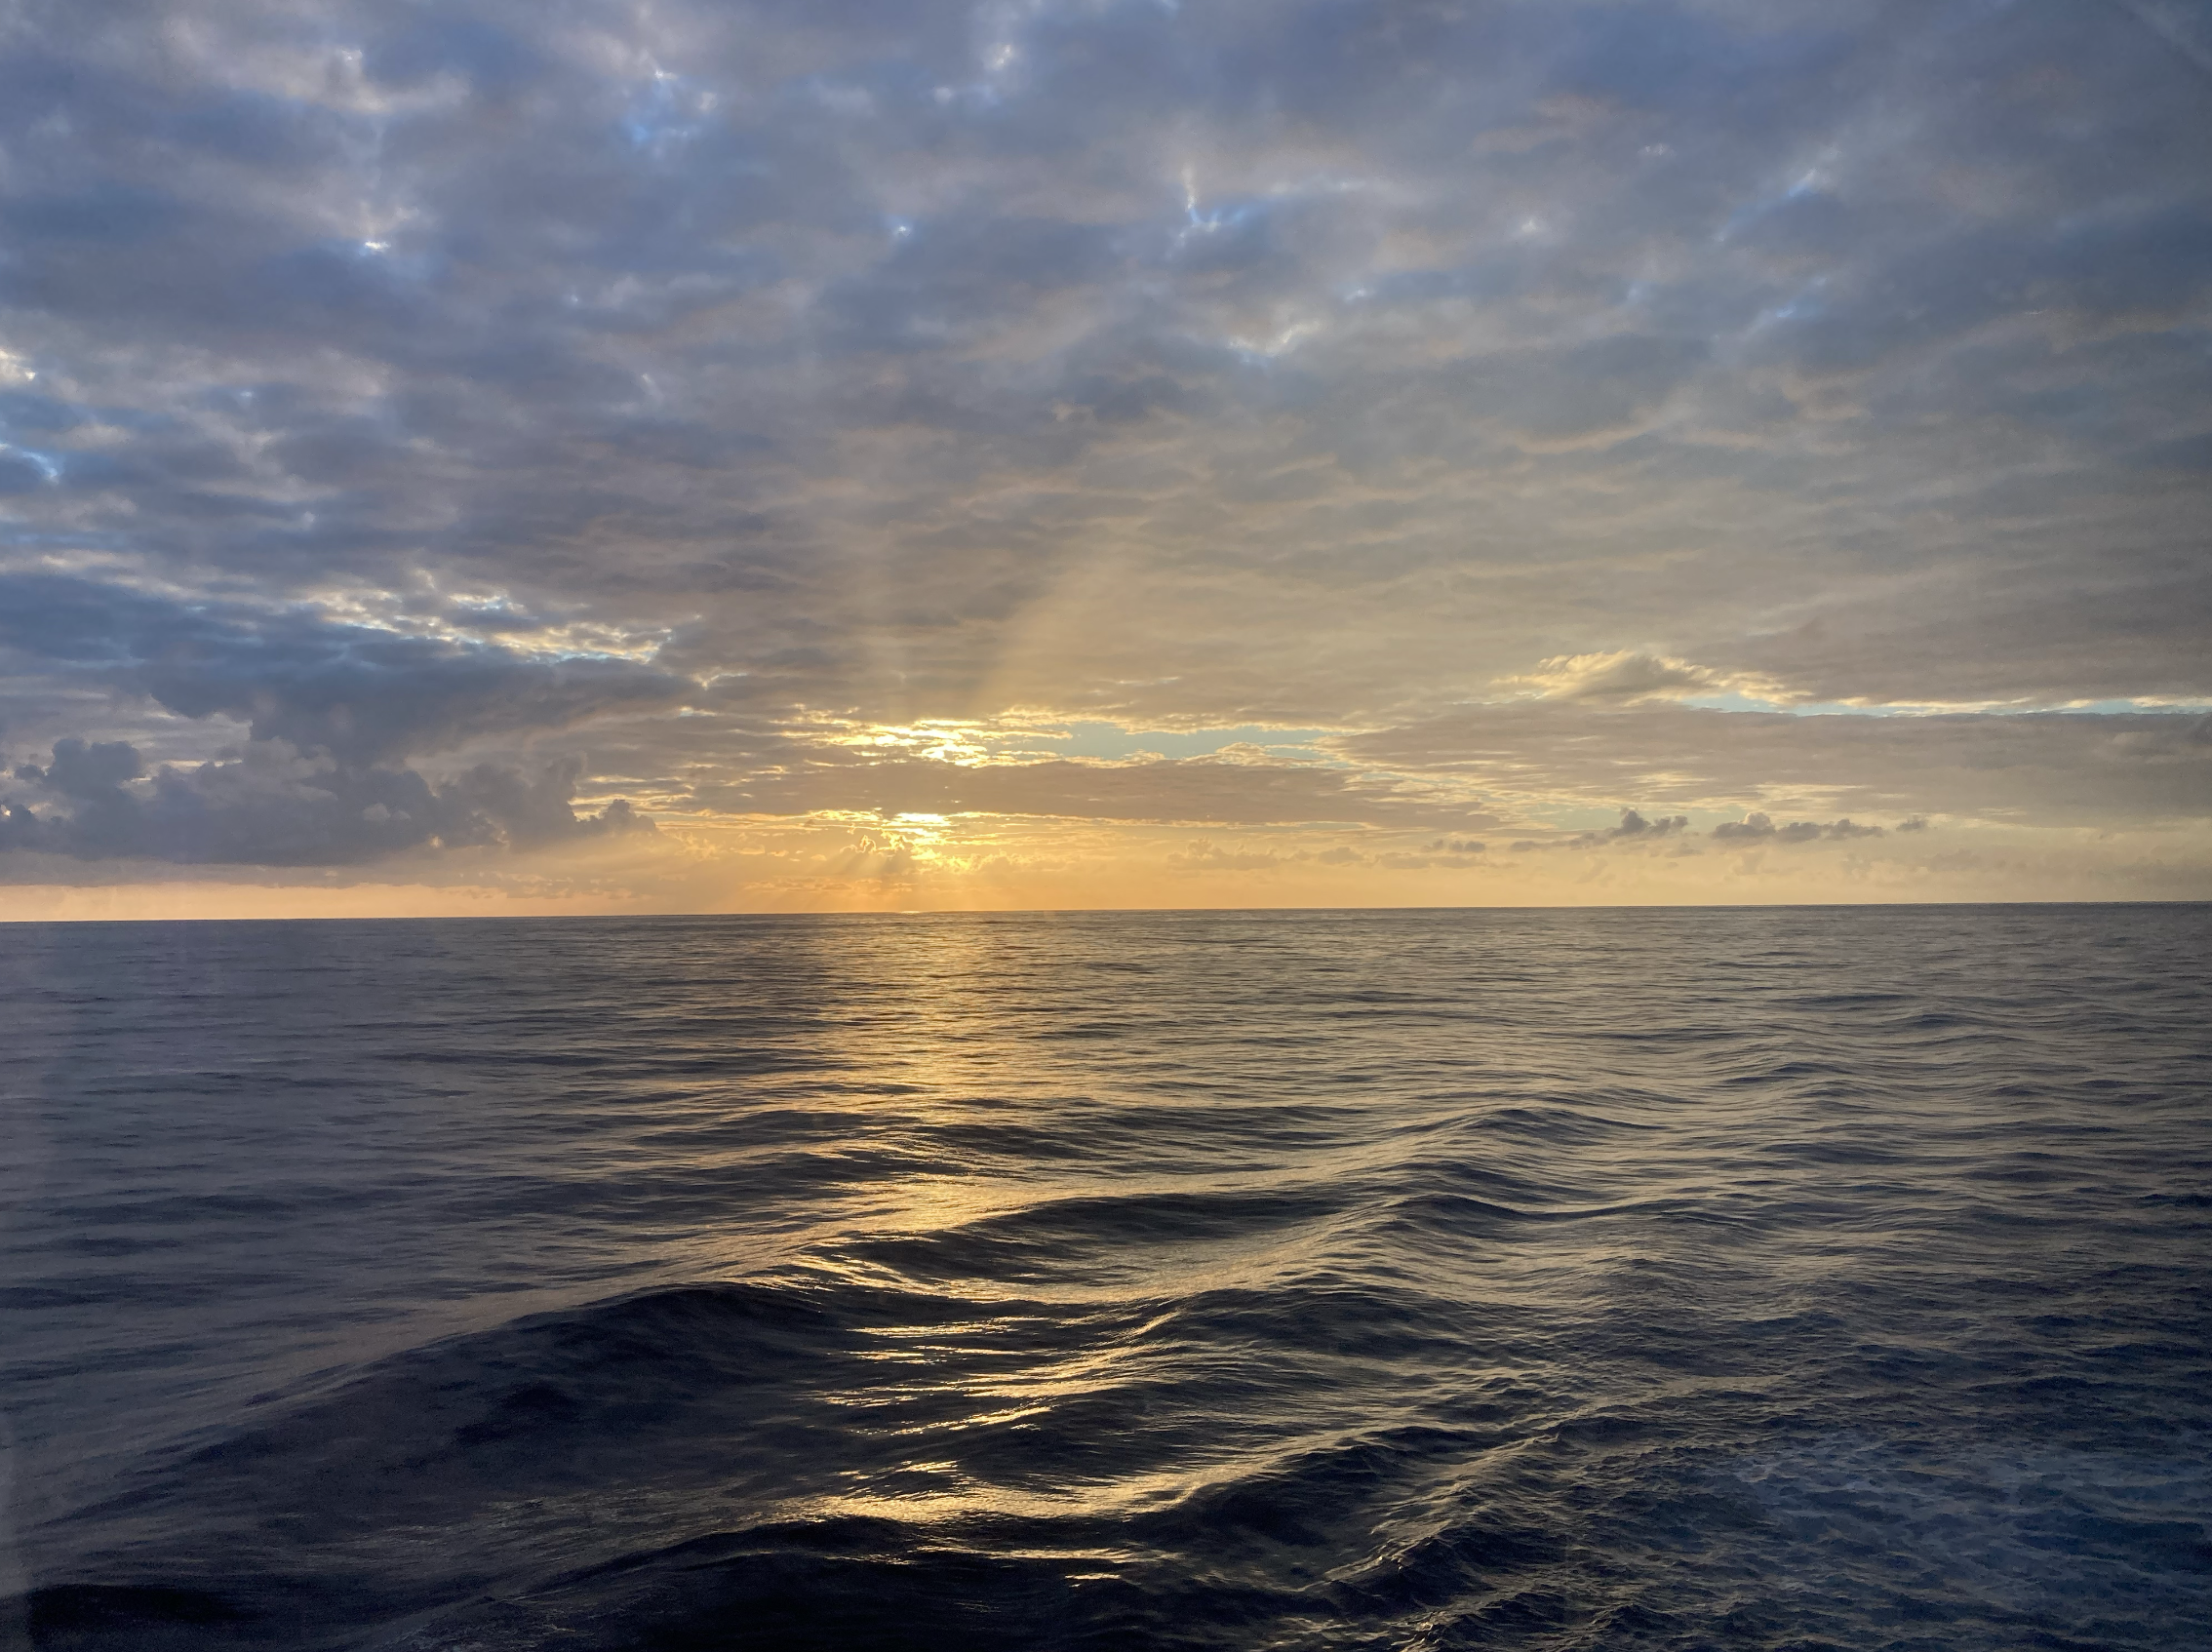
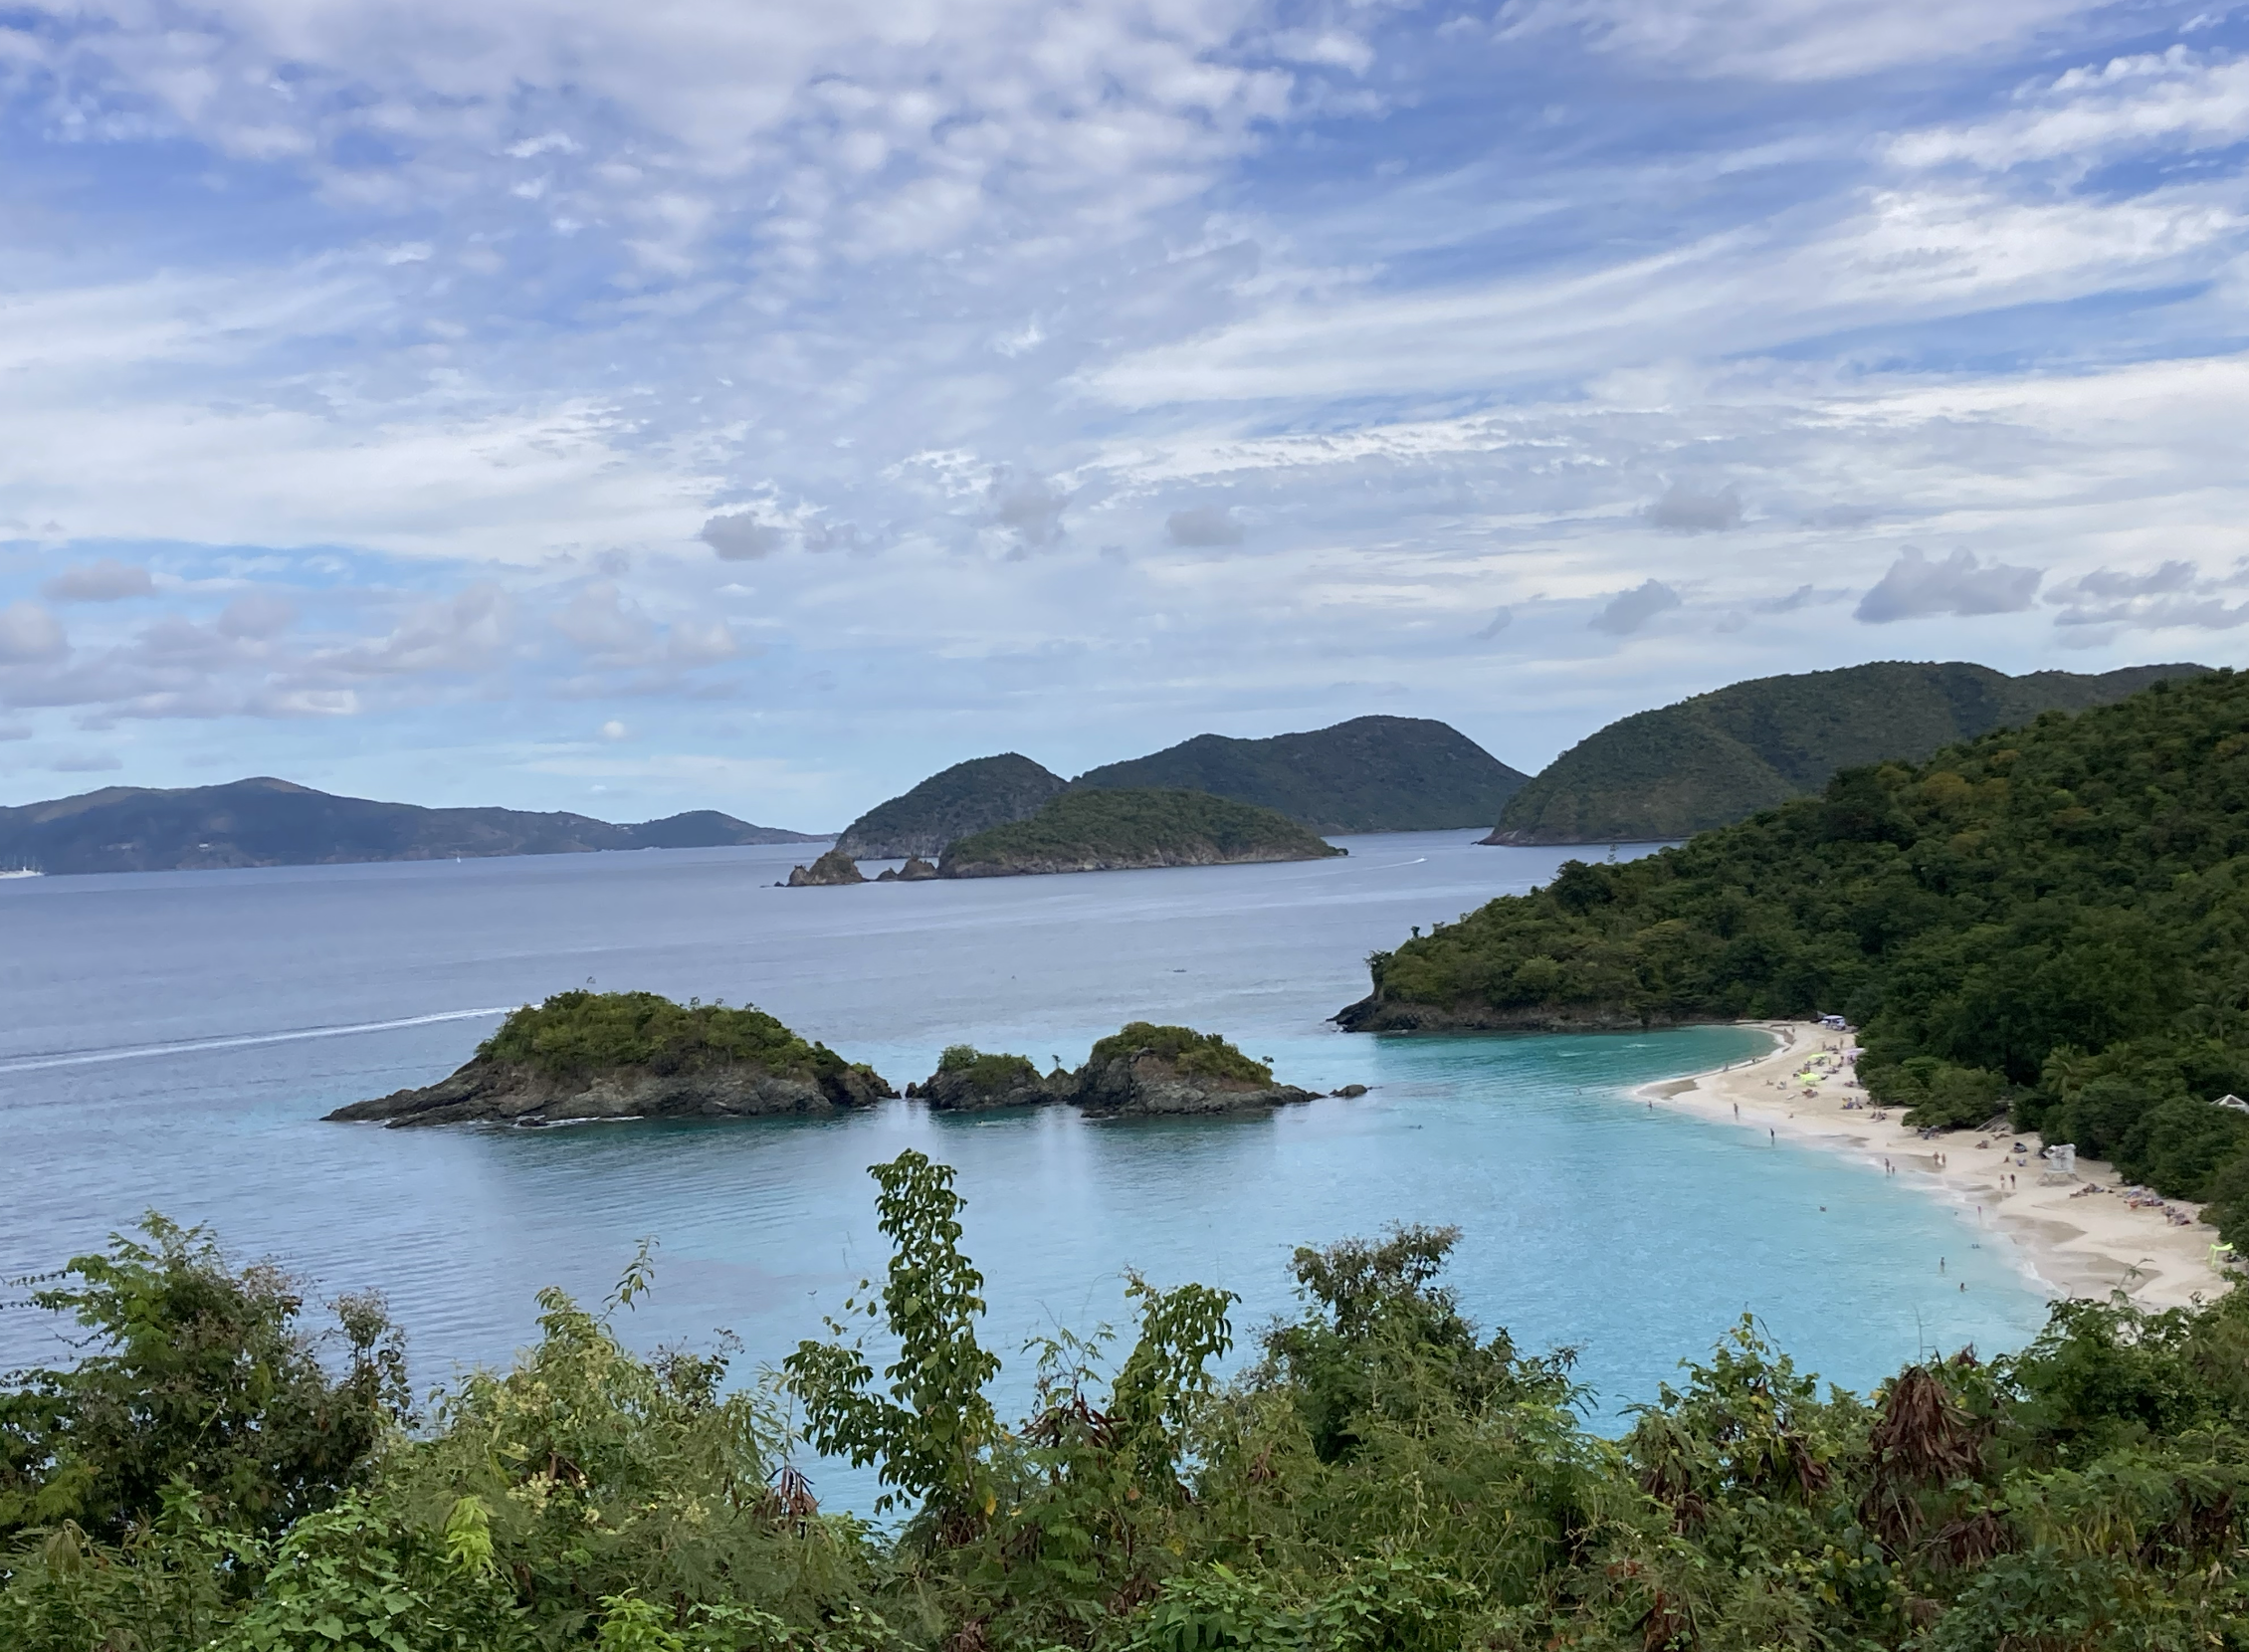
After two weeks as a Design STA, I’ve finished up my orientation and have gotten through a solid amount of my trainings. This past week, I started my first project and have been receiving feedback from my fellow STA. I’ve enjoyed working on this project as it’s a text logo, something which I could improve my skills on in Illustrator.
Current Sta
First Blog Post
Welcome to my Blog!
˗ˏˋ ★ ˊˎ˗
Hi! I’m Asha Rountree, and I recently joined the Design STA Team! ᓚ₍ ^. .^₎
I am currently a Sophomore majoring in Informatics, and I’m from Austin, TX. After one week, I’ve enjoyed meeting the other STAs and getting familiar with the work tools. I’m looking forward to working on projects, and I’m very excited to grow as a designer during my time as an STA!
First Blog Post
Hello! Im Tomás, a new Design STA. Career wise, I currently focus on graphic design, photography, and occasionally some 3D VFX. As for some of my more personal interests and hobbies, I love learning about history, language, and politics. I am a class of 2028 Middle Eastern Studies major in the Arabic language track.
During my first few days as an STA, I have been focusing on getting accustomed to the work environment and finishing up my orientation tasks. One of my favorite tasks so far has been the STA Bio.

My last piece of work to scratch off the list is to finish up my caricature and then continue on with any future tasks.
Welcome to the STA Blog
Hi Tomas! Welcome to the STA Blog! This the page where your blog posts will published.
Toward the end of your STA Orientation, you’ll design and upload a banner to go at the top of this page.
Upload a Blog Banner
Step One: Design Your Banner in Photoshop
Use these Photoshop specs when you’re making your banner:
-
- Your banner should be 780 pixels wide (the height doesn’t matter)
- Must include your name, your major, and your expected graduation year
- Your banner should reflect who you are (your personality, interests or major)
- Make sure to save your banner for the web (i.e. File > Export > Save for Web (Legacy))
- If you save your banner as a JPG, make sure sure the quality is high (i.e. at least 60)
Step Two: Save Your Banner
- There are two places you can save your completed projects: UT Box and the LAITS server. You’ll be given a personal folder in both locations. For now, you only have to save your banner to UT Box, but you may have to access the server at some point in the future.
Accessing UT Box
-
- If you haven’t already registered with Duo, follow the instructions here to set up an account.
- Then log in to UT Box with your EID and password: http://utexas.box.com/
- Go to the folder called Design-Coding-STAs, then the subfolder STA-folders
- Find the folder with your name on it
- Save your banner both as an image and an unmerged PSD
Accessing the LAITS server
-
- Accessing the LAITS server from off-campus is slightly more complicated.
- You’ll need to be registered with Duo if you aren’t already (you can register here).
- Then you’ll need to connect to the UT VPN and the LAITS server. The videos below will walk you through how to do that:
- Then navigate to your STA volume folder and save
- smb://file.laits.utexas.edu/sta/Tomas Marulanda-Mesa
- Save your banner both as an image and an unmerged PSD
Step Three: Upload Your Banner to the STA Blog
- Log in the the STA Blog here. You should’ve received an email confirming your new WordPress account with your username and assigned password. If didn’t get it or you can’t log in, ask De’sha or another STA.
- You’ll be able to change your password anytime by going to Users > Your Profile > Account Management > New Password.
Uploading media and banners in WP
- Read these links before you upload your banner.
- They will walk you through how to upload media to your blog.
How to Upload a Homepage Banner
Make Your First Blog post
- Reflect on the day. You blog posts will be a documented experience of your time as an STA with LAITS. They can include anything you want to share about the projects you’re working on, and the more media (screenshots, images, links, videos, gifs) you can use, the better.
- For today, write a bit about about yourself and what you did during orientation.
- If you haven’t already, upload your banner.
Things to Remember
Image Specs
- You should never copy and paste images intoto your blog. Always upload images into the media section of blog first (Click on the add media button), then insert the image from the media folder to display on your blog.
- Don’t use the thumbnail version of your images.
- Use images that are 72 dpi
- Screenshots are fine
- Images that are 780 pix wide format nicely above or below text blocks
Always Categorize Your Posts
- Always check the category “Fall 2025 – Spring 2026” on the blog posts you make this summer. This is the only category you need to check.
- Make sure your posts are categorized correctly so that all of your work is documented in the correct semesters.
Commenting on Basecamp
Notification comments: etiquette, files, questions, feedback
Let us know when you’ve completed this task by adding a link to your blog to a comment in Basecamp.
Notes for all comments in Basecamp:
- *Always address the person/people you are writing to by their names.
- *Always use complete sentences.
- *Always add links or paths to your design file in your STA folder.
- *Make it easier for your collaborators and mentors to give you feedback on a design by adding screenshots to your comment.
Notify people in Basecamp by adding the @ symbol before their names (no spaces), otherwise they may not see your comment.
@ your STA mentor in your comments when you want to:
- ask us questions about the mechanics of using the STA blog,
- about the mechanics of photoshop,
- to let us know that you have completed this task,
- or that you would like a little feedback on on your banner design
Thank you & have fun!
Welcome to the STA Blog!
Hi Asha! Welcome to the STA Blog! This the page where your blog posts will published.
Toward the end of your STA Orientation, you’ll design and upload a banner to go at the top of this page.
Upload a Blog Banner
Step One: Design Your Banner in Photoshop
Use these Photoshop specs when you’re making your banner:
-
- Your banner should be 780 pixels wide (the height doesn’t matter)
- Must include your name, your major, and your expected graduation year
- Your banner should reflect who you are (your personality, interests or major)
- Make sure to save your banner for the web (i.e. File > Export > Save for Web (Legacy))
- If you save your banner as a JPG, make sure sure the quality is high (i.e. at least 60)
Step Two: Save Your Banner
- There are two places you can save your completed projects: UT Box and the LAITS server. You’ll be given a personal folder in both locations. For now, you only have to save your banner to UT Box, but you may have to access the server at some point in the future.
Accessing UT Box
-
- If you haven’t already registered with Duo, follow the instructions here to set up an account.
- Then log in to UT Box with your EID and password: http://utexas.box.com/
- Go to the folder called Design-Coding-STAs, then the subfolder STA-folders
- Find the folder with your name on it
- Save your banner both as an image and an unmerged PSD
Accessing the LAITS server
-
- Accessing the LAITS server from off-campus is slightly more complicated.
- You’ll need to be registered with Duo if you aren’t already (you can register here).
- Then you’ll need to connect to the UT VPN and the LAITS server. The videos below will walk you through how to do that:
- Then navigate to your STA volume folder and save
- smb://file.laits.utexas.edu/sta/Asha Rountree
- Save your banner both as an image and an unmerged PSD
Step Three: Upload Your Banner to the STA Blog
- Log in the the STA Blog here. You should’ve received an email confirming your new WordPress account with your username and assigned password. If didn’t get it or you can’t log in, ask De’sha or another STA.
- You’ll be able to change your password anytime by going to Users > Your Profile > Account Management > New Password.
Uploading media and banners in WP
- Read these links before you upload your banner.
- They will walk you through how to upload media to your blog.
How to Upload a Homepage Banner
Make Your First Blog post
- Reflect on the day. You blog posts will be a documented experience of your time as an STA with LAITS. They can include anything you want to share about the projects you’re working on, and the more media (screenshots, images, links, videos, gifs) you can use, the better.
- For today, write a bit about about yourself and what you did during orientation.
- If you haven’t already, upload your banner.
Things to Remember
Image Specs
- You should never copy and paste images intoto your blog. Always upload images into the media section of blog first (Click on the add media button), then insert the image from the media folder to display on your blog.
- Don’t use the thumbnail version of your images.
- Use images that are 72 dpi
- Screenshots are fine
- Images that are 780 pix wide format nicely above or below text blocks
Always Categorize Your Posts
- Always check the category “Fall 2025 – Spring 2026” on the blog posts you make this summer. This is the only category you need to check.
- Make sure your posts are categorized correctly so that all of your work is documented in the correct semesters.
Commenting on Basecamp
Notification comments: etiquette, files, questions, feedback
Let us know when you’ve completed this task by adding a link to your blog to a comment in Basecamp.
Notes for all comments in Basecamp:
- *Always address the person/people you are writing to by their names.
- *Always use complete sentences.
- *Always add links or paths to your design file in your STA folder.
- *Make it easier for your collaborators and mentors to give you feedback on a design by adding screenshots to your comment.
Notify people in Basecamp by adding the @ symbol before their names (no spaces), otherwise they may not see your comment.
@ your STA mentor in your comments when you want to:
- ask us questions about the mechanics of using the STA blog,
- about the mechanics of photoshop,
- to let us know that you have completed this task,
- or that you would like a little feedback on on your banner design
Thank you & have fun!
Summer 2025
Summer 2025
Summer Marketing
First Day of Classes
Juneteenth
Freshmen Orientation
Transfer Orientation
HIS 315L
⋆。°✩ Full course package
⋆。°✩ Prof. wanted to show the continuities between the past and present
⋆。°✩ Original course imagery –>
v.1
v.2
Sepia, grid lines
Sepia, blurred transition
☆ B&W and color, grid lines ☆
v.3
Fall Postcard
Initial Drafts
⋆。°✩ Played around with the messaging, “my summer” vs “your summer”
⋆。°✩ Explored different imagery (graduation, on campus, talking with friends)
Exploring Layouts & Taglines
⋆。°✩ Collage allows for greater expression of summer (internships, staying on campus, traveling, etc.)
⋆。°✩ The vertical column layout was a lot more balanced and easier to read
⋆。°✩ Felt the original tagline didn’t align with our message and research. Needed to focus on the fact that students want to use summer to get ahead and complete course requirements
Final Tagline
⋆。°✩ After settling on a tagline, we’re now focussing on which text should be the main tagline, our organization or message?
- « Previous Page
- 1
- …
- 3
- 4
- 5
- 6
- 7
- …
- 126
- Next Page »


