Photoshop Color Correction
Today, I worked on a Photoshop Color Correction training. The training walked through several different types of photo adjustments, which are used often when editing photo IDs. Here are some of the examples that I worked on that I found the most interesting.
Exposure Mini Practice
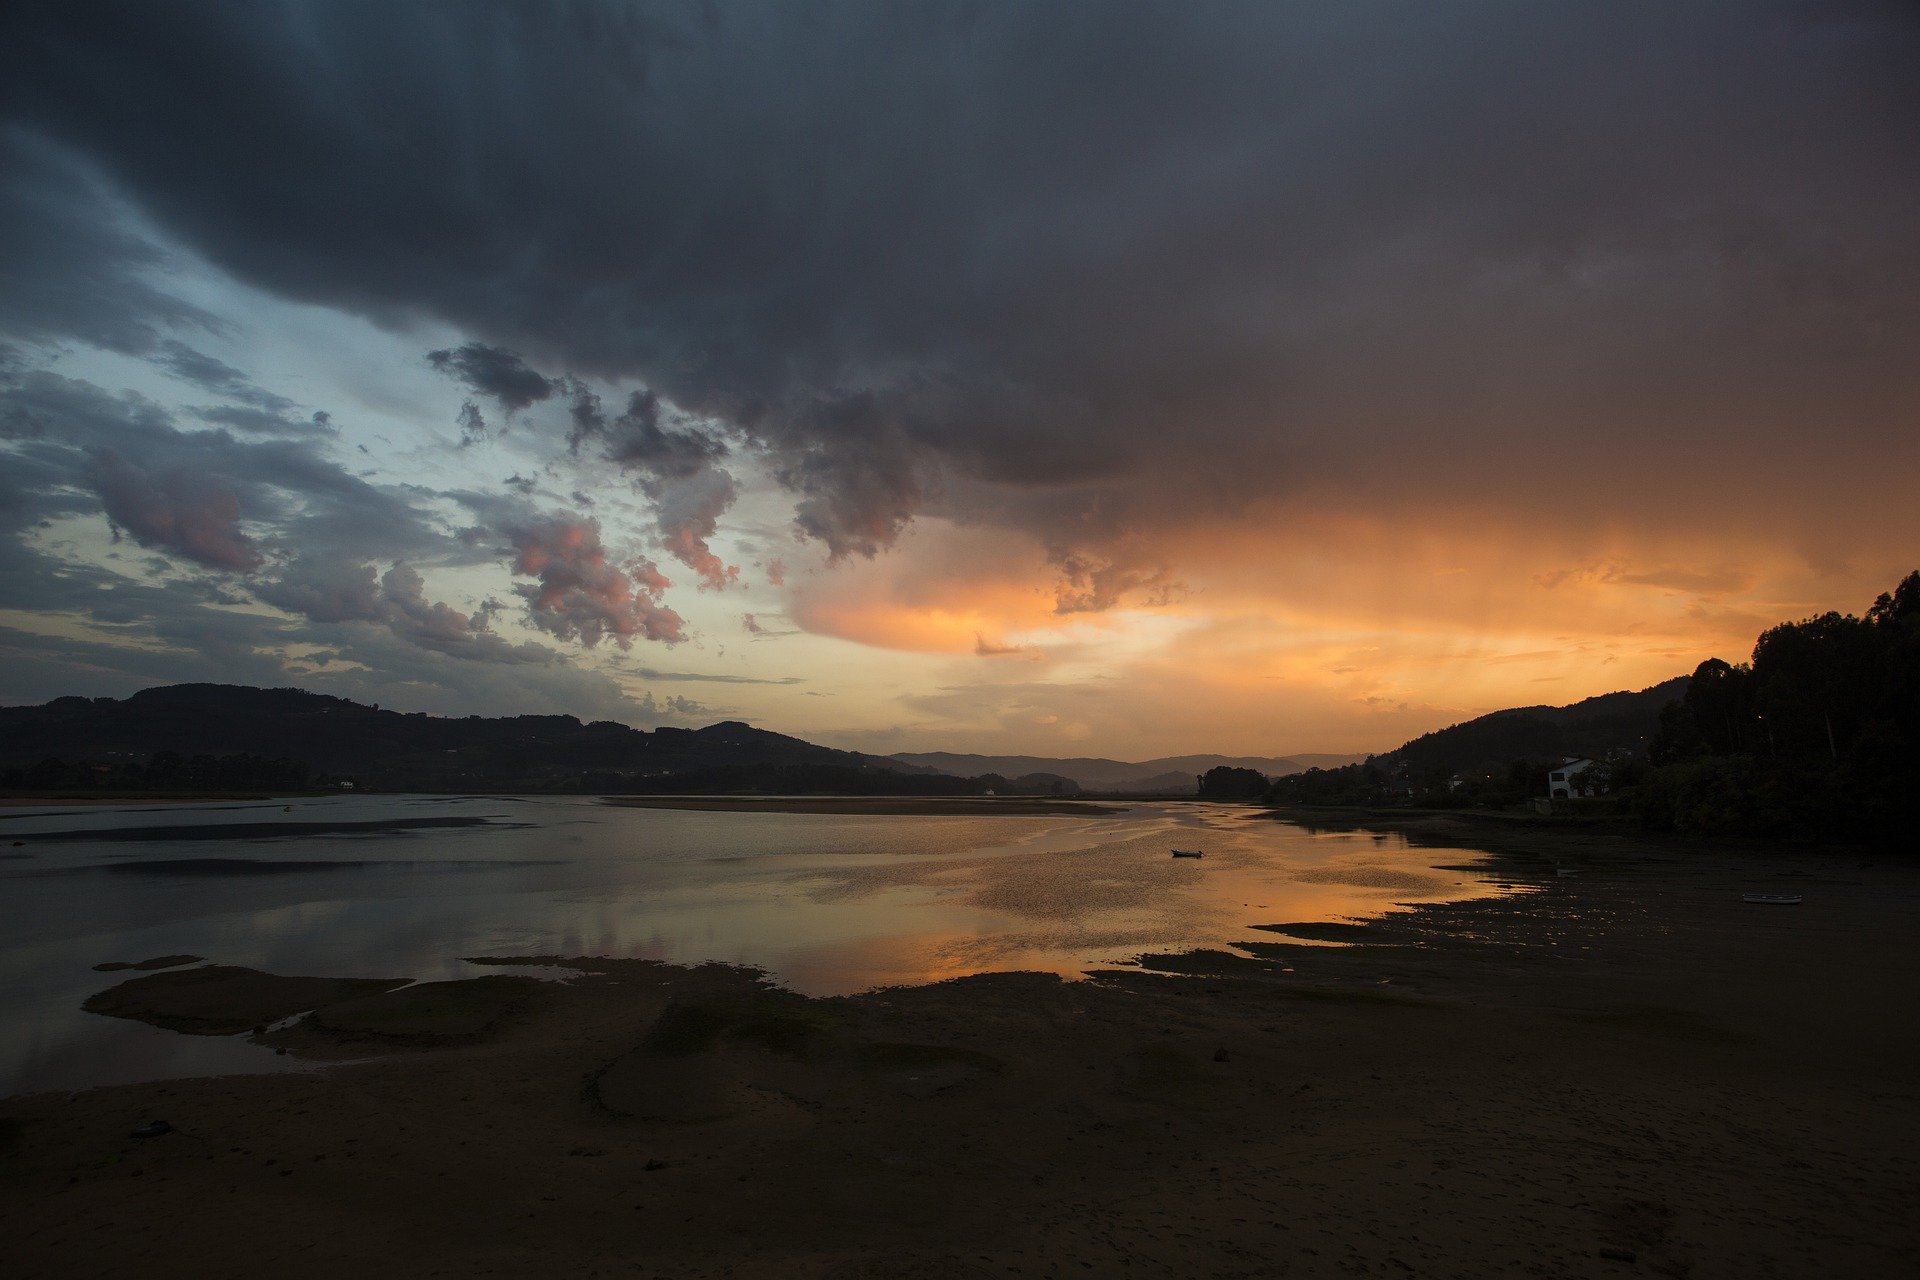
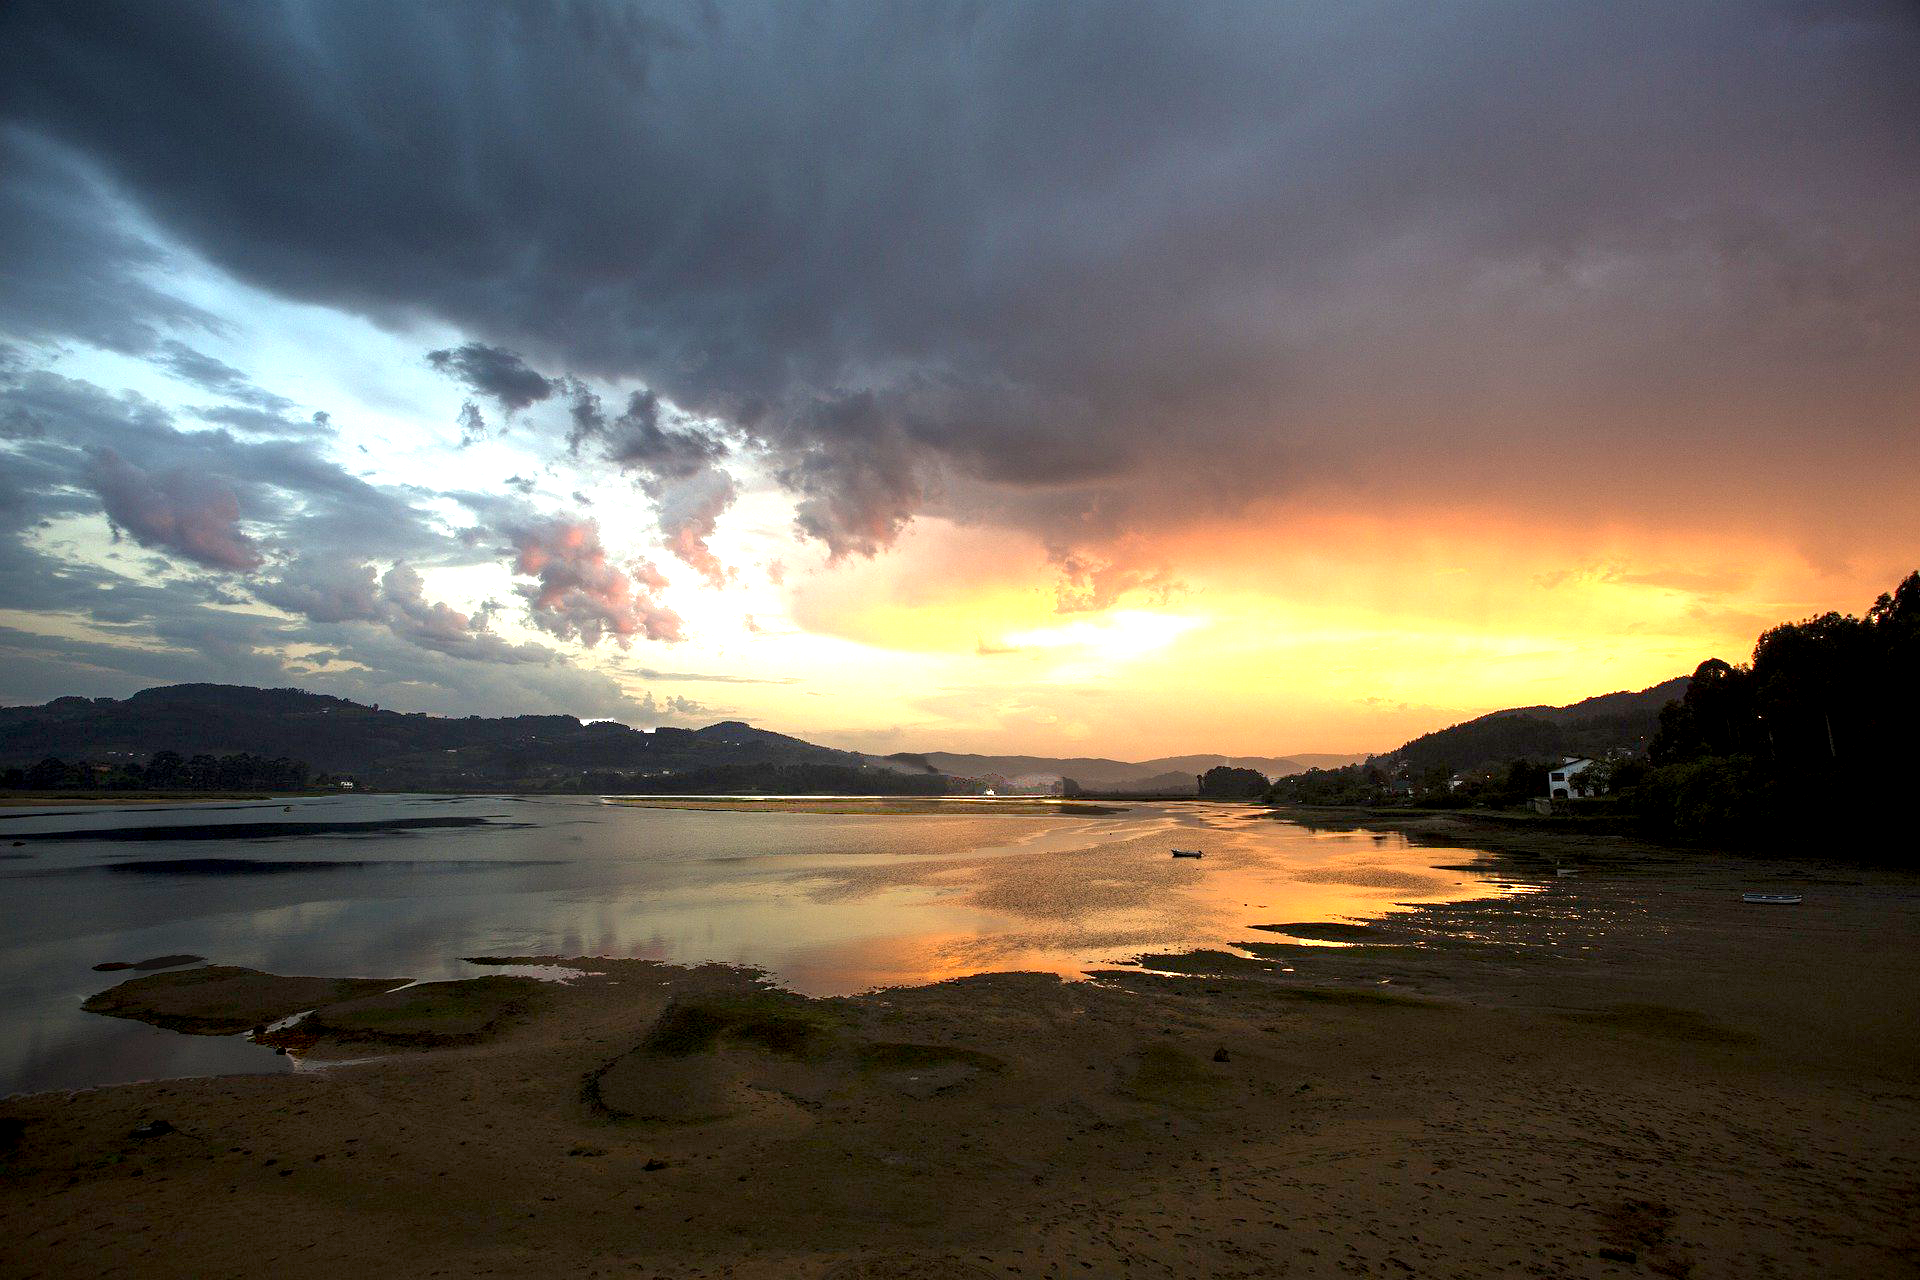
In this exercise, we practiced using the exposure adjustment. Since the land and the surrounding sky and water are lit differently, we used the selection tool to select parts of land then adjust the gamma and offset to make it look natural. Then, we followed the same general process but for the inverse of the first selection such that it would apply to the sky and water.
Hues Mini Practice
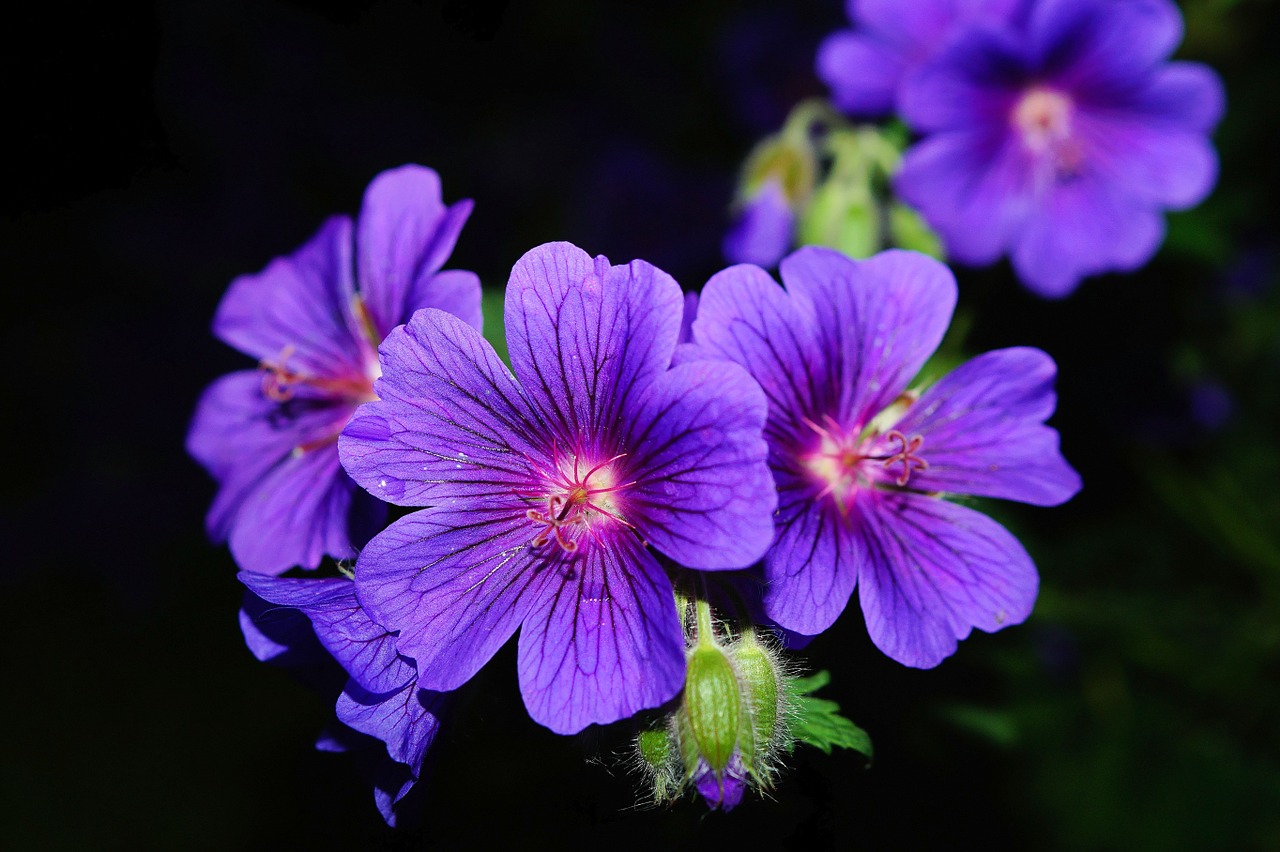
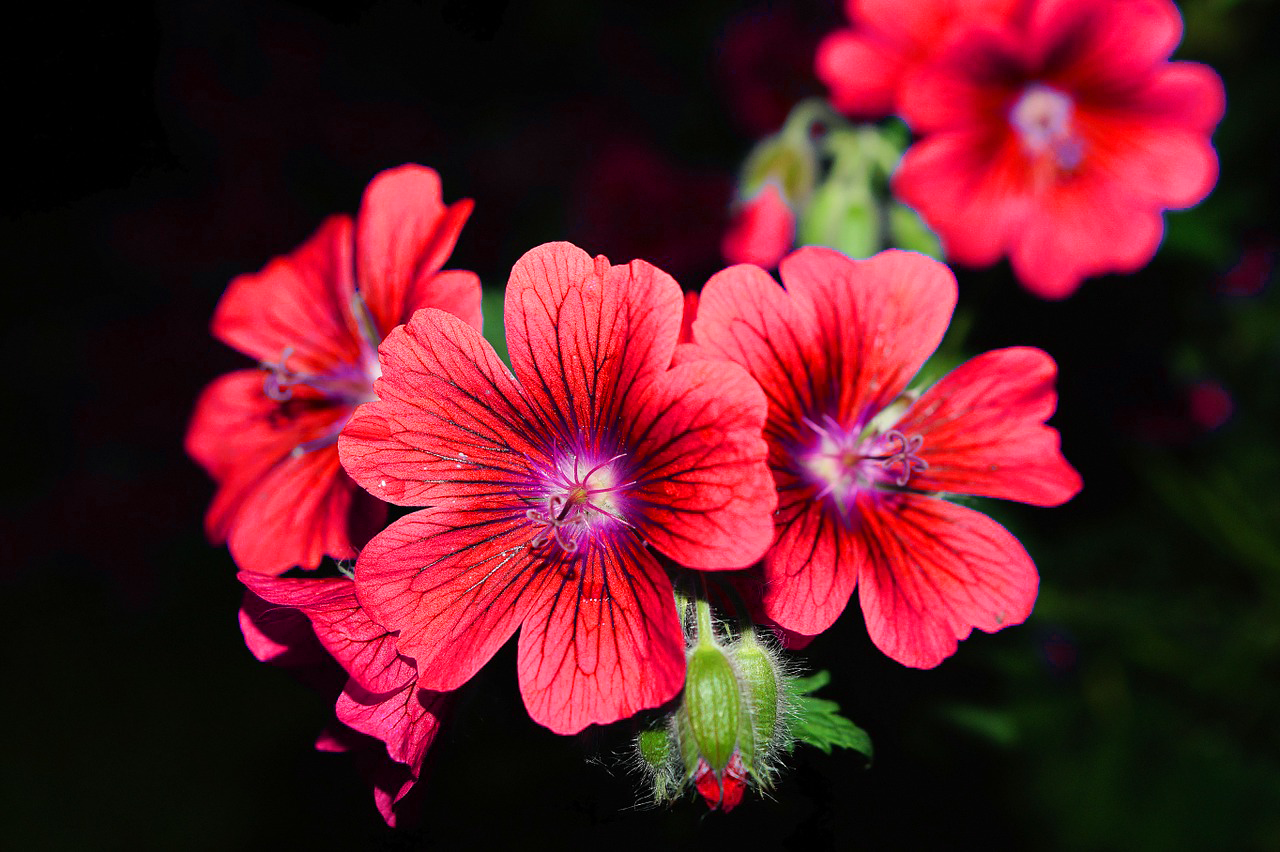
In this exercise, we practiced using the hues adjustment. We were asked to practice changing the color of the flower petals. Since they are purple, I selected “Magentas” in the hue bar under “Master” and adjusted the sliding color scale towards the red hue until it looked red. I was surprised by how realistically this changed the color of the flower petals.
Layer and Masking for Isolated Color Correction Mini Practice
In this exercise, we practiced another method of editing specific parts of a photo as opposed to the whole photo , which an adjustment is usually applied to. I applied a levels adjustment then used a gradient on the the masking layer to specifically brighten the right side of the photo but not the left. The gradient appeared white to black, from the left to the right. Since the right side is darker and underexposed, I shifted the white arrow to the left to bring some more light into the photo. With the masking, it only applied these edits to the black portion of the mask.
This training was super helpful, especially with understanding how to make edits targeted for specific portions of photos.
